DIY Corsage Tutorial
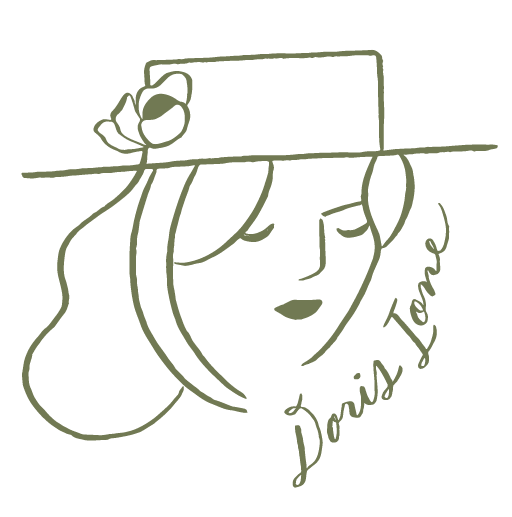
There are so many options for corsages, and using ribbons is my favorite! They give so much diversity to the design. Corsages are one of the most fun things to make and each is customizable with different ribbons and flowers. I love the small details of each one. They are a great way to use any broken stemmed flowers that you have on hand while designing or any small blooms that you happen to have growing in the yard. I was so happy for this tutorial that my pansies and camellias happened to be in bloom!
These corsages are such a fun and simple diy project, perfect for birthday parties, bridesmaid luncheons, weddings and any other time you just need some pretty flowers to wear!

Supplies:
Ribbon (1 yard of ½” or wider)
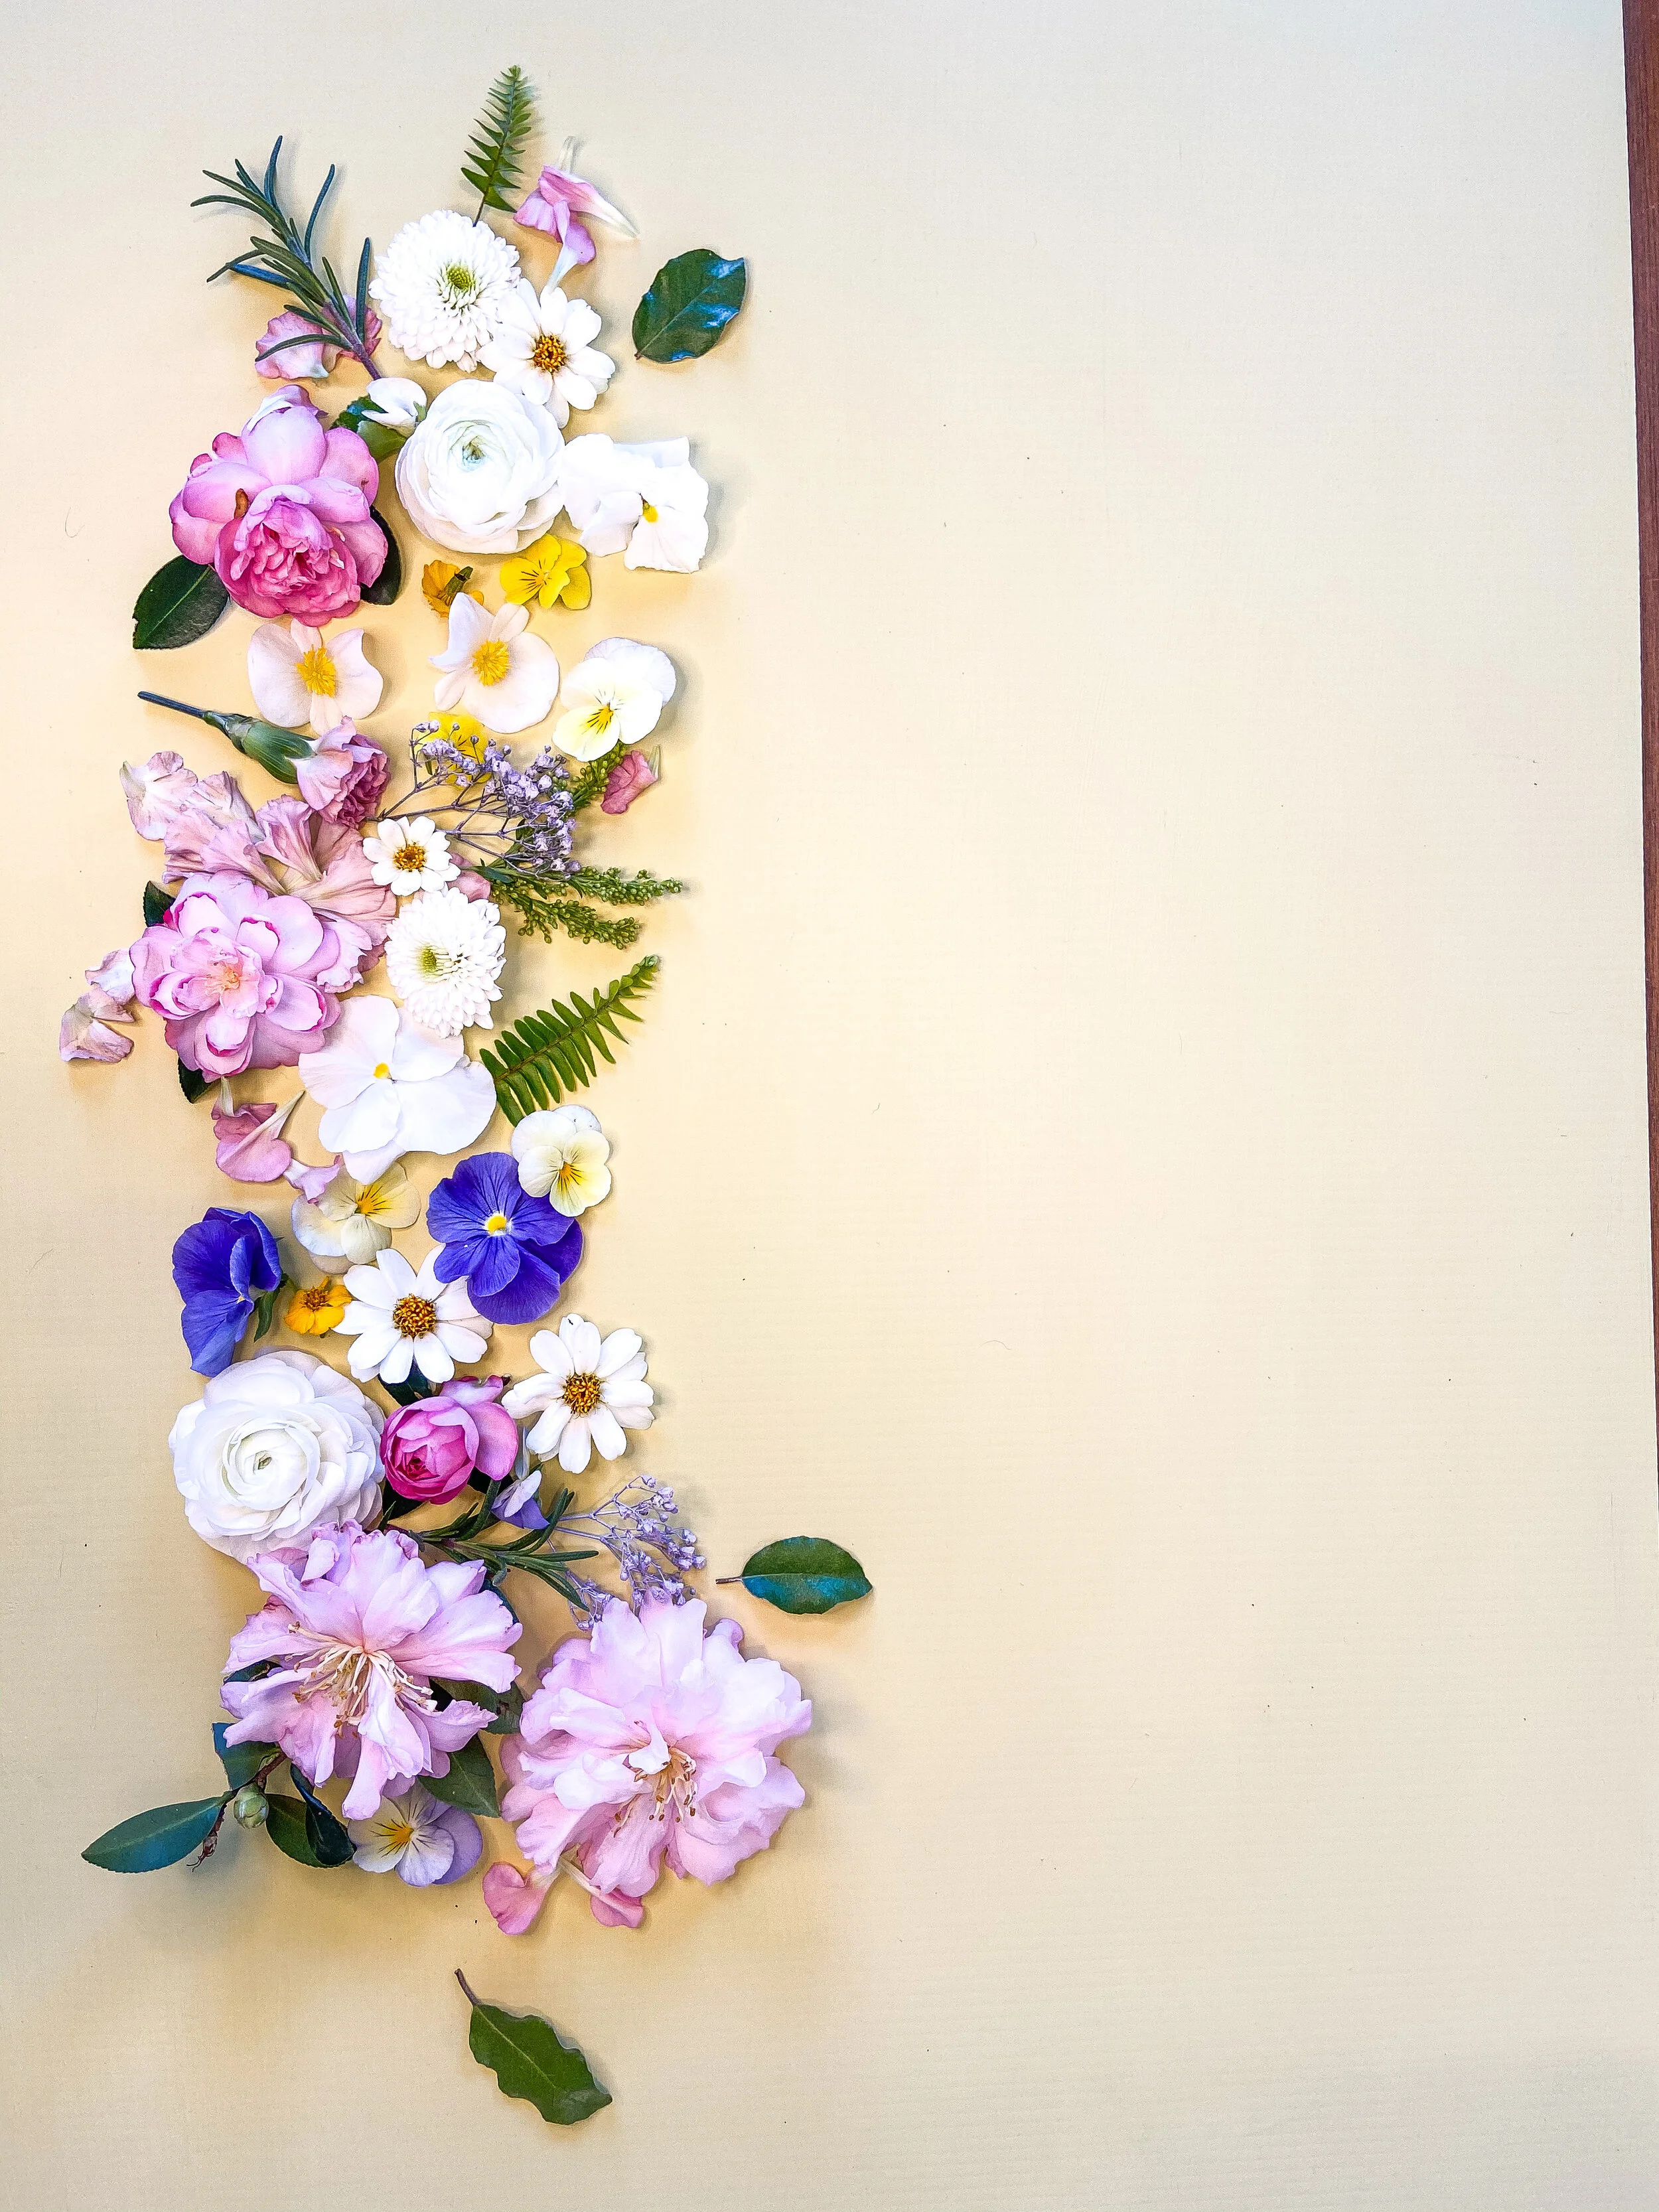
Floral glue (I love Oasis brand)
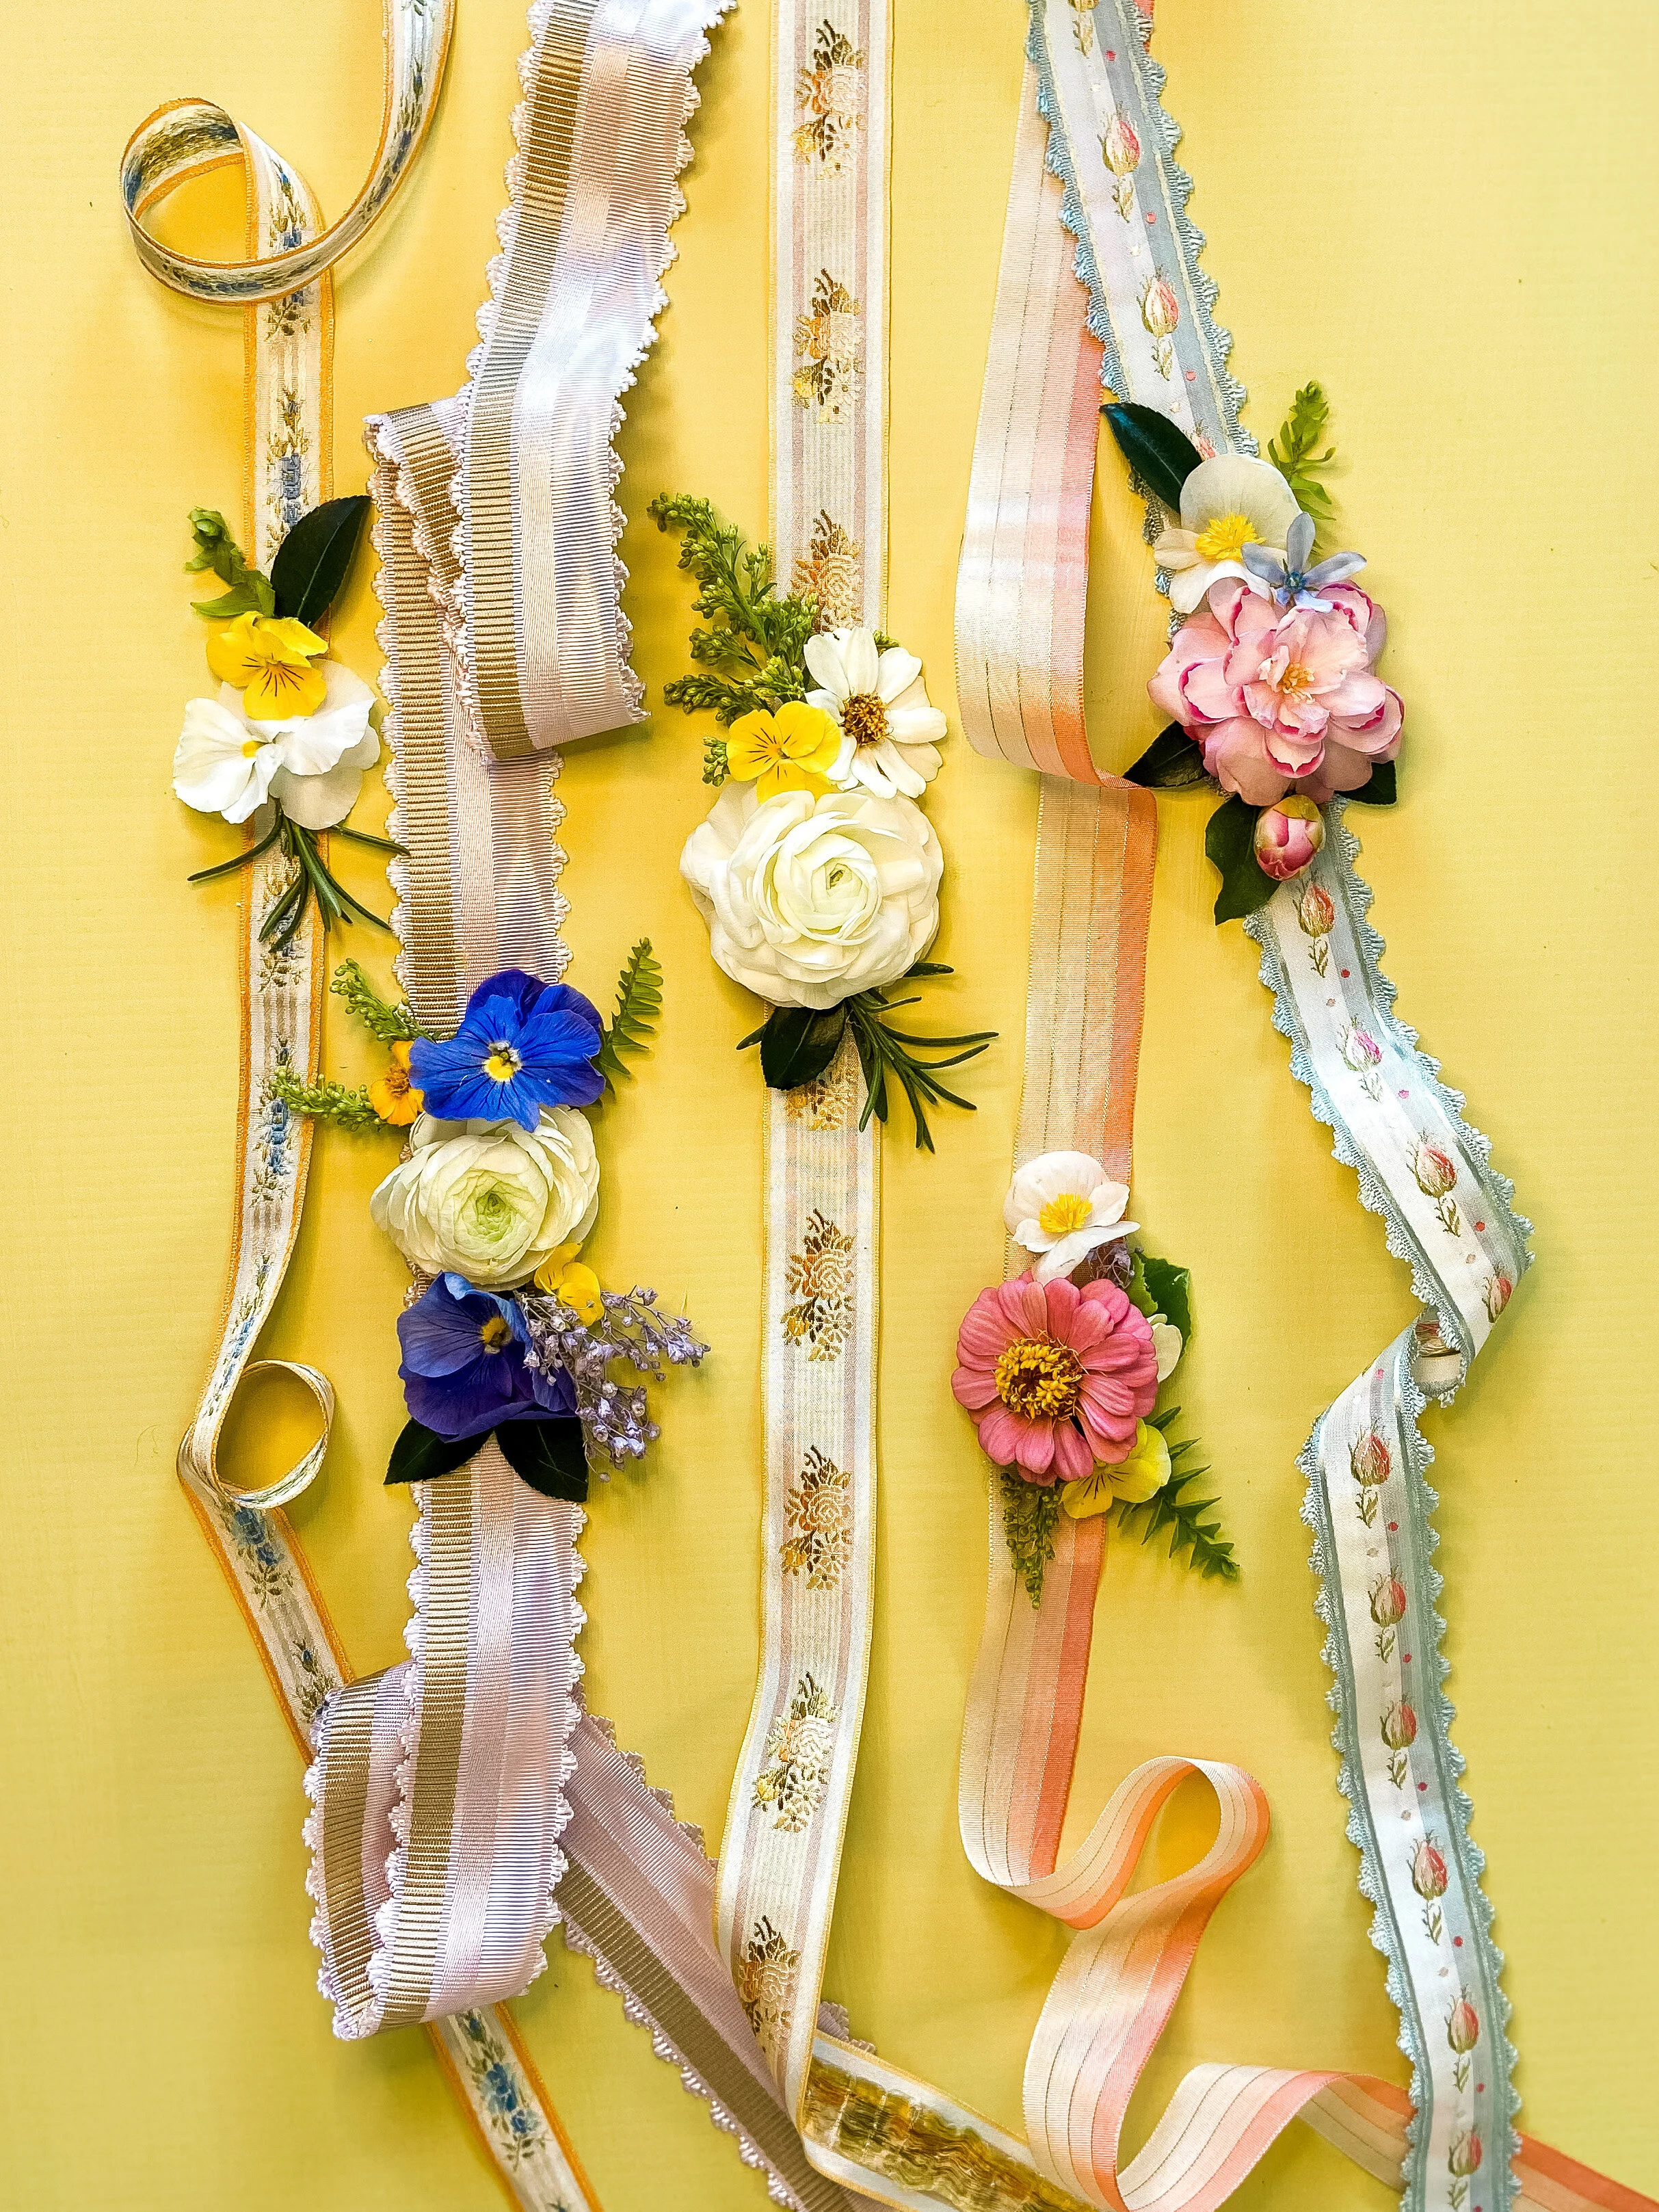
Small blooms
Small clippers (I love these ones from Amazon)
Tissue paper or other protection for your working surface
A small, shallow container for glue such as an old jam jar lid
Steps:
Cut all blooms off of the stem, as close as you can get without the flower falling apart, and stash them in a pile (I like to have a little “buffet” of flowers to choose from)
Lay out the ribbon on a surface that you don’t care if glue gets on, I typically lay down a piece of tissue paper
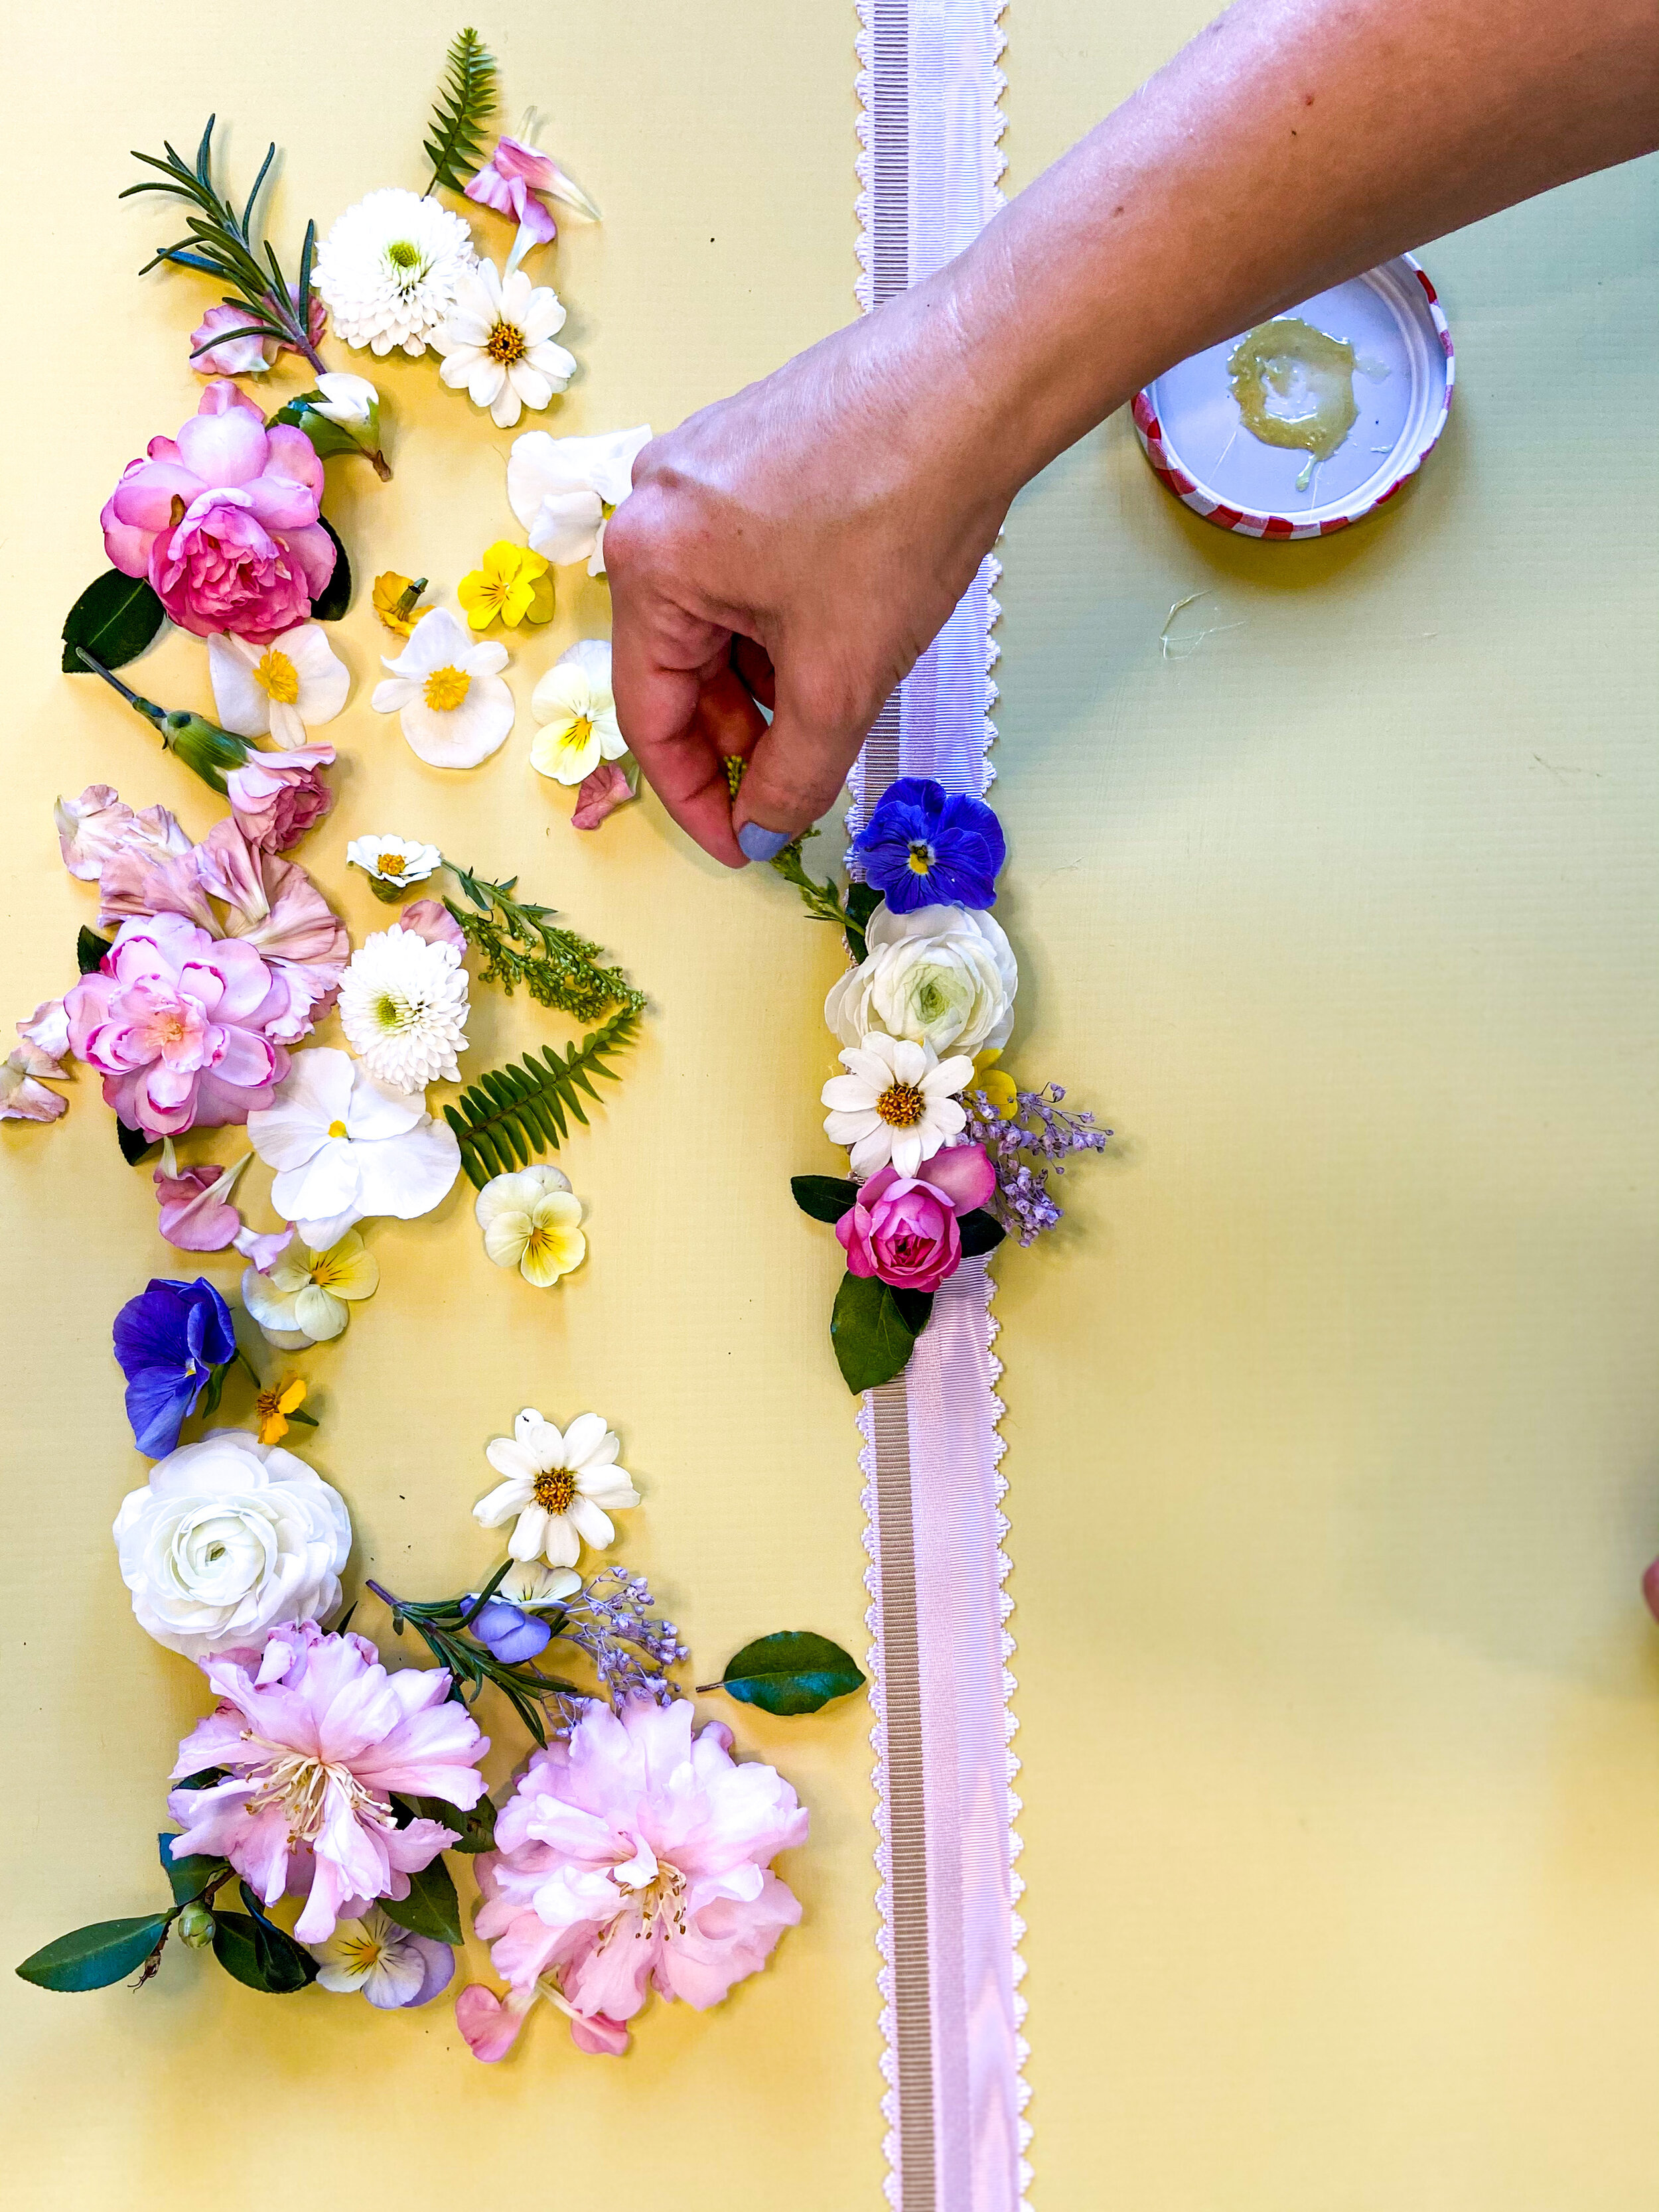
Choose what flowers you want to use, I like to lay them onto the ribbon without glue at first to make sure I like the design, but so often I just get excited and start gluing right away!
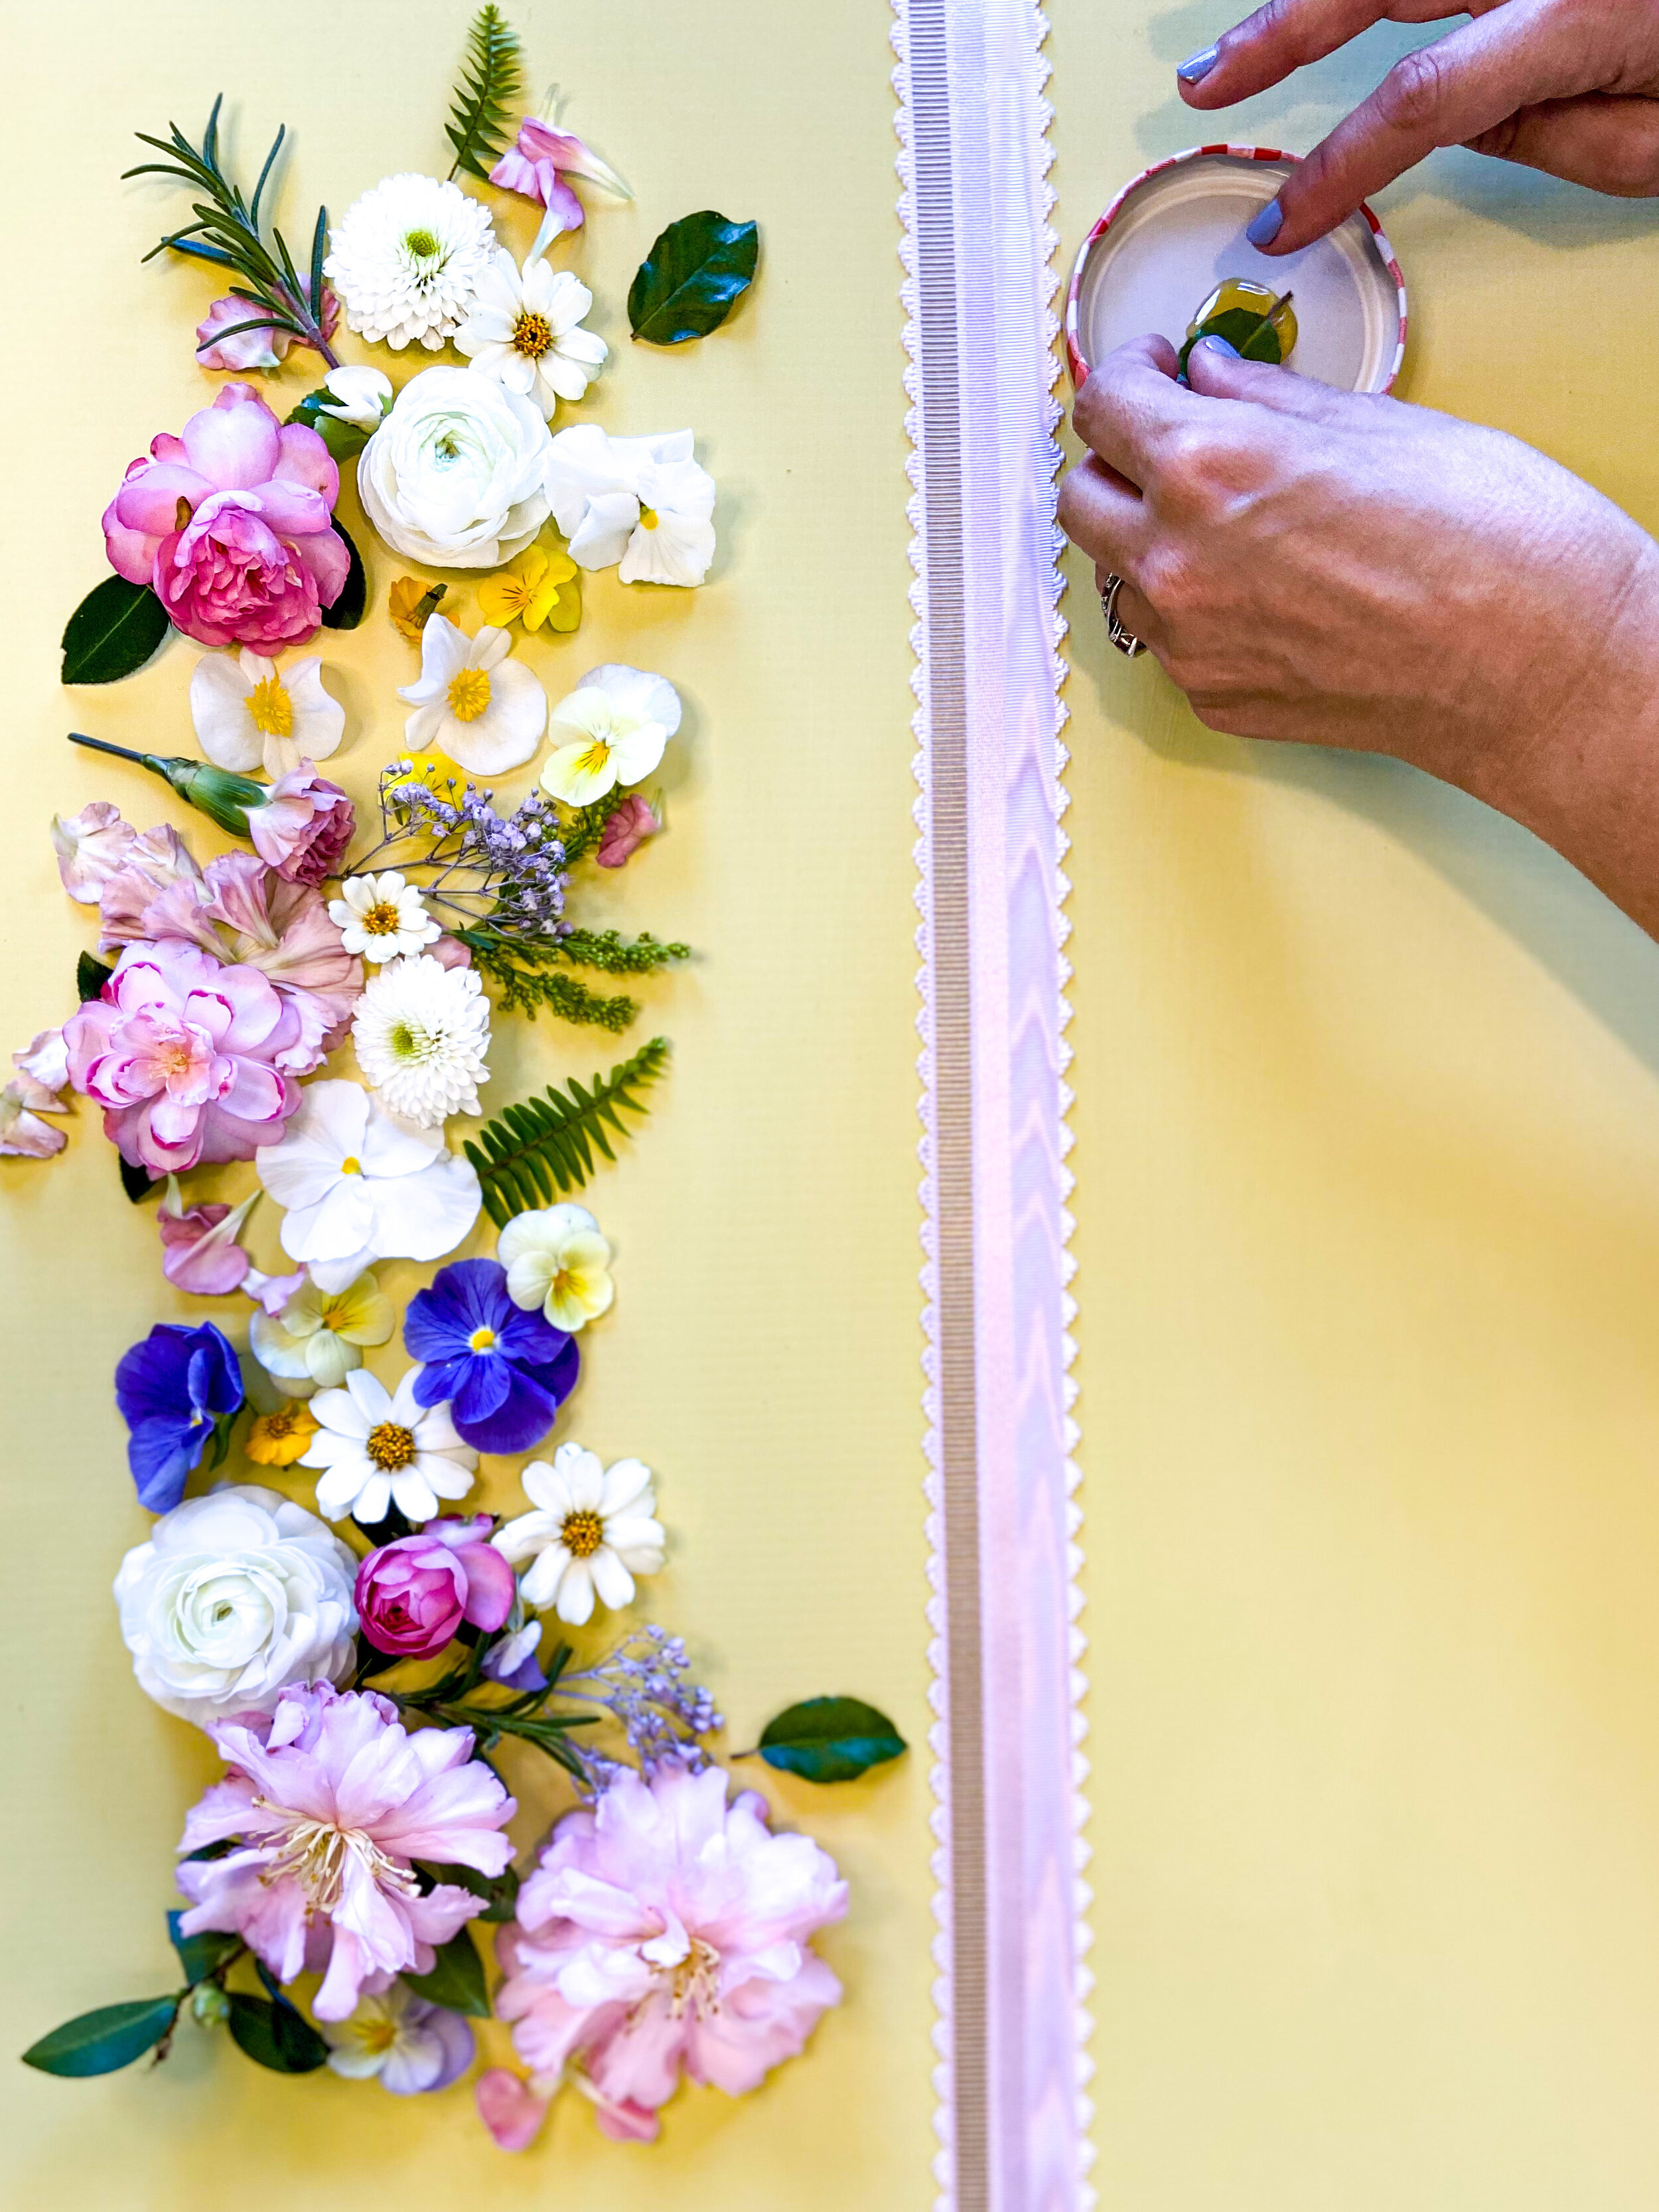
Squeeze a bit of glue into a tray or dish, I like to use old jam jar lids
Dip the backside of each flower into the glue, one at a time. The glue should set a bit so I usually dip and wave in the air for a few seconds before placing.
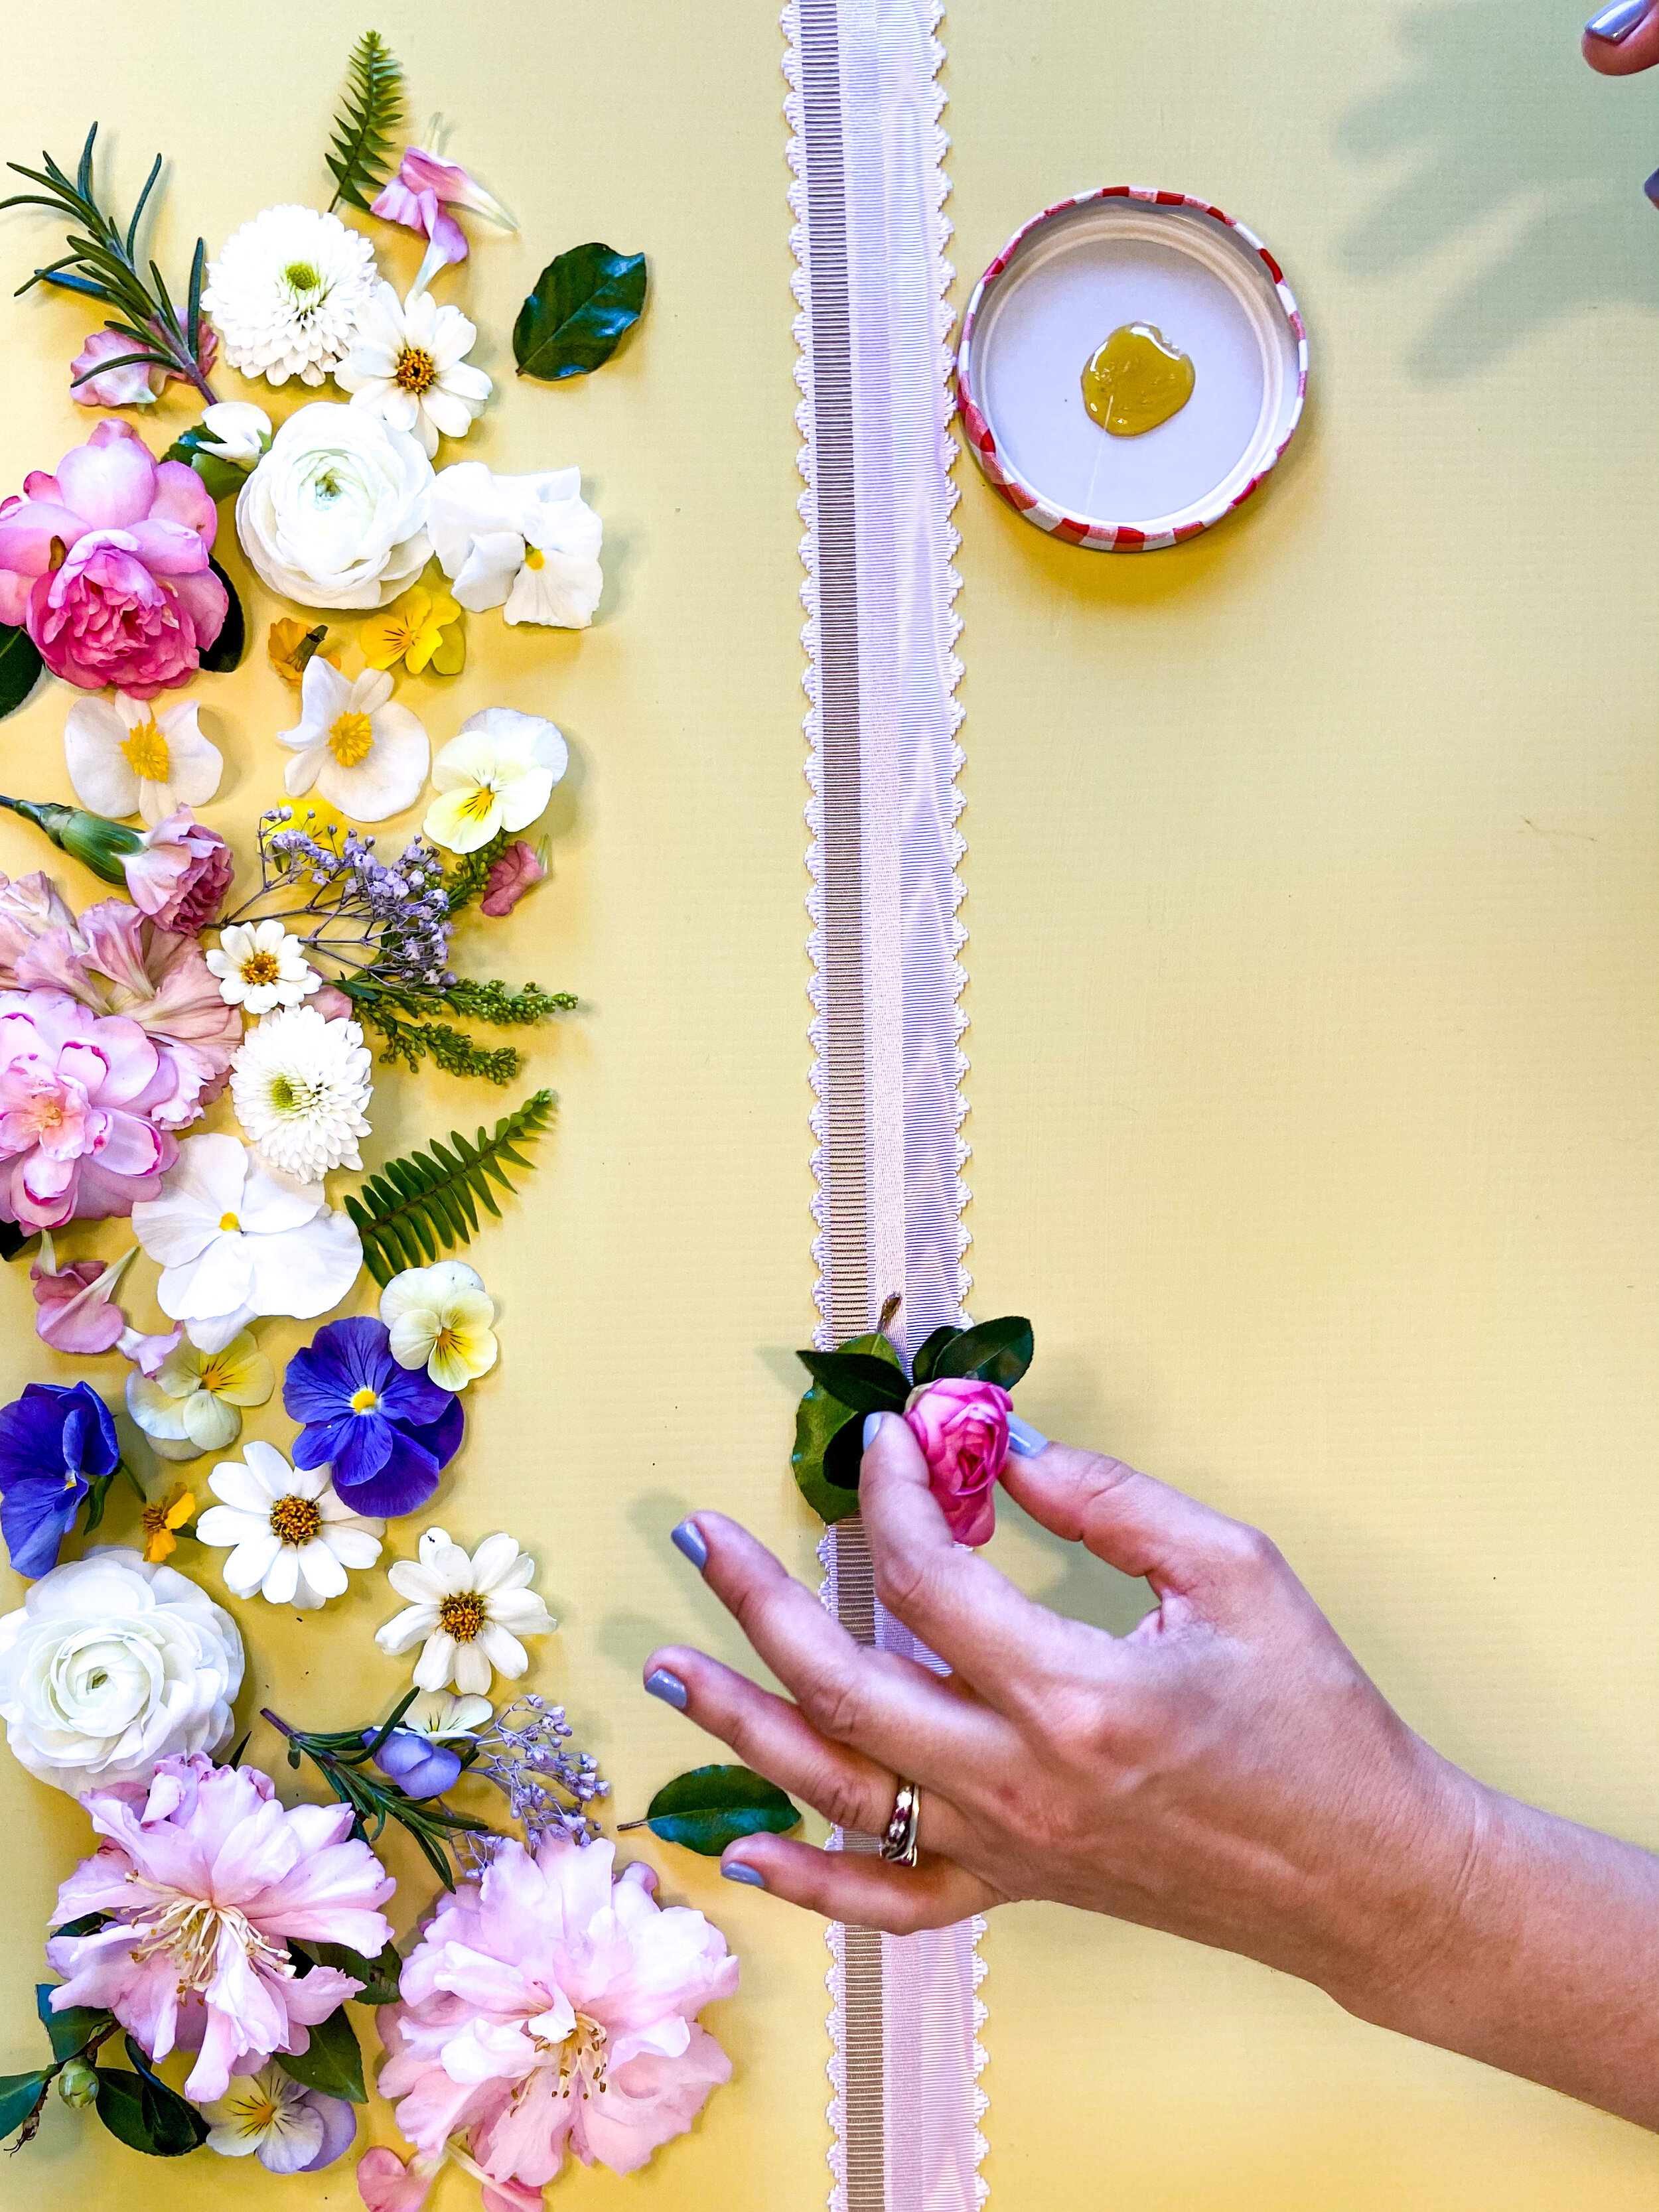
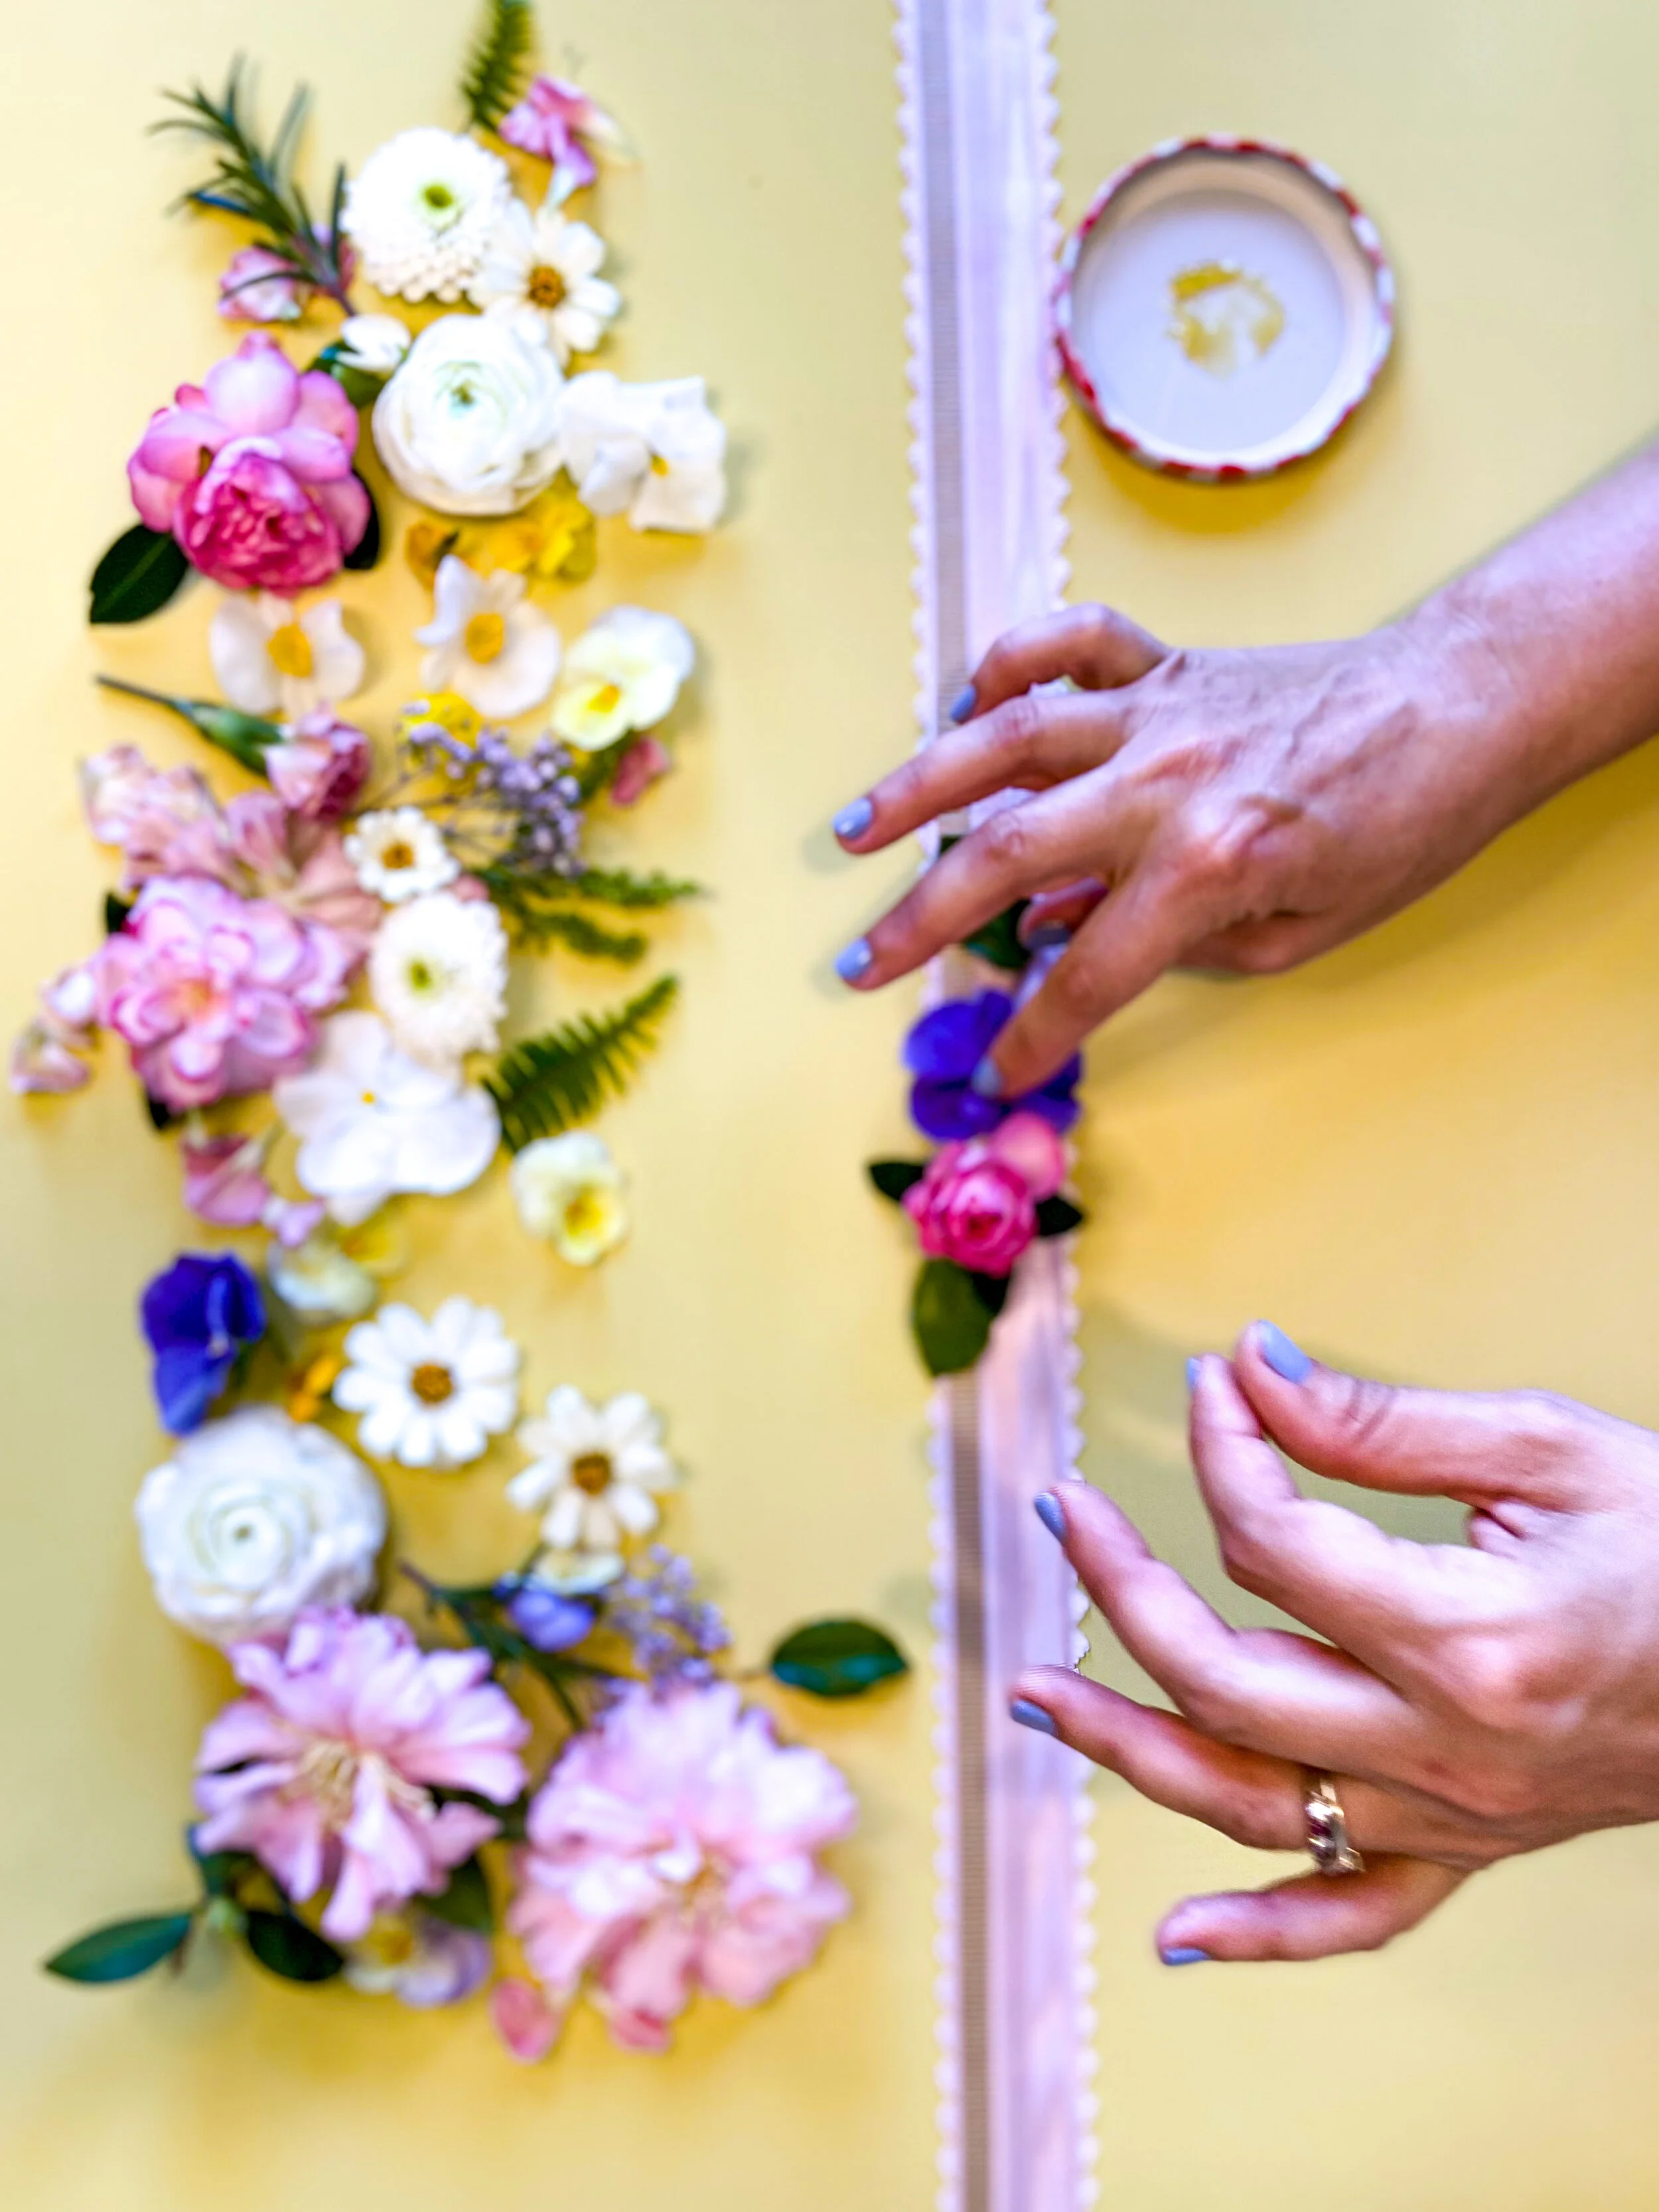
Place the flowers, one by one as you like. The glue does not dry very quickly, so you can easily remove a flower if you are not thrilled, but keep in mind that it does not come off so you will need to cover it up with another flower. This happens to me all of the time!
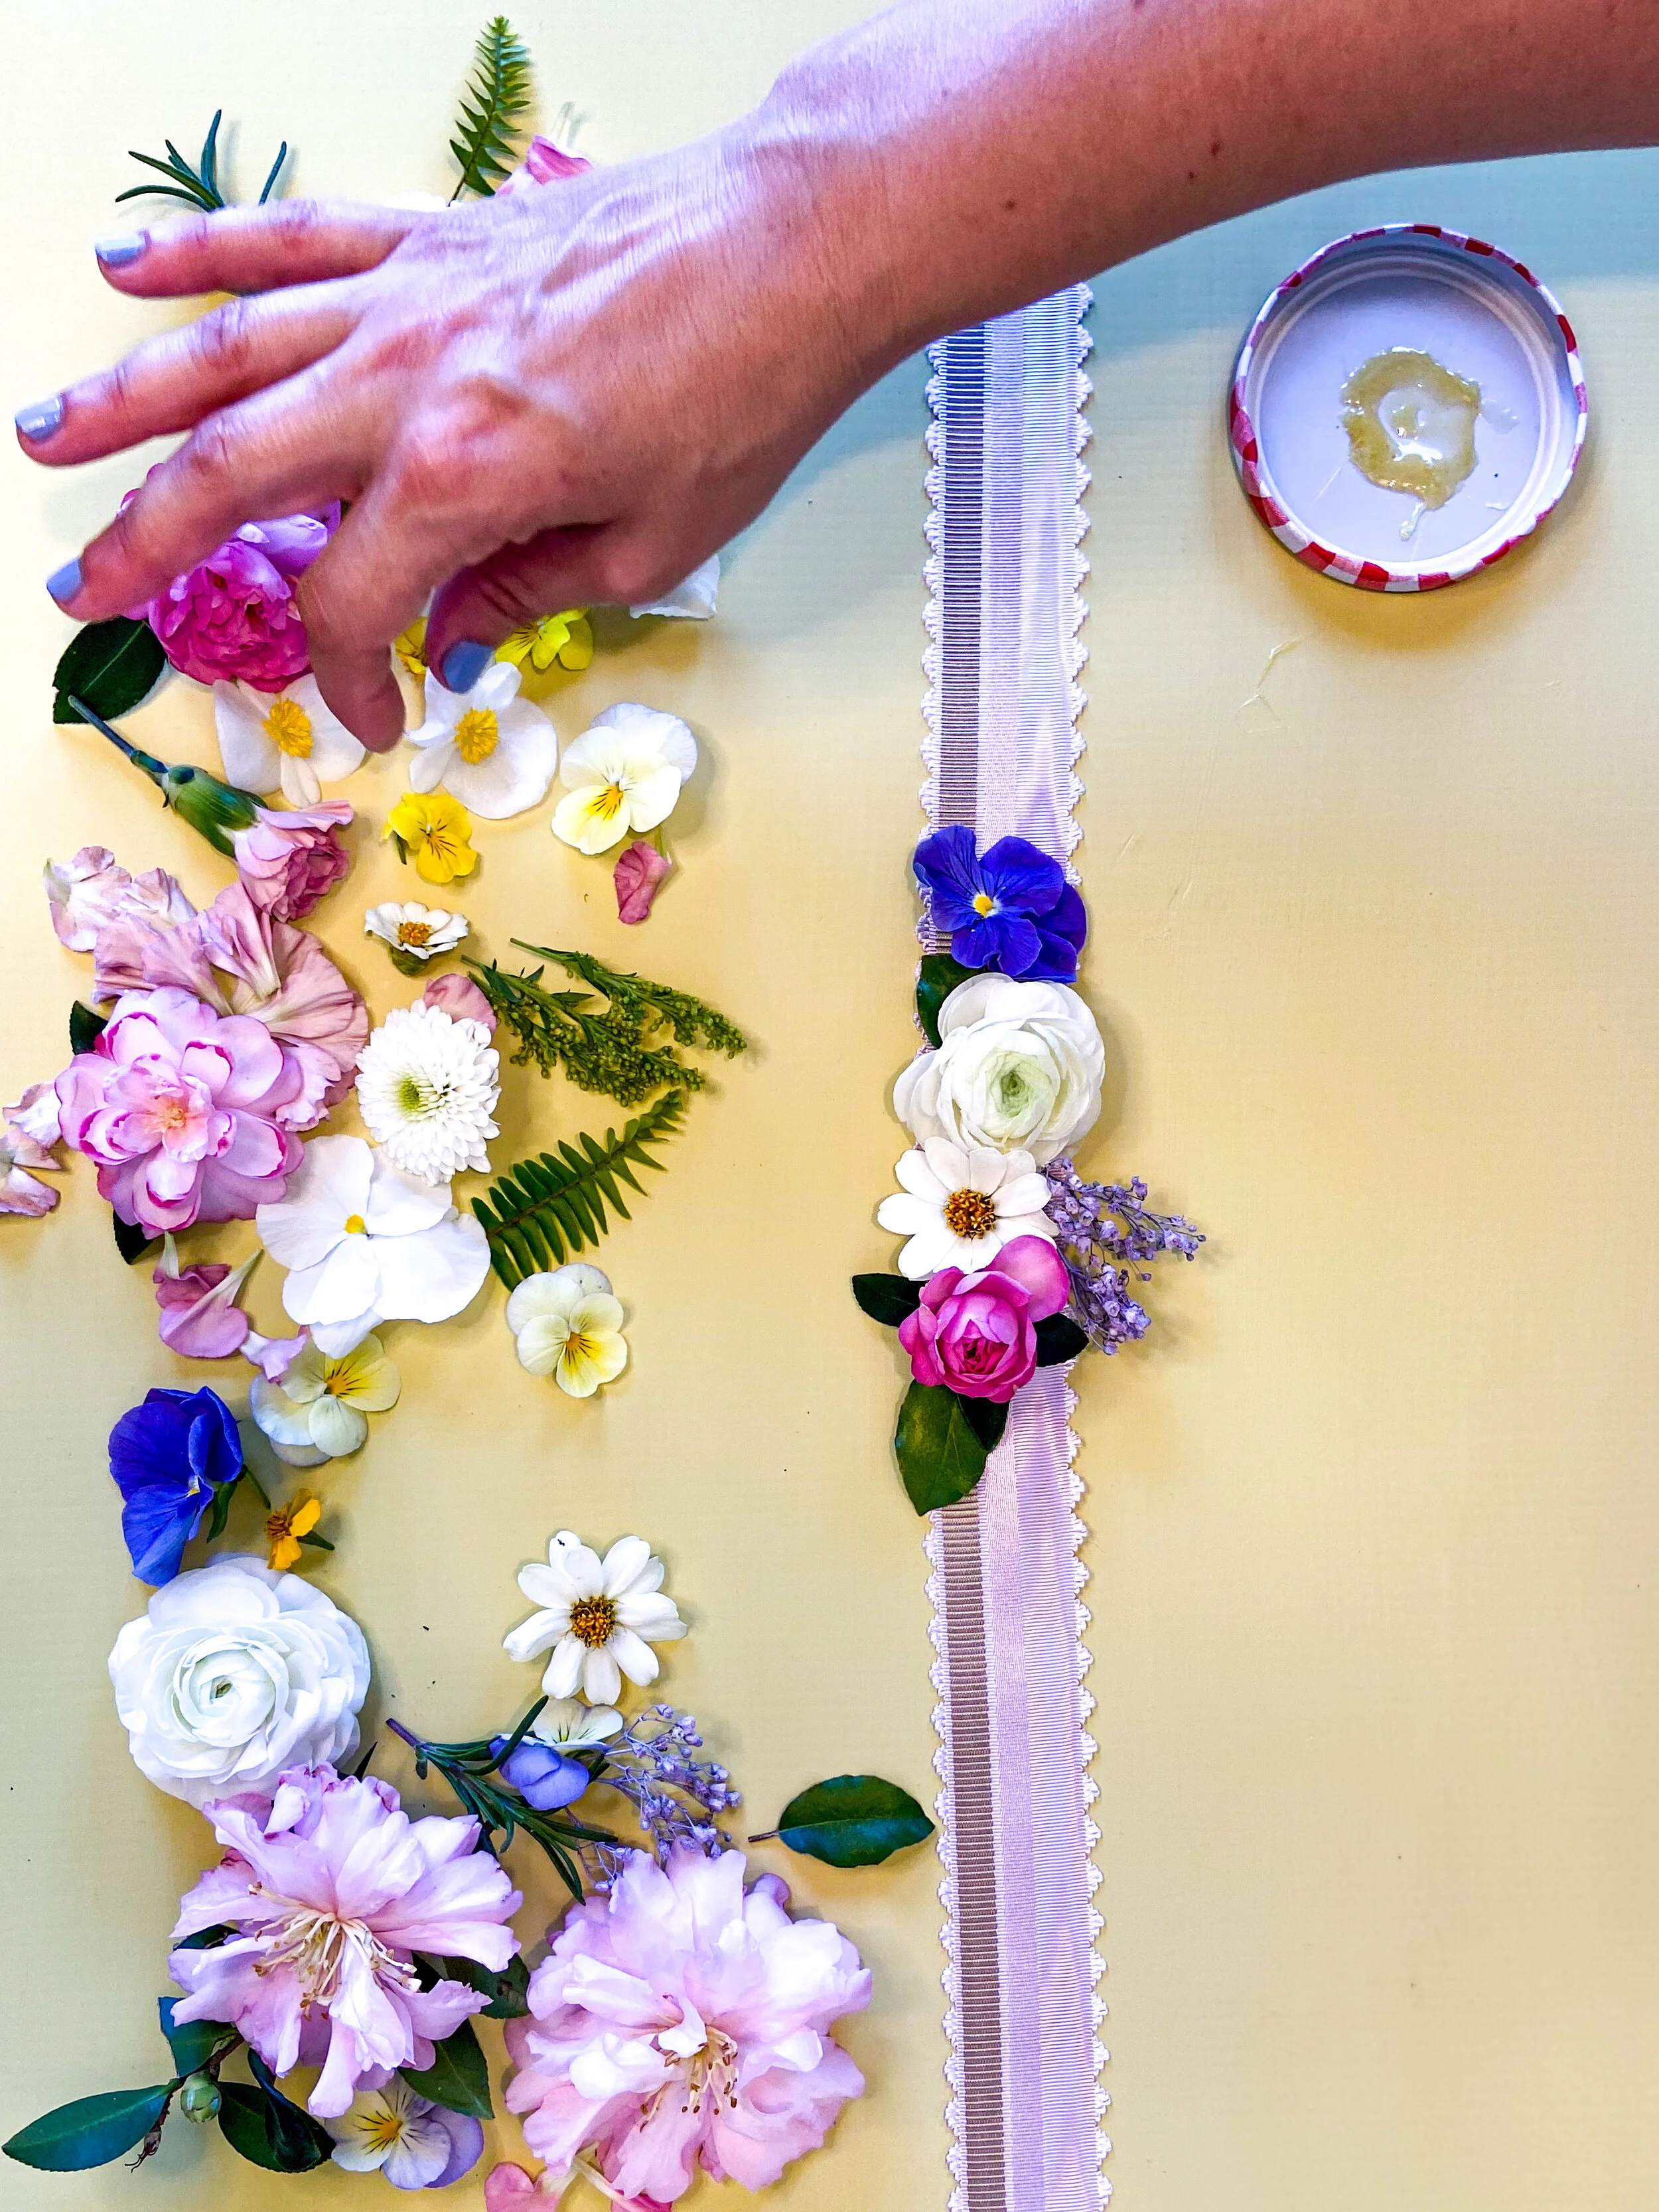
Let dry a bit, for about 10 minutes and then wrap around your wrist to make sure there are no gaps in the flowers. If there are, you can easily pop some small blooms in to fill in.
Now you are ready to sport your corsage, simply tie the ends into a bow around your wrist and trim the ends if needed.

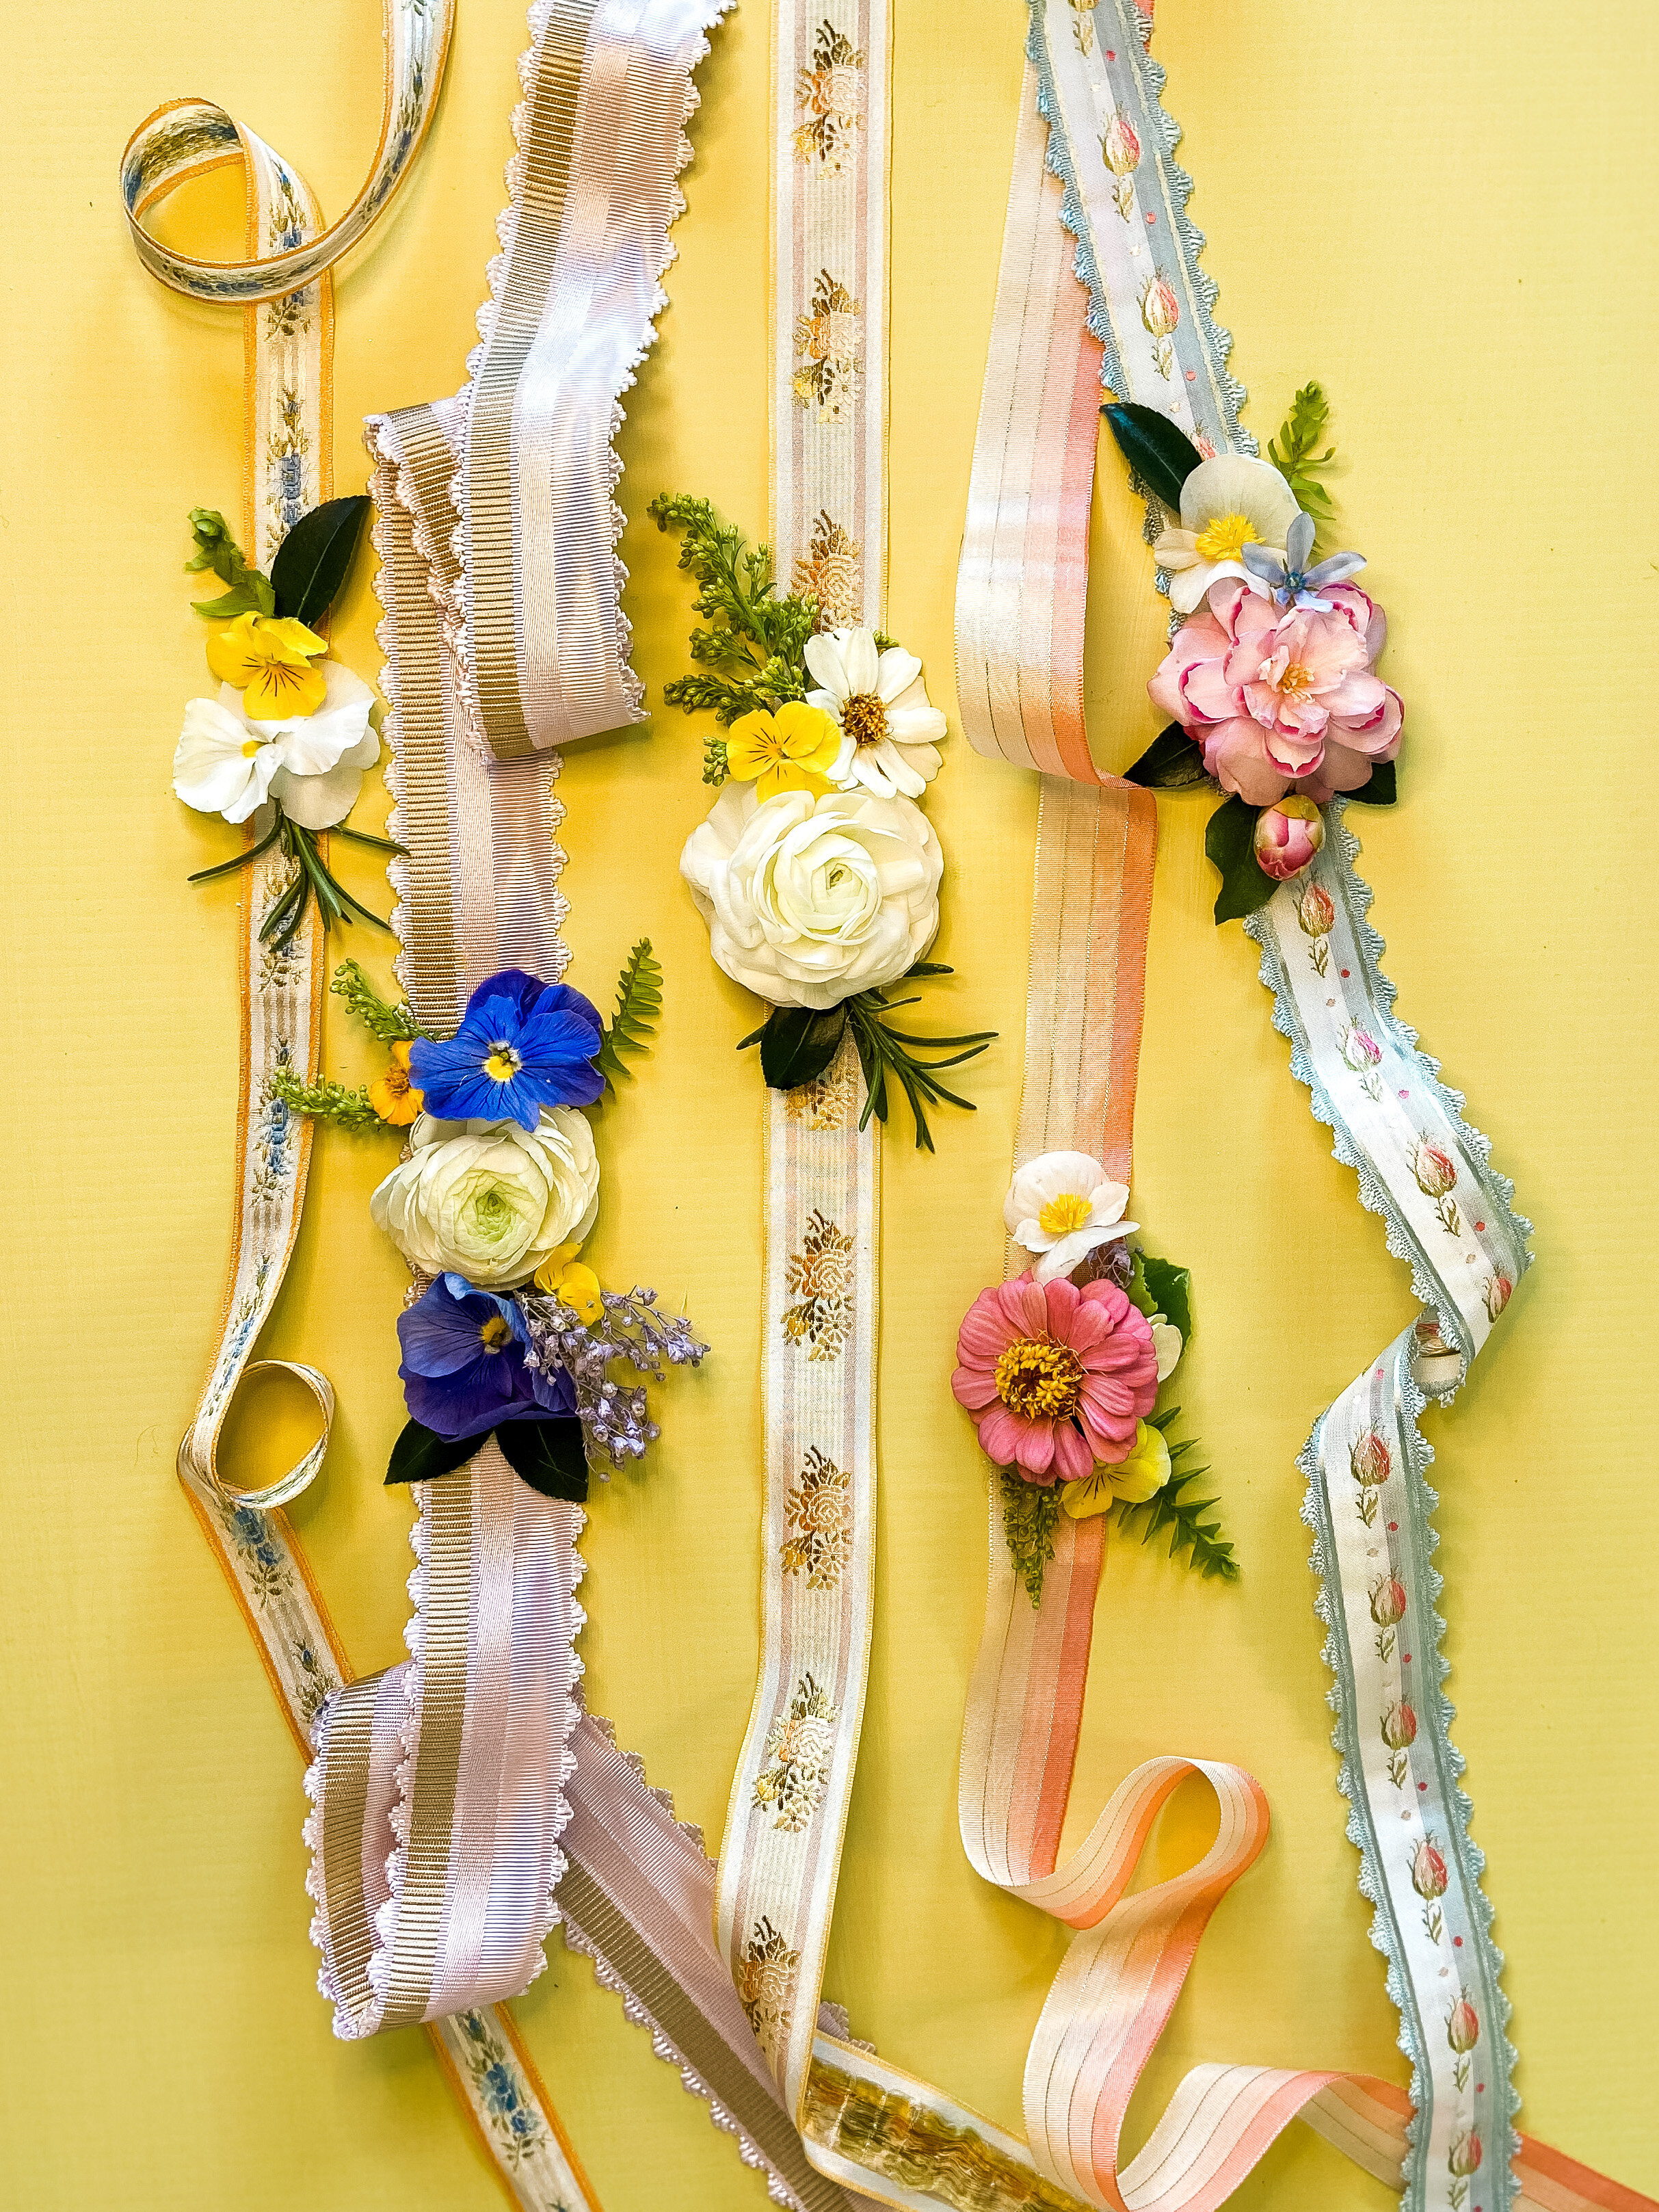


Here are some links to our favorite ribbons:
I would love to see what corsages you have made from this tutorial! Please send them to my email at hello@dorisione.com