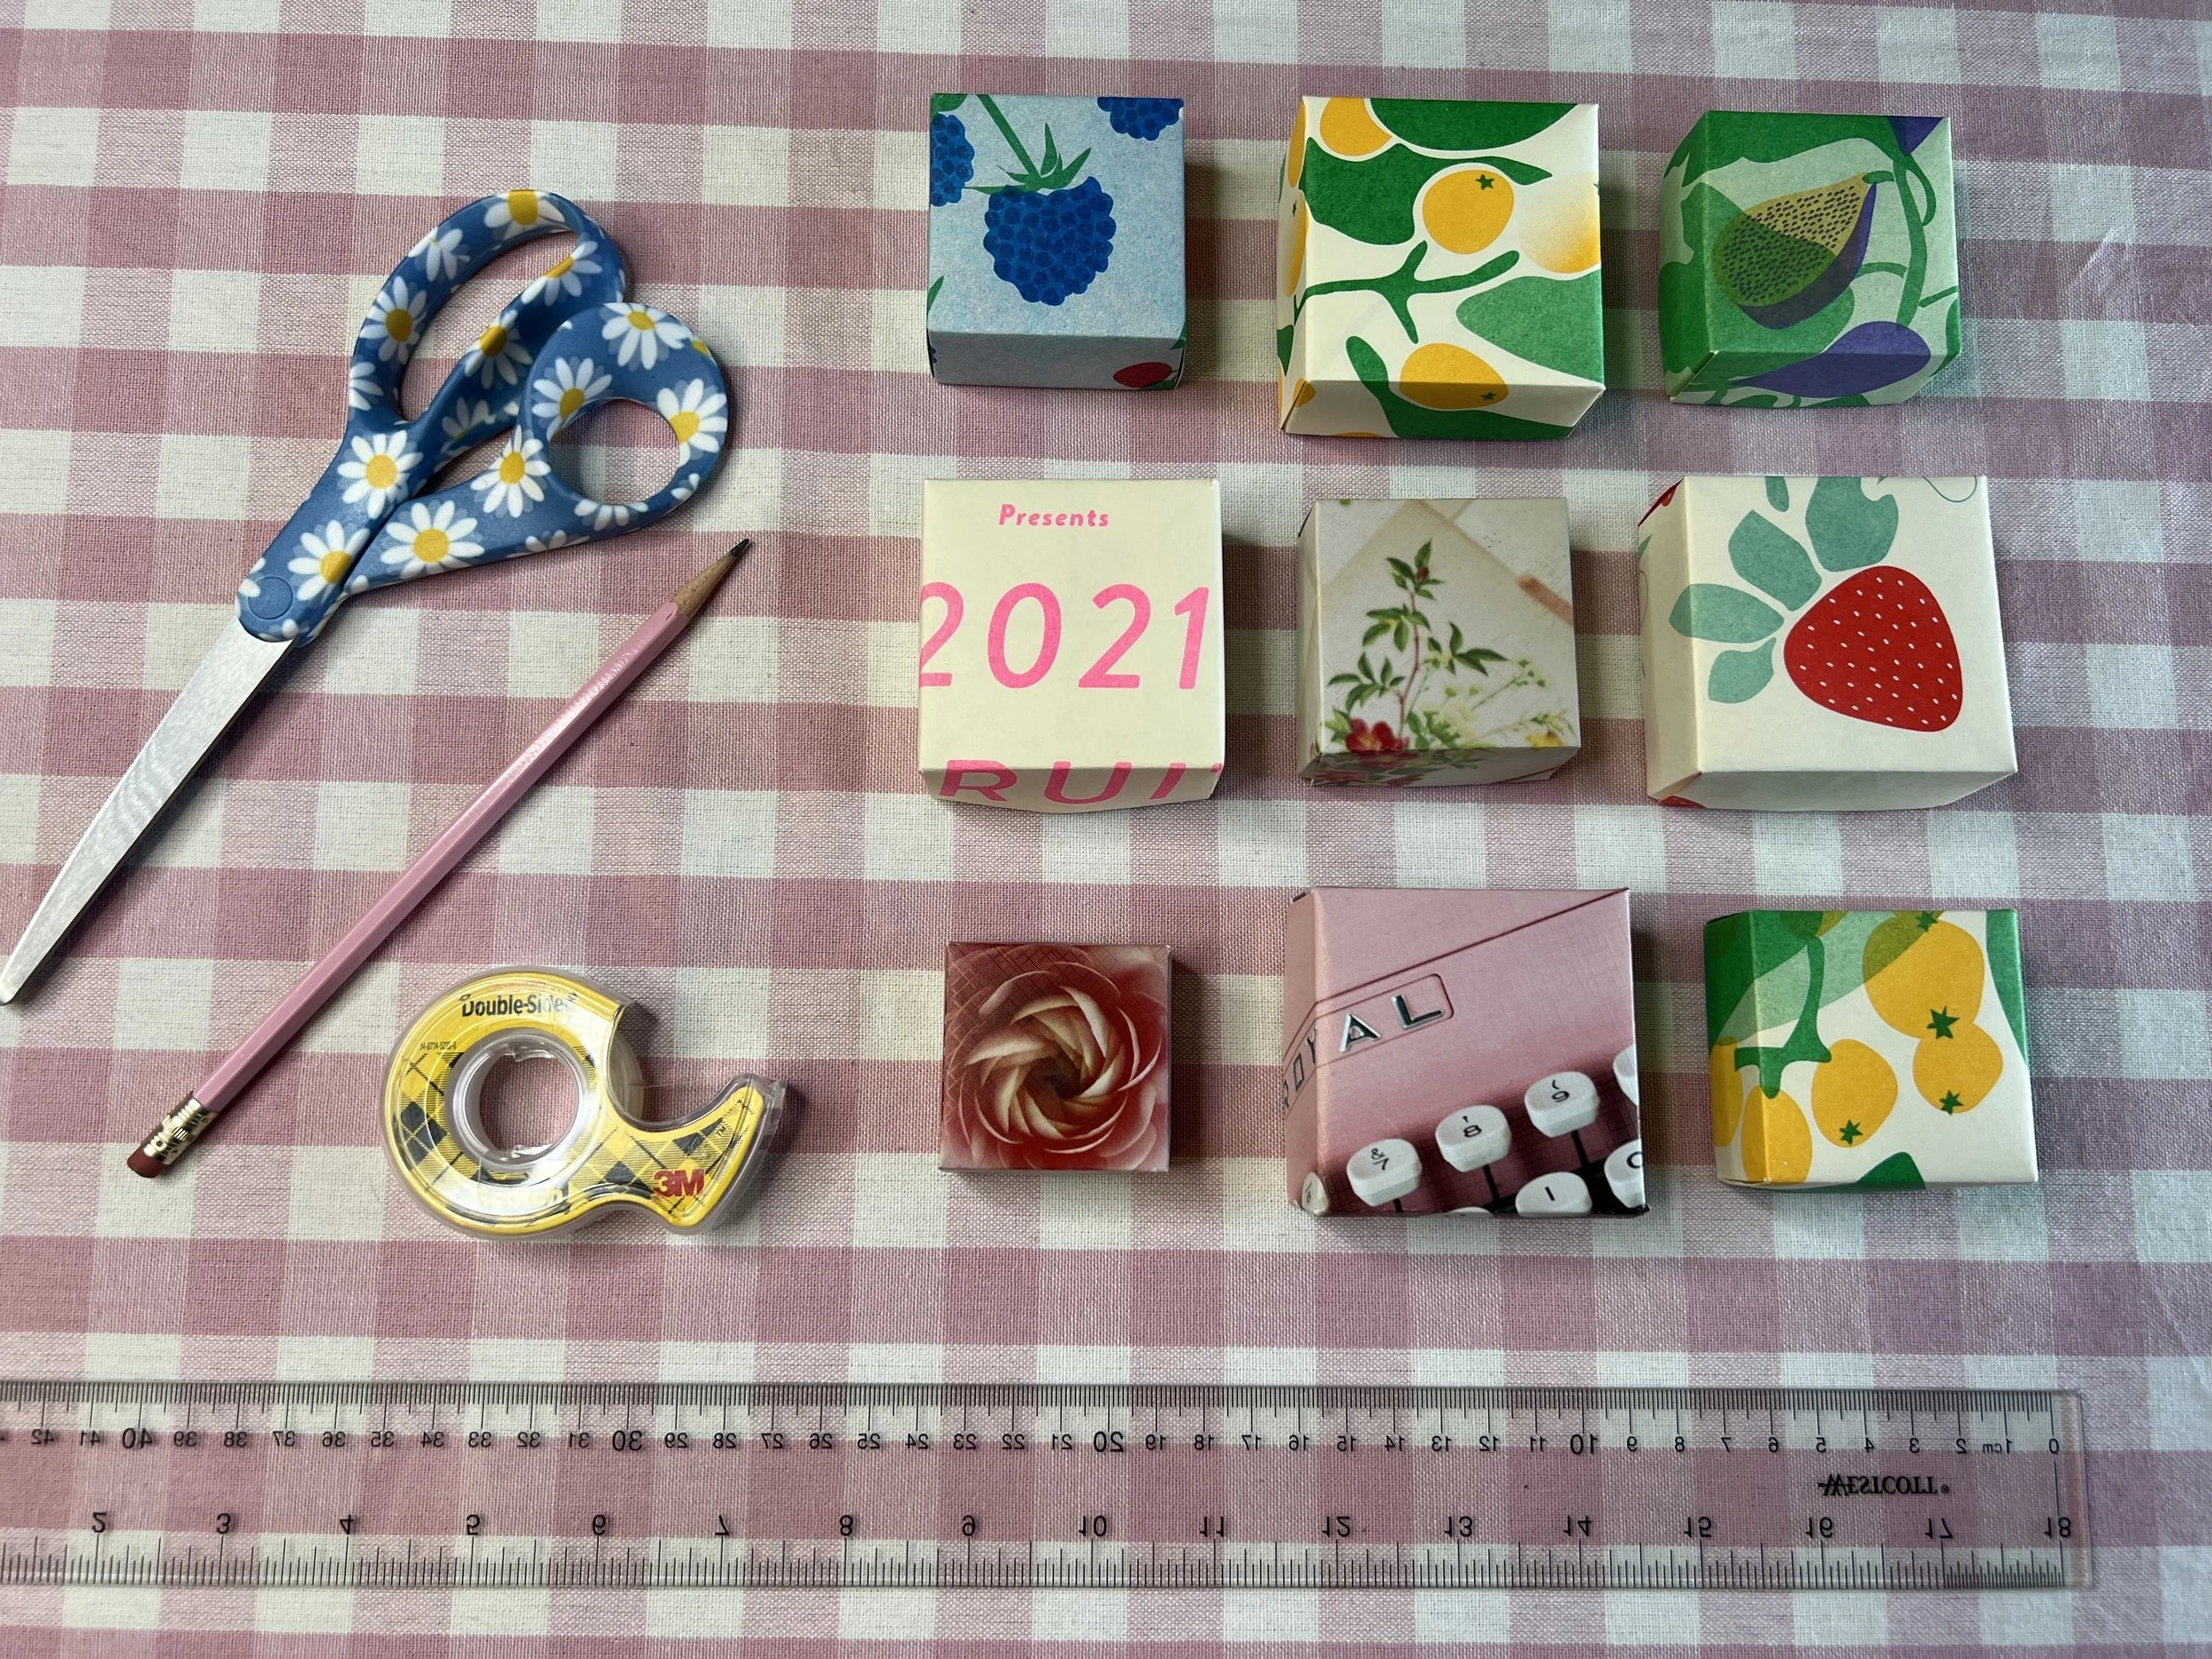
Handmade Paper Gift Box Tutorial
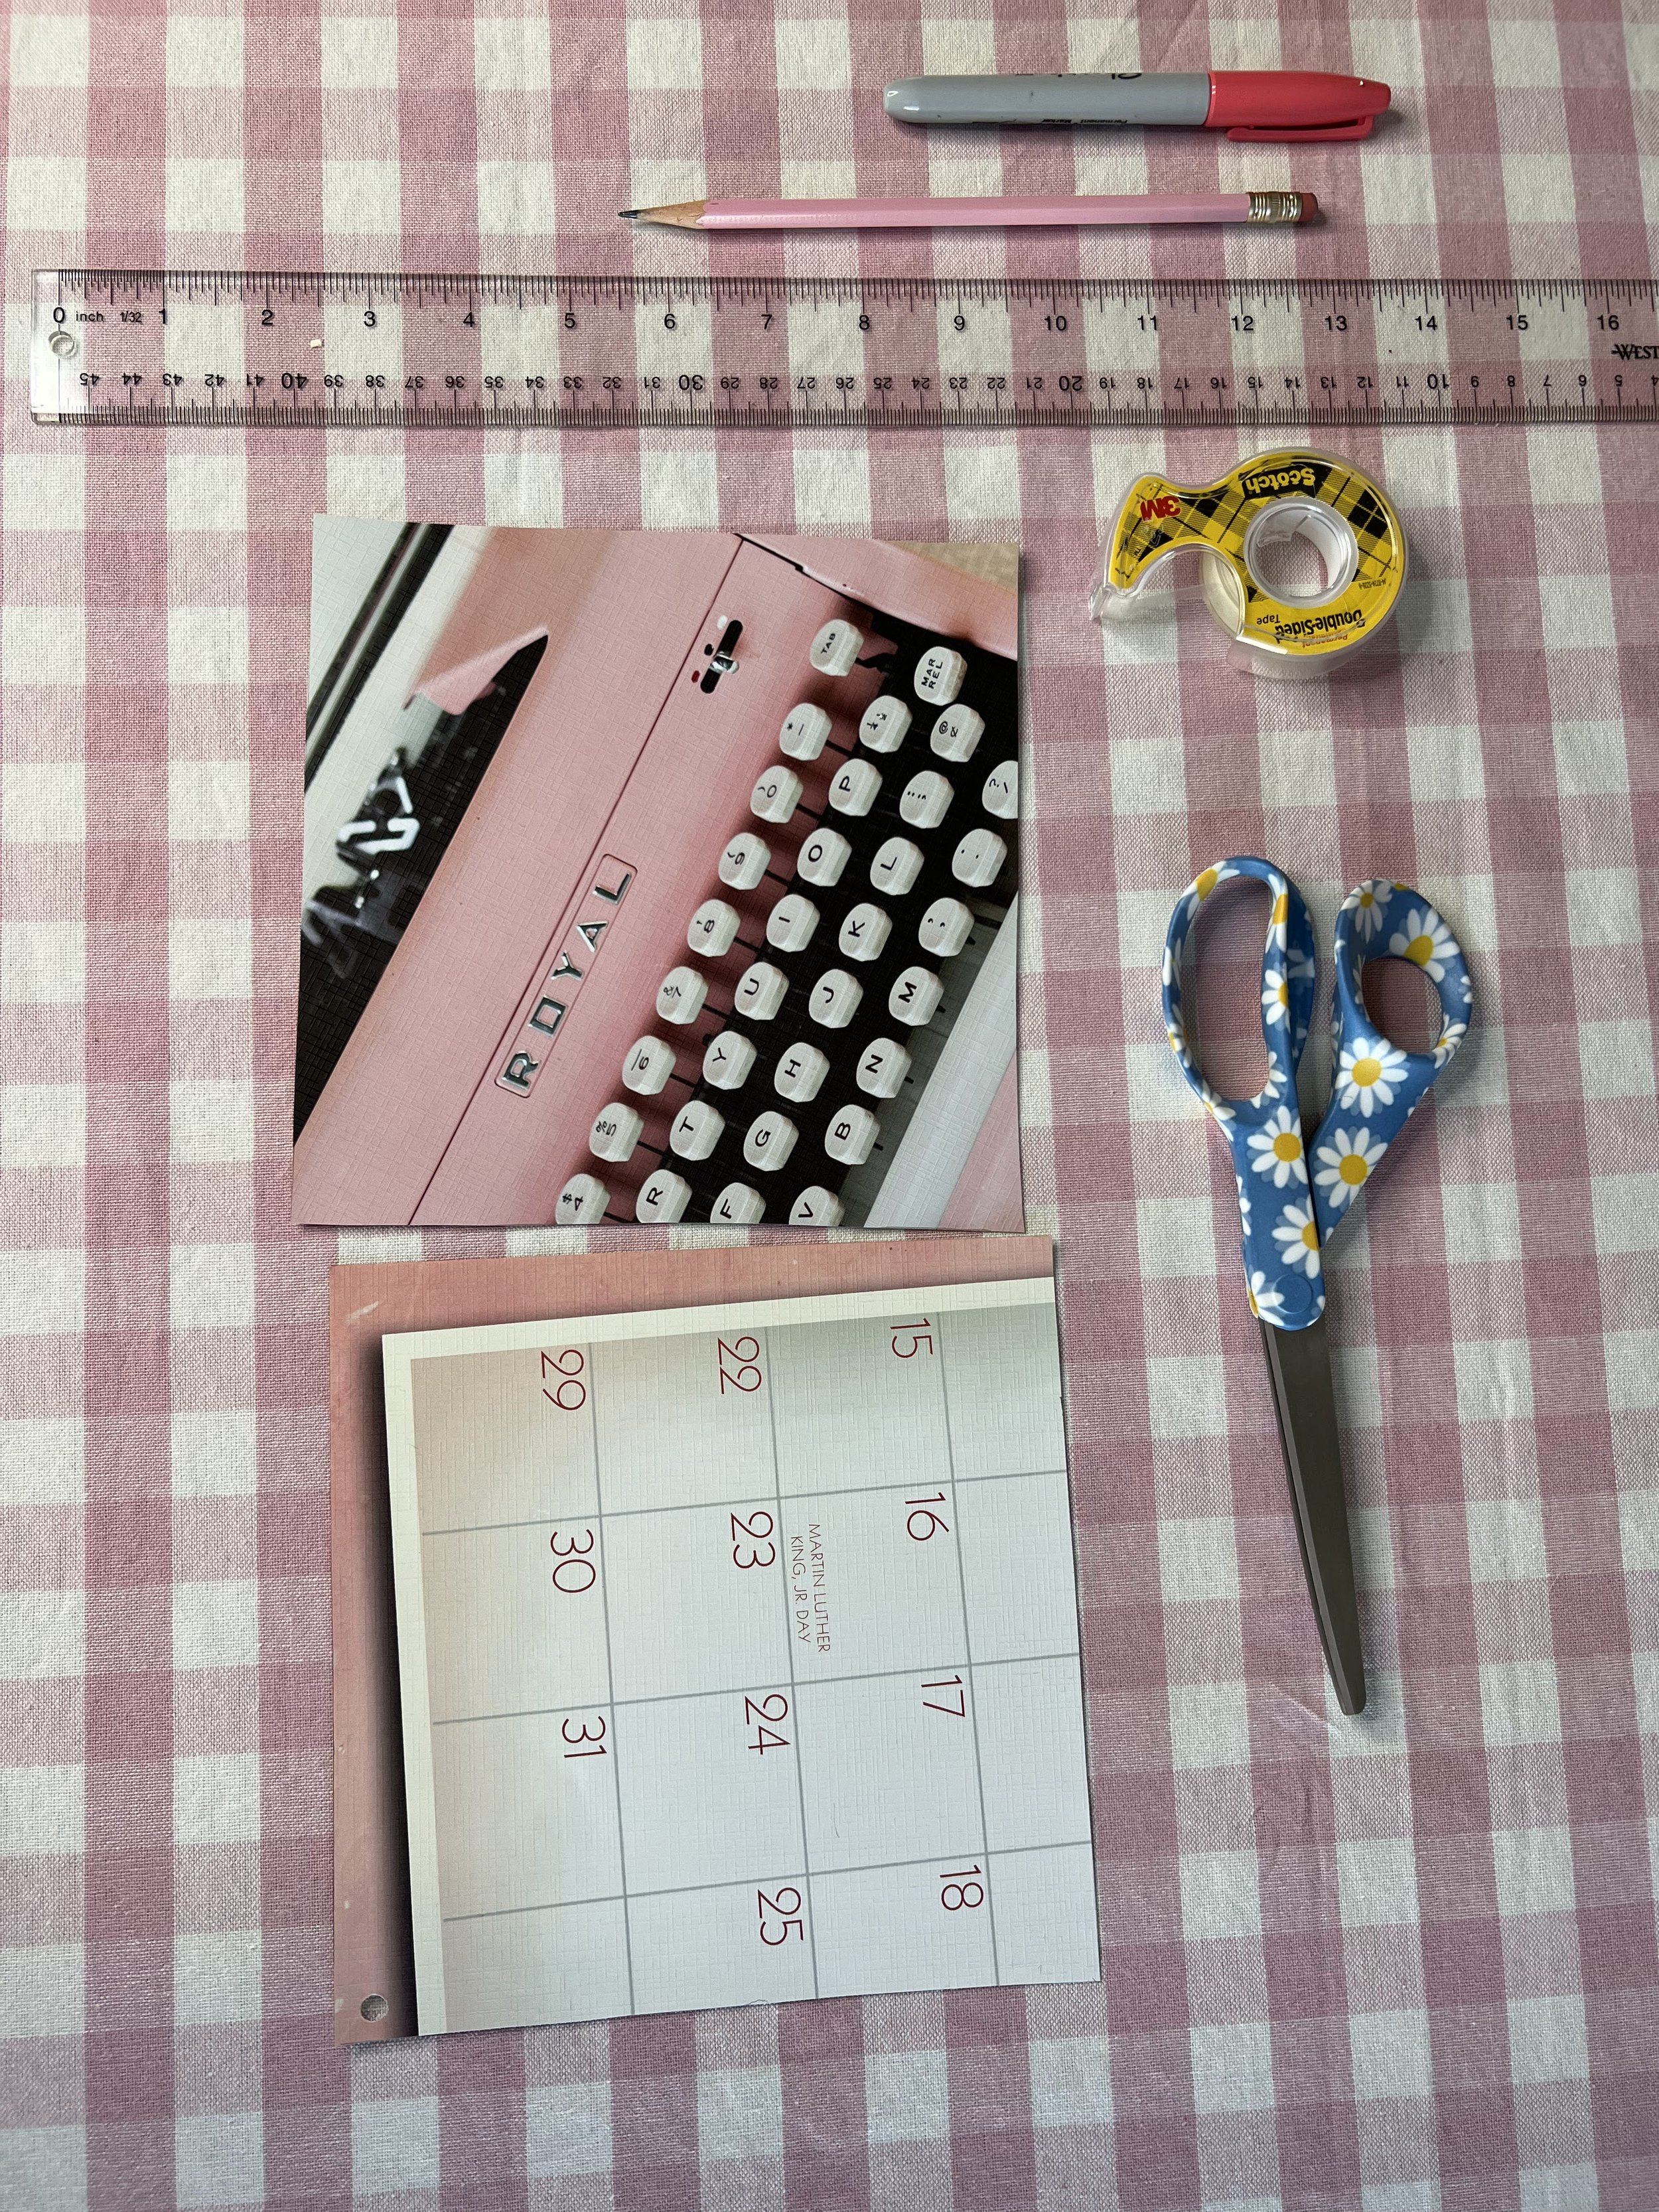
What you will need:
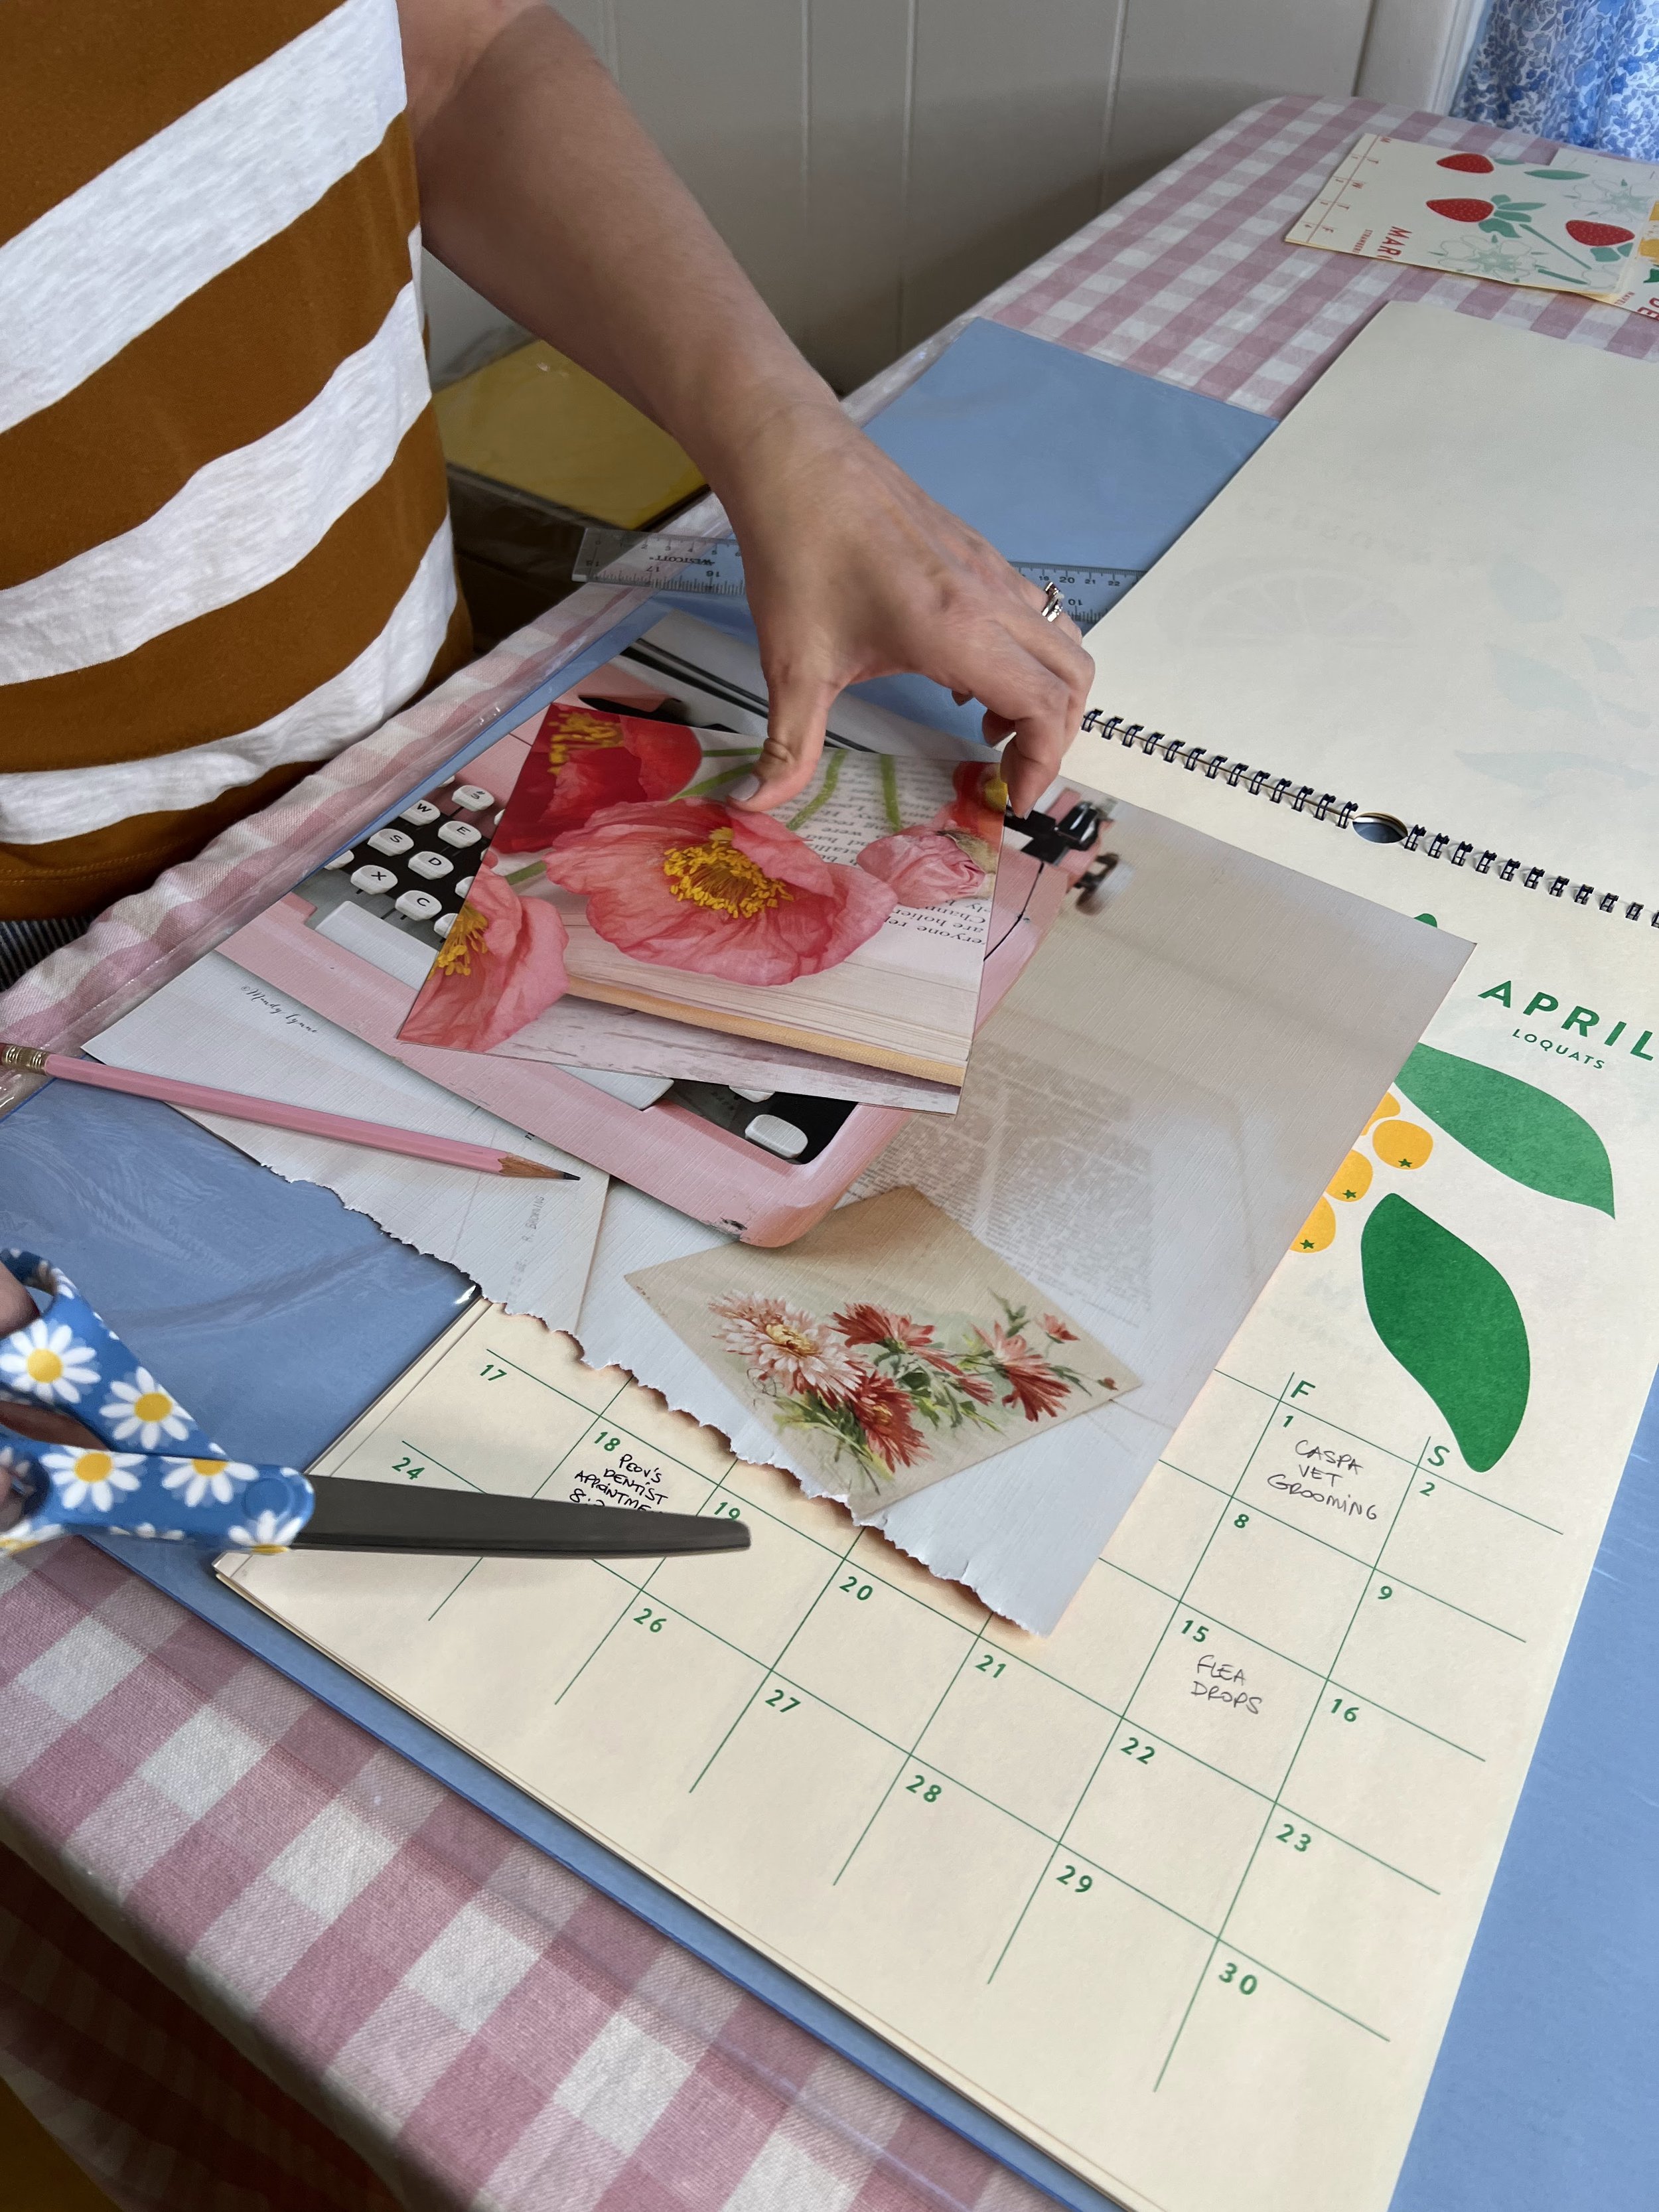
Old greeting cards, calendars, or vintage papers, scissors, pencil, ruler, double-sided tape
Choose your favorite old calendar, greeting card or paper
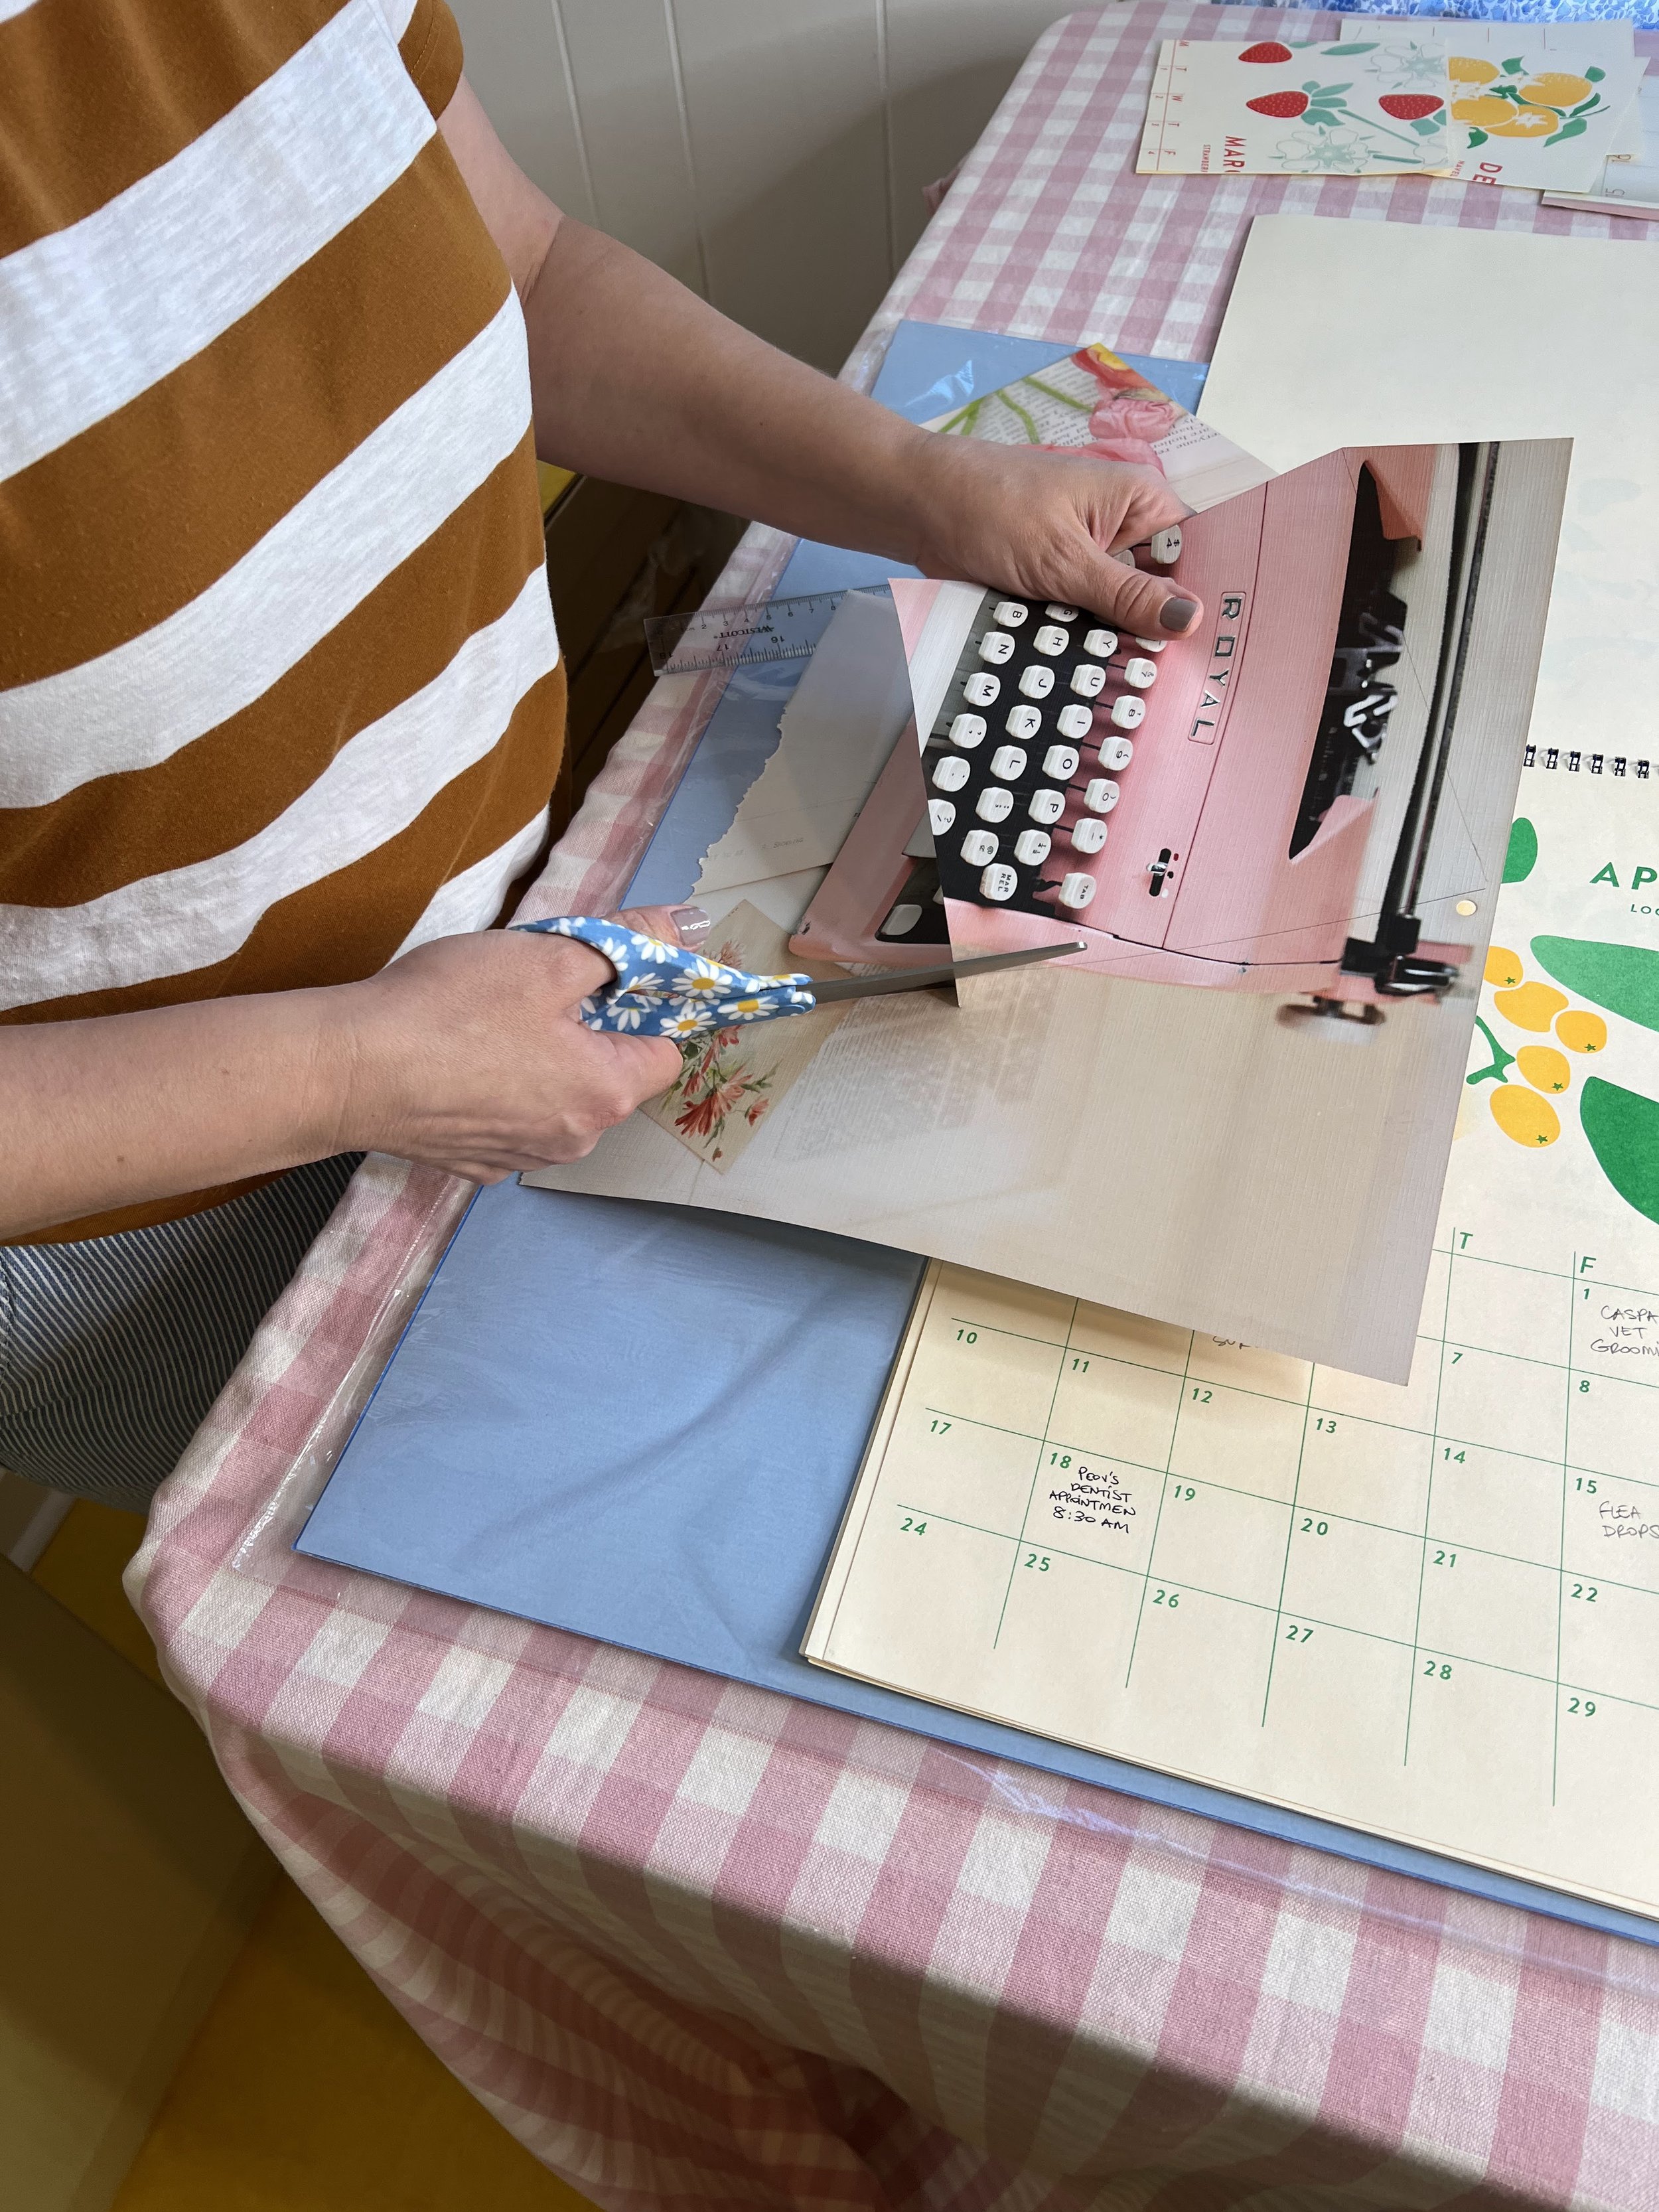
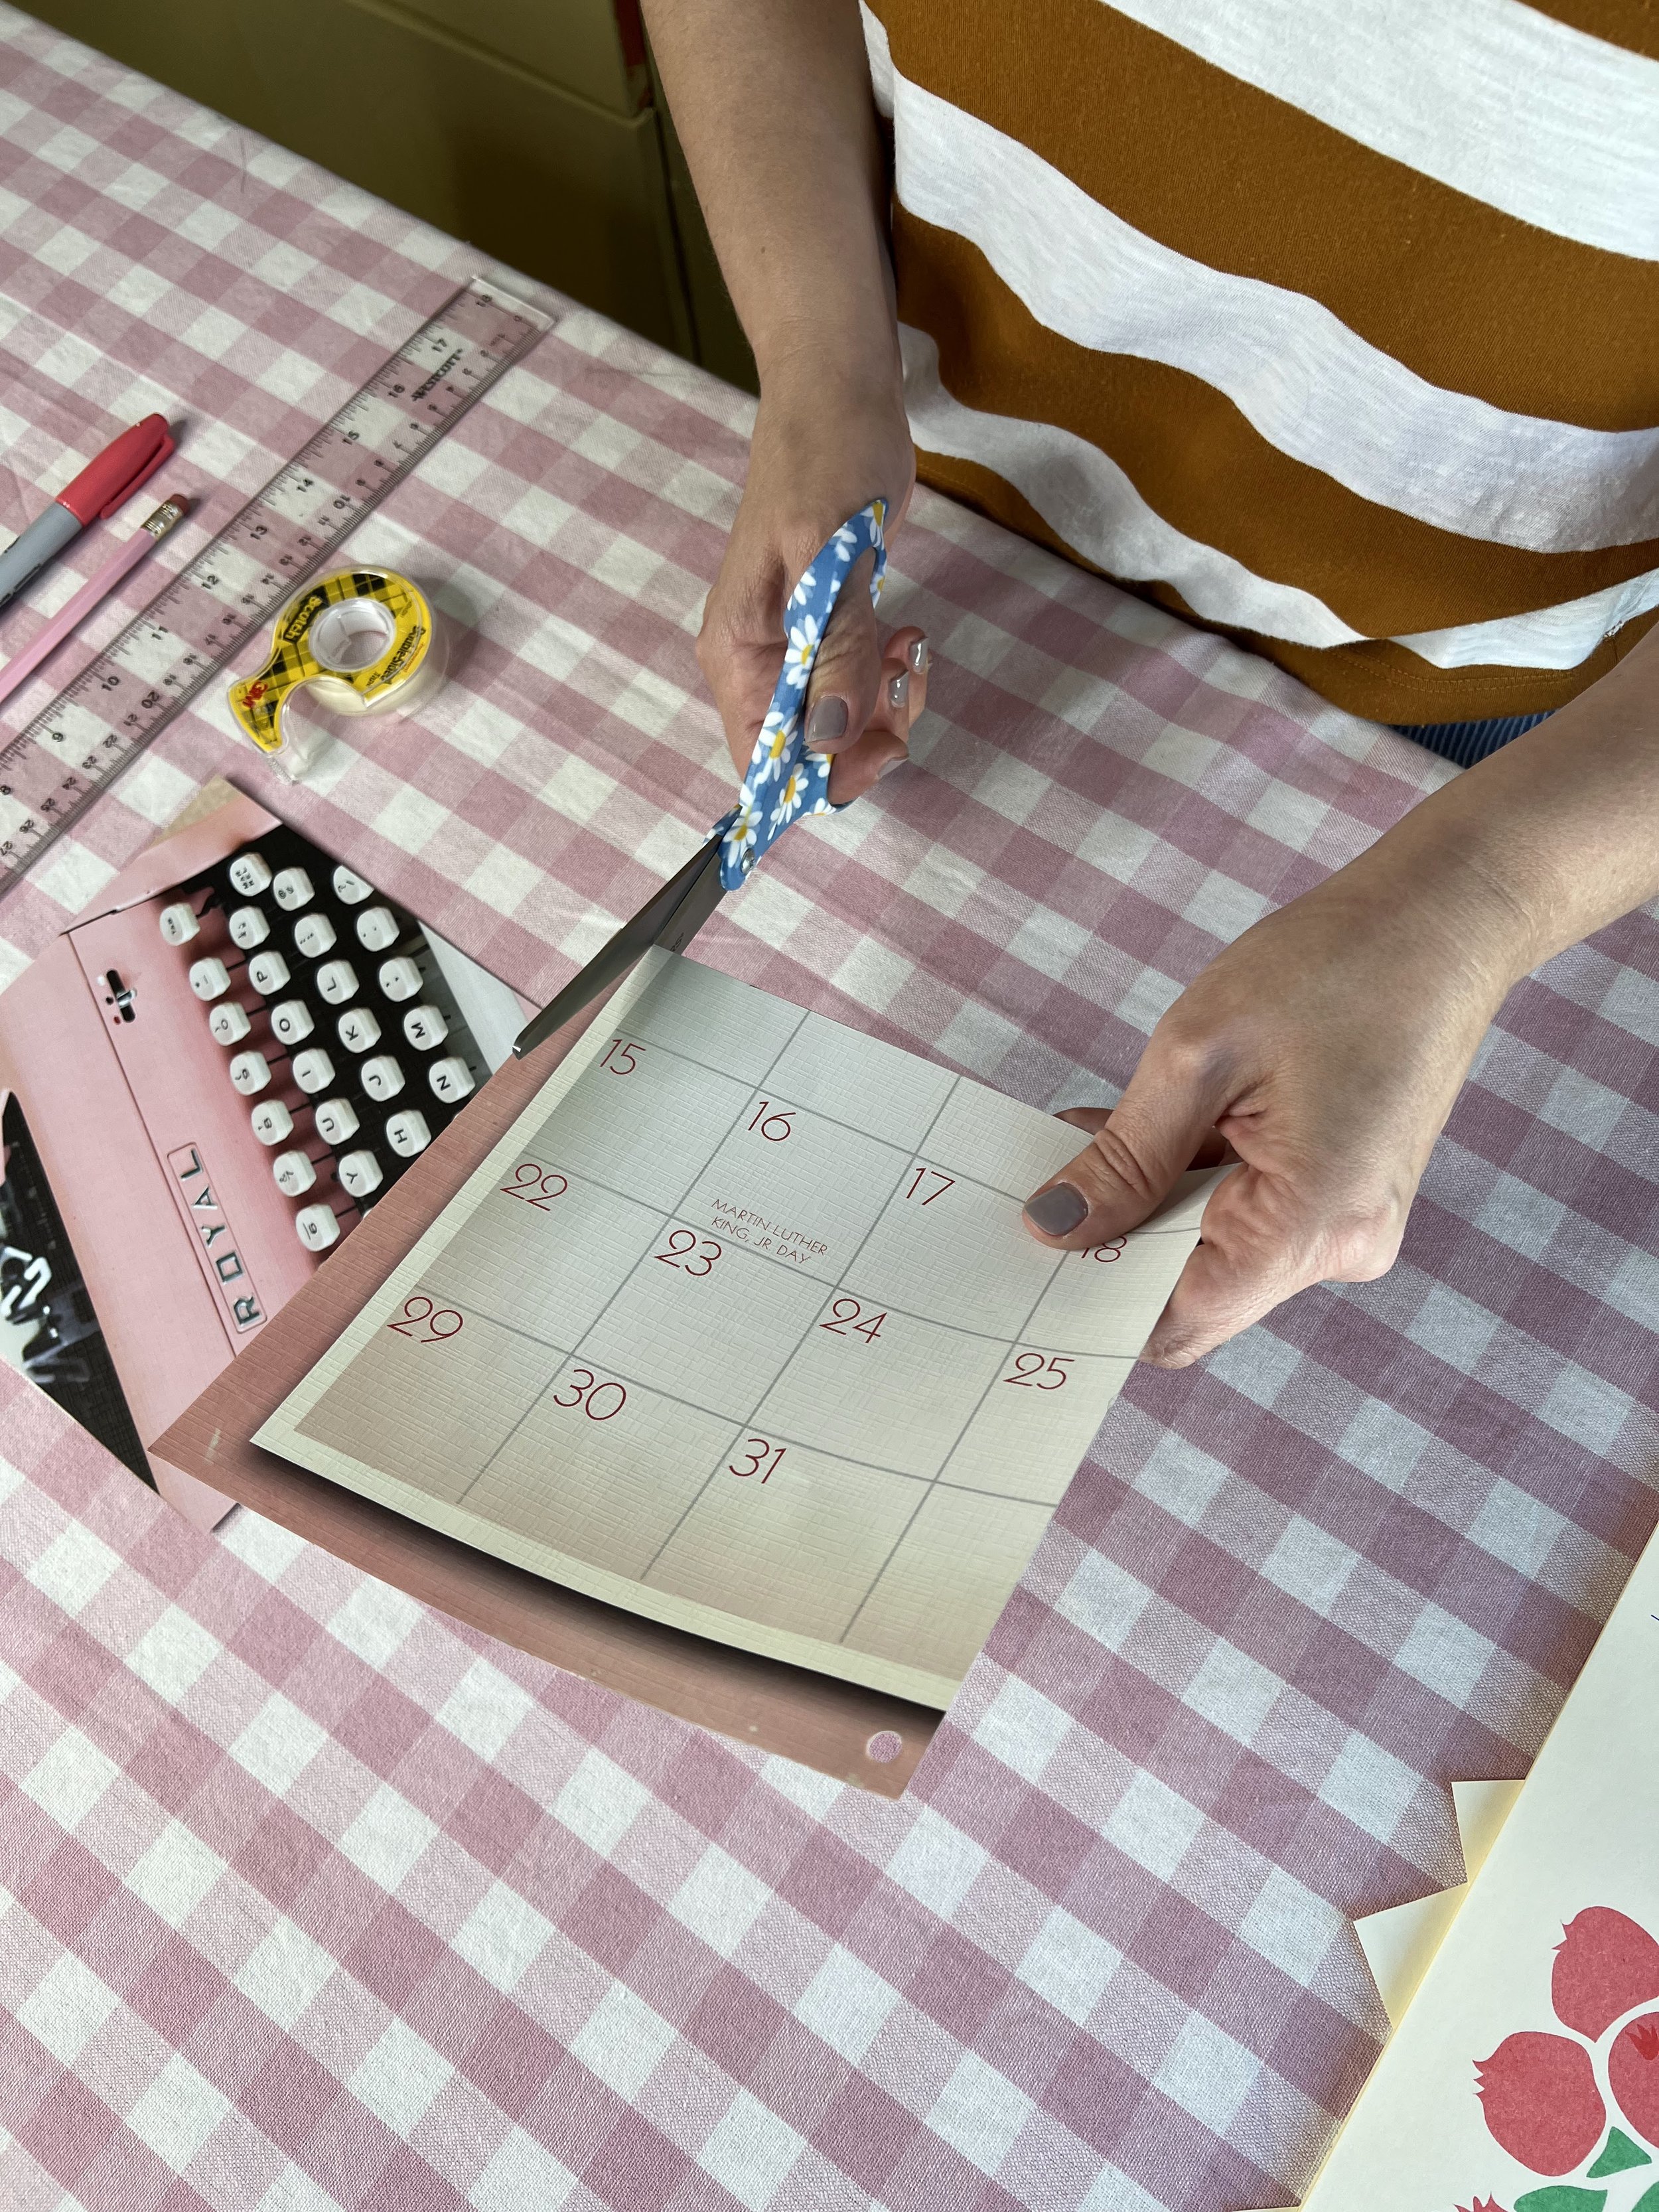
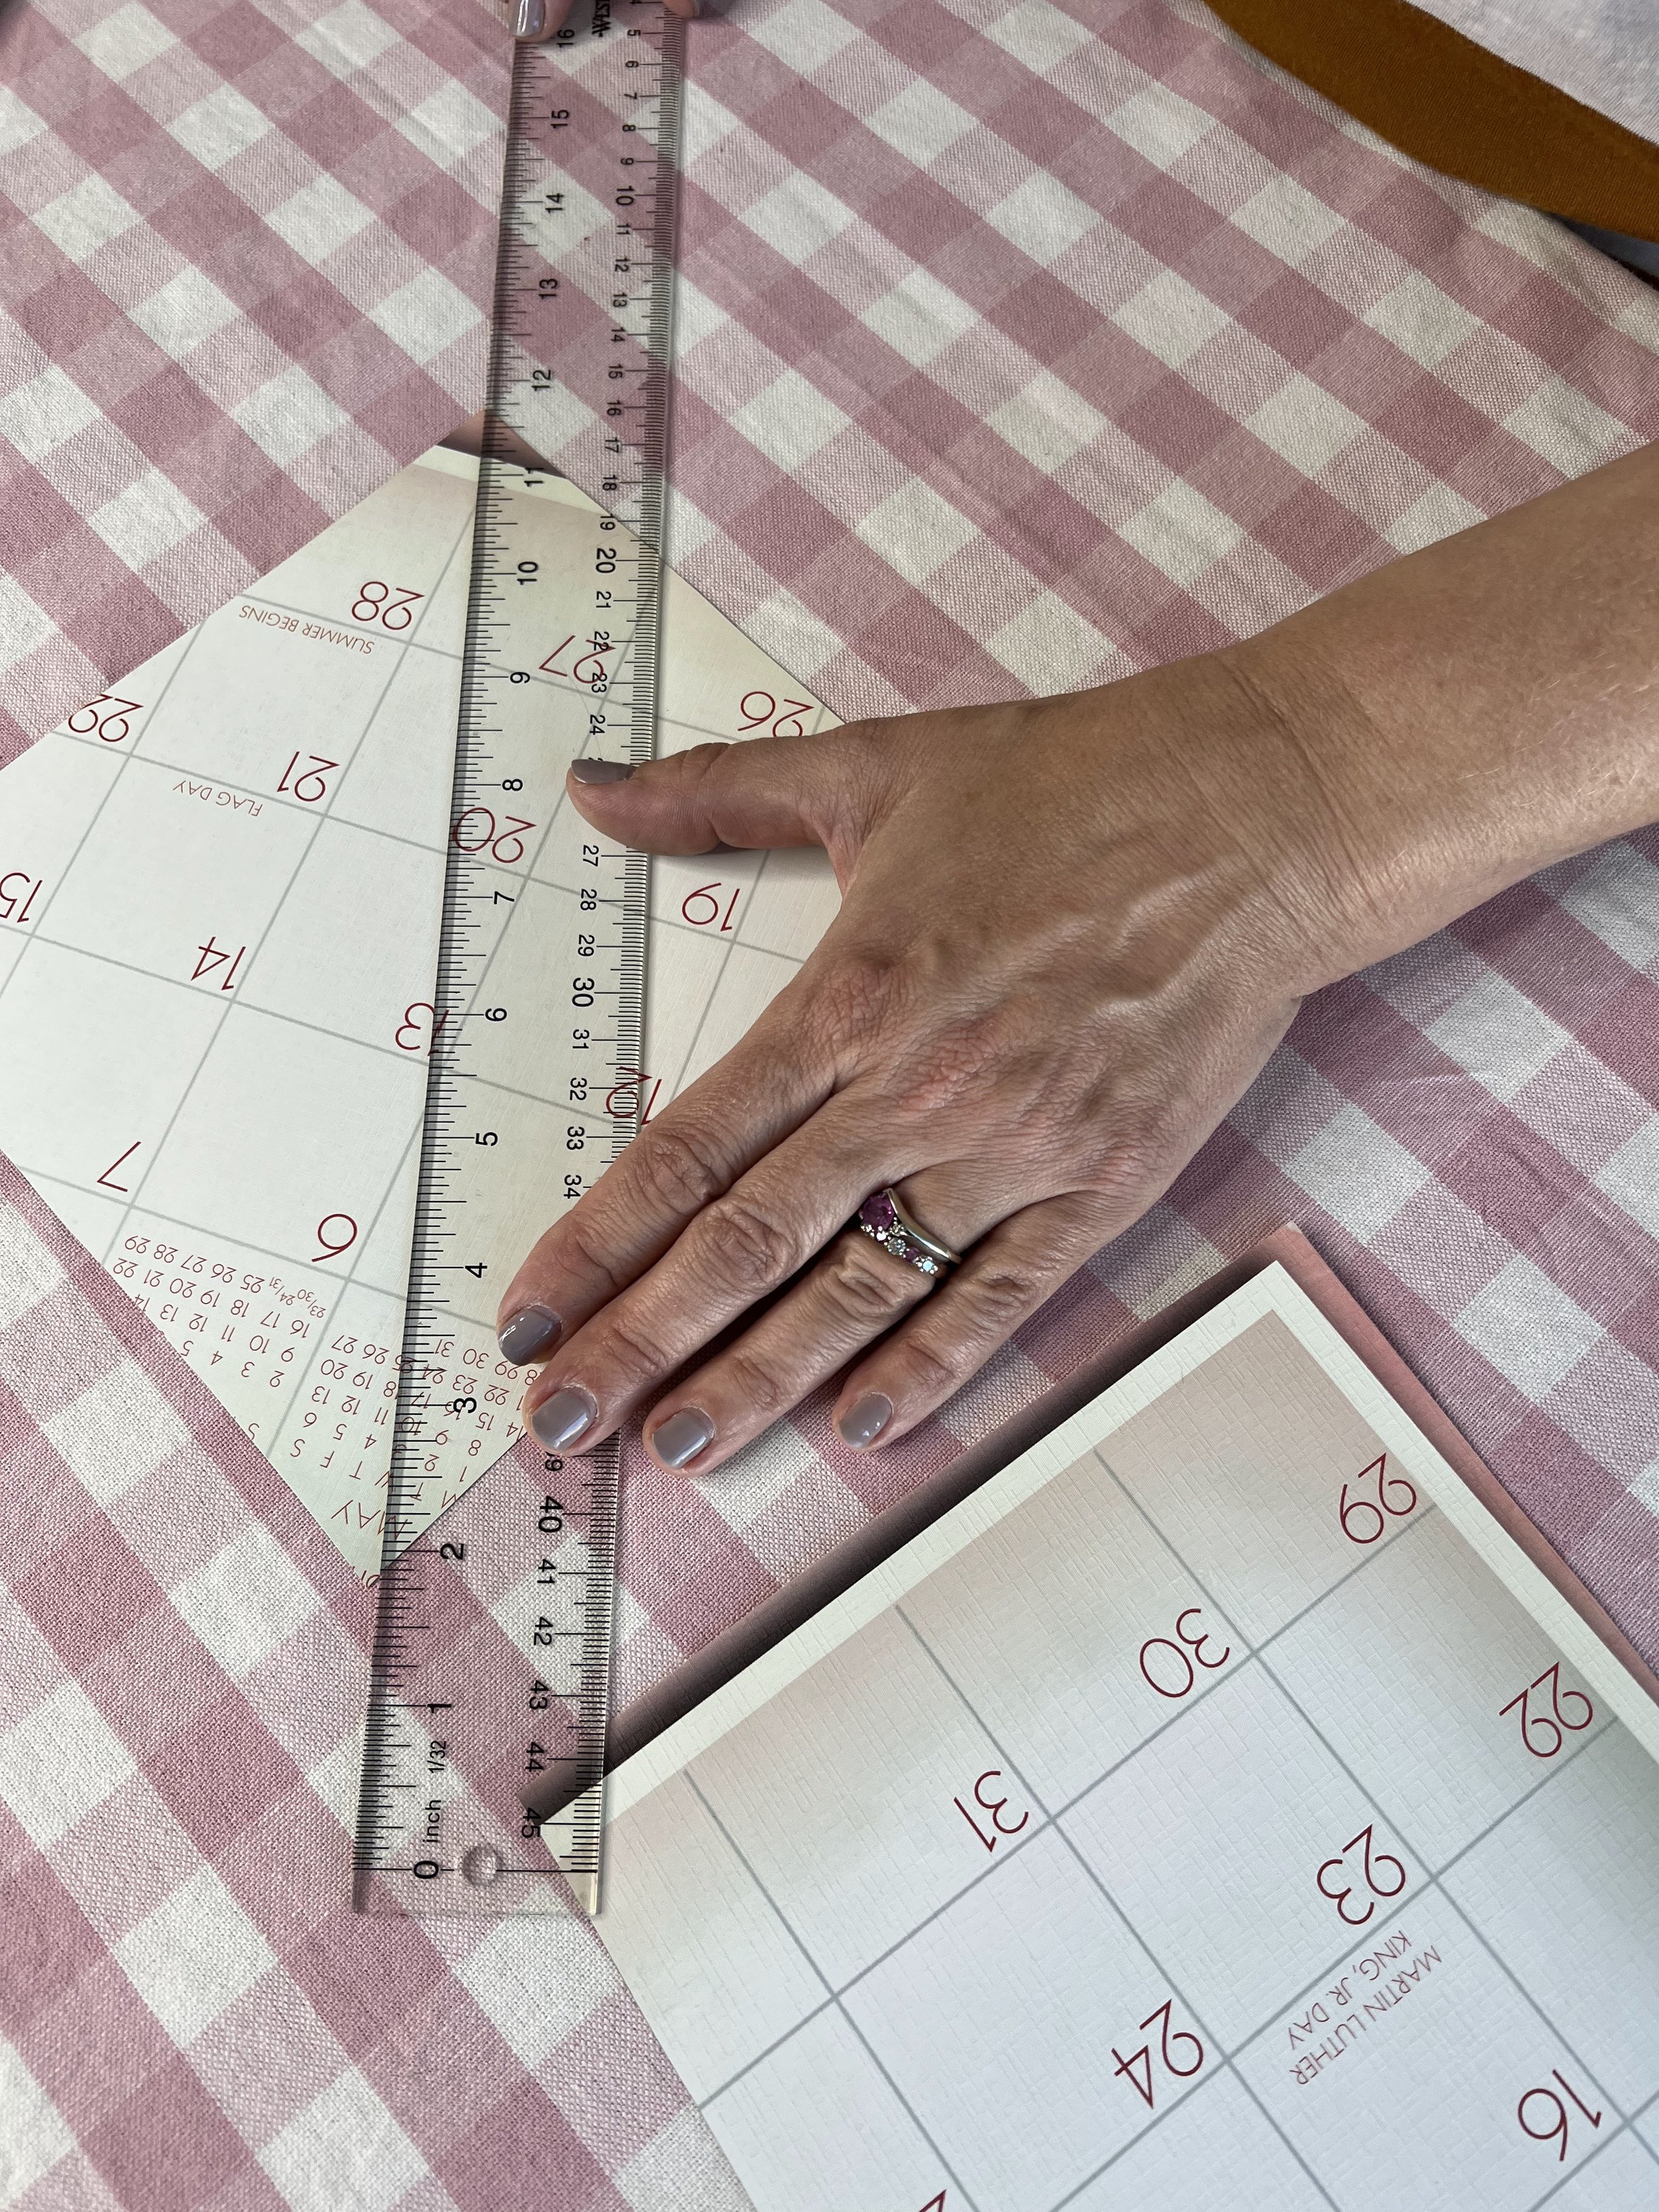
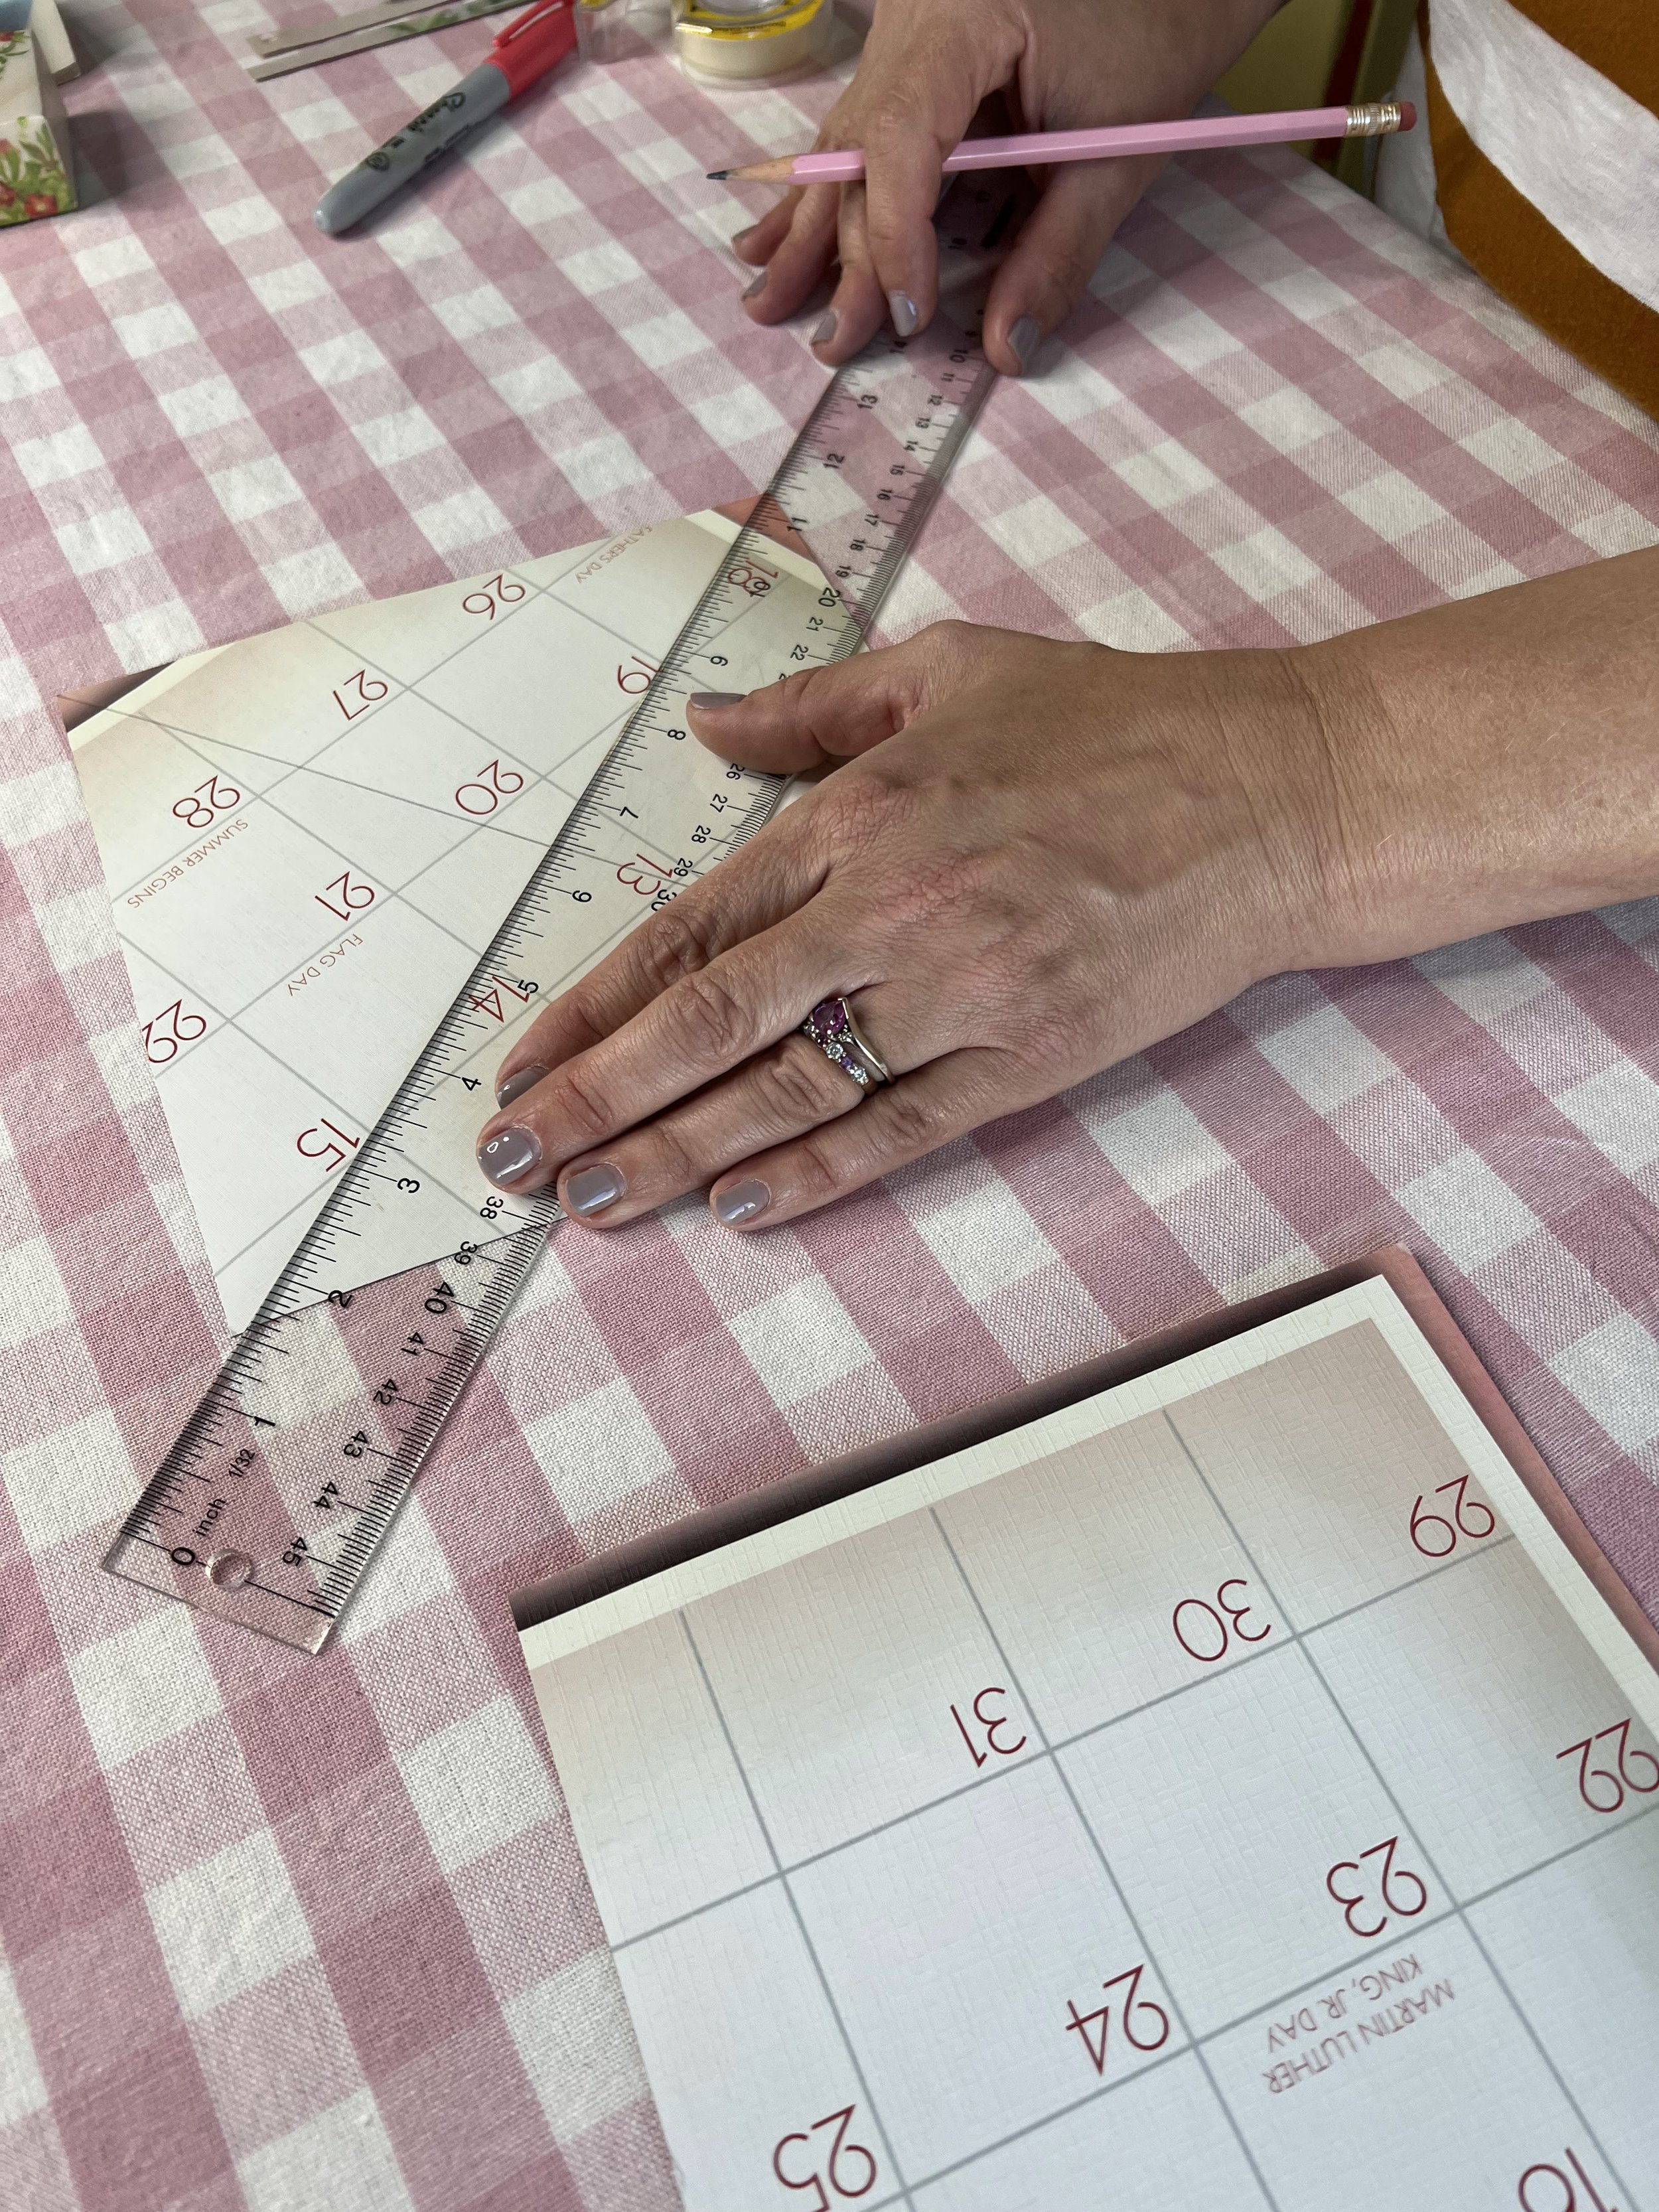
Start with two squares (I like 5-6”) but it can be any size, feel free to experiment and adjust to what you are working with. Cut ¼” off two adjacent sides of one square, this will be the bottom of the box.
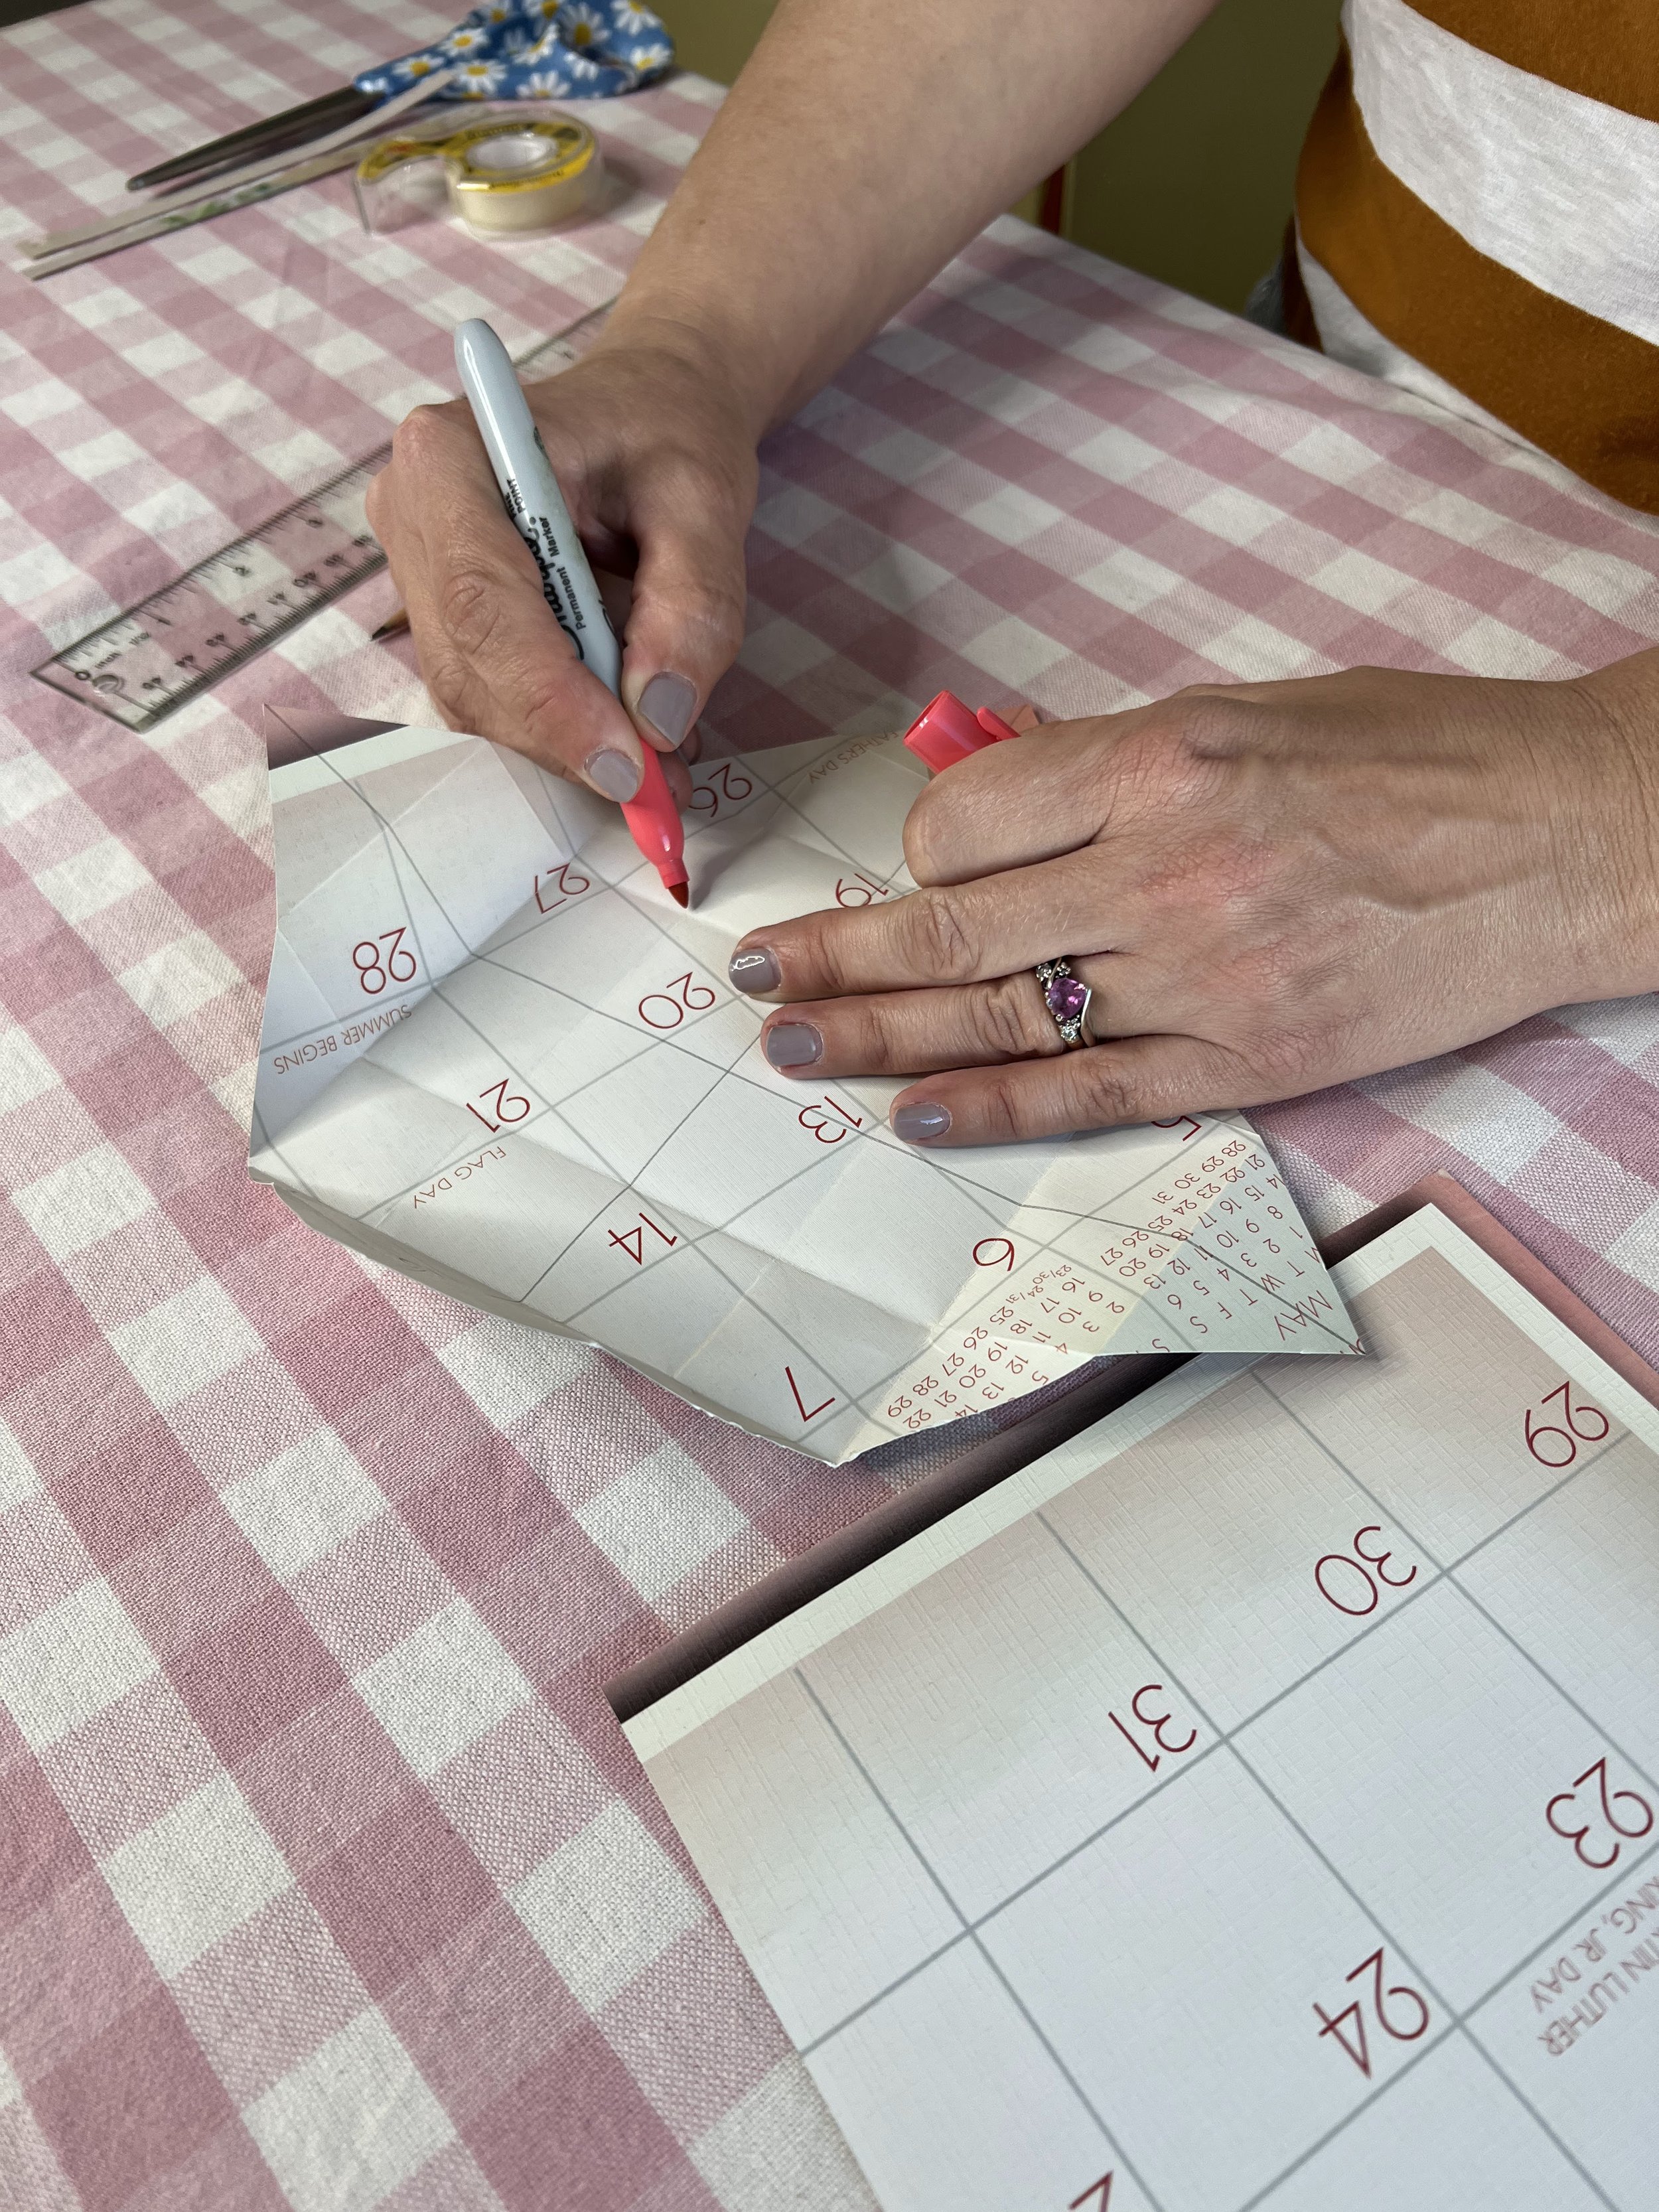
On the underside, draw an “x” from corner to corner
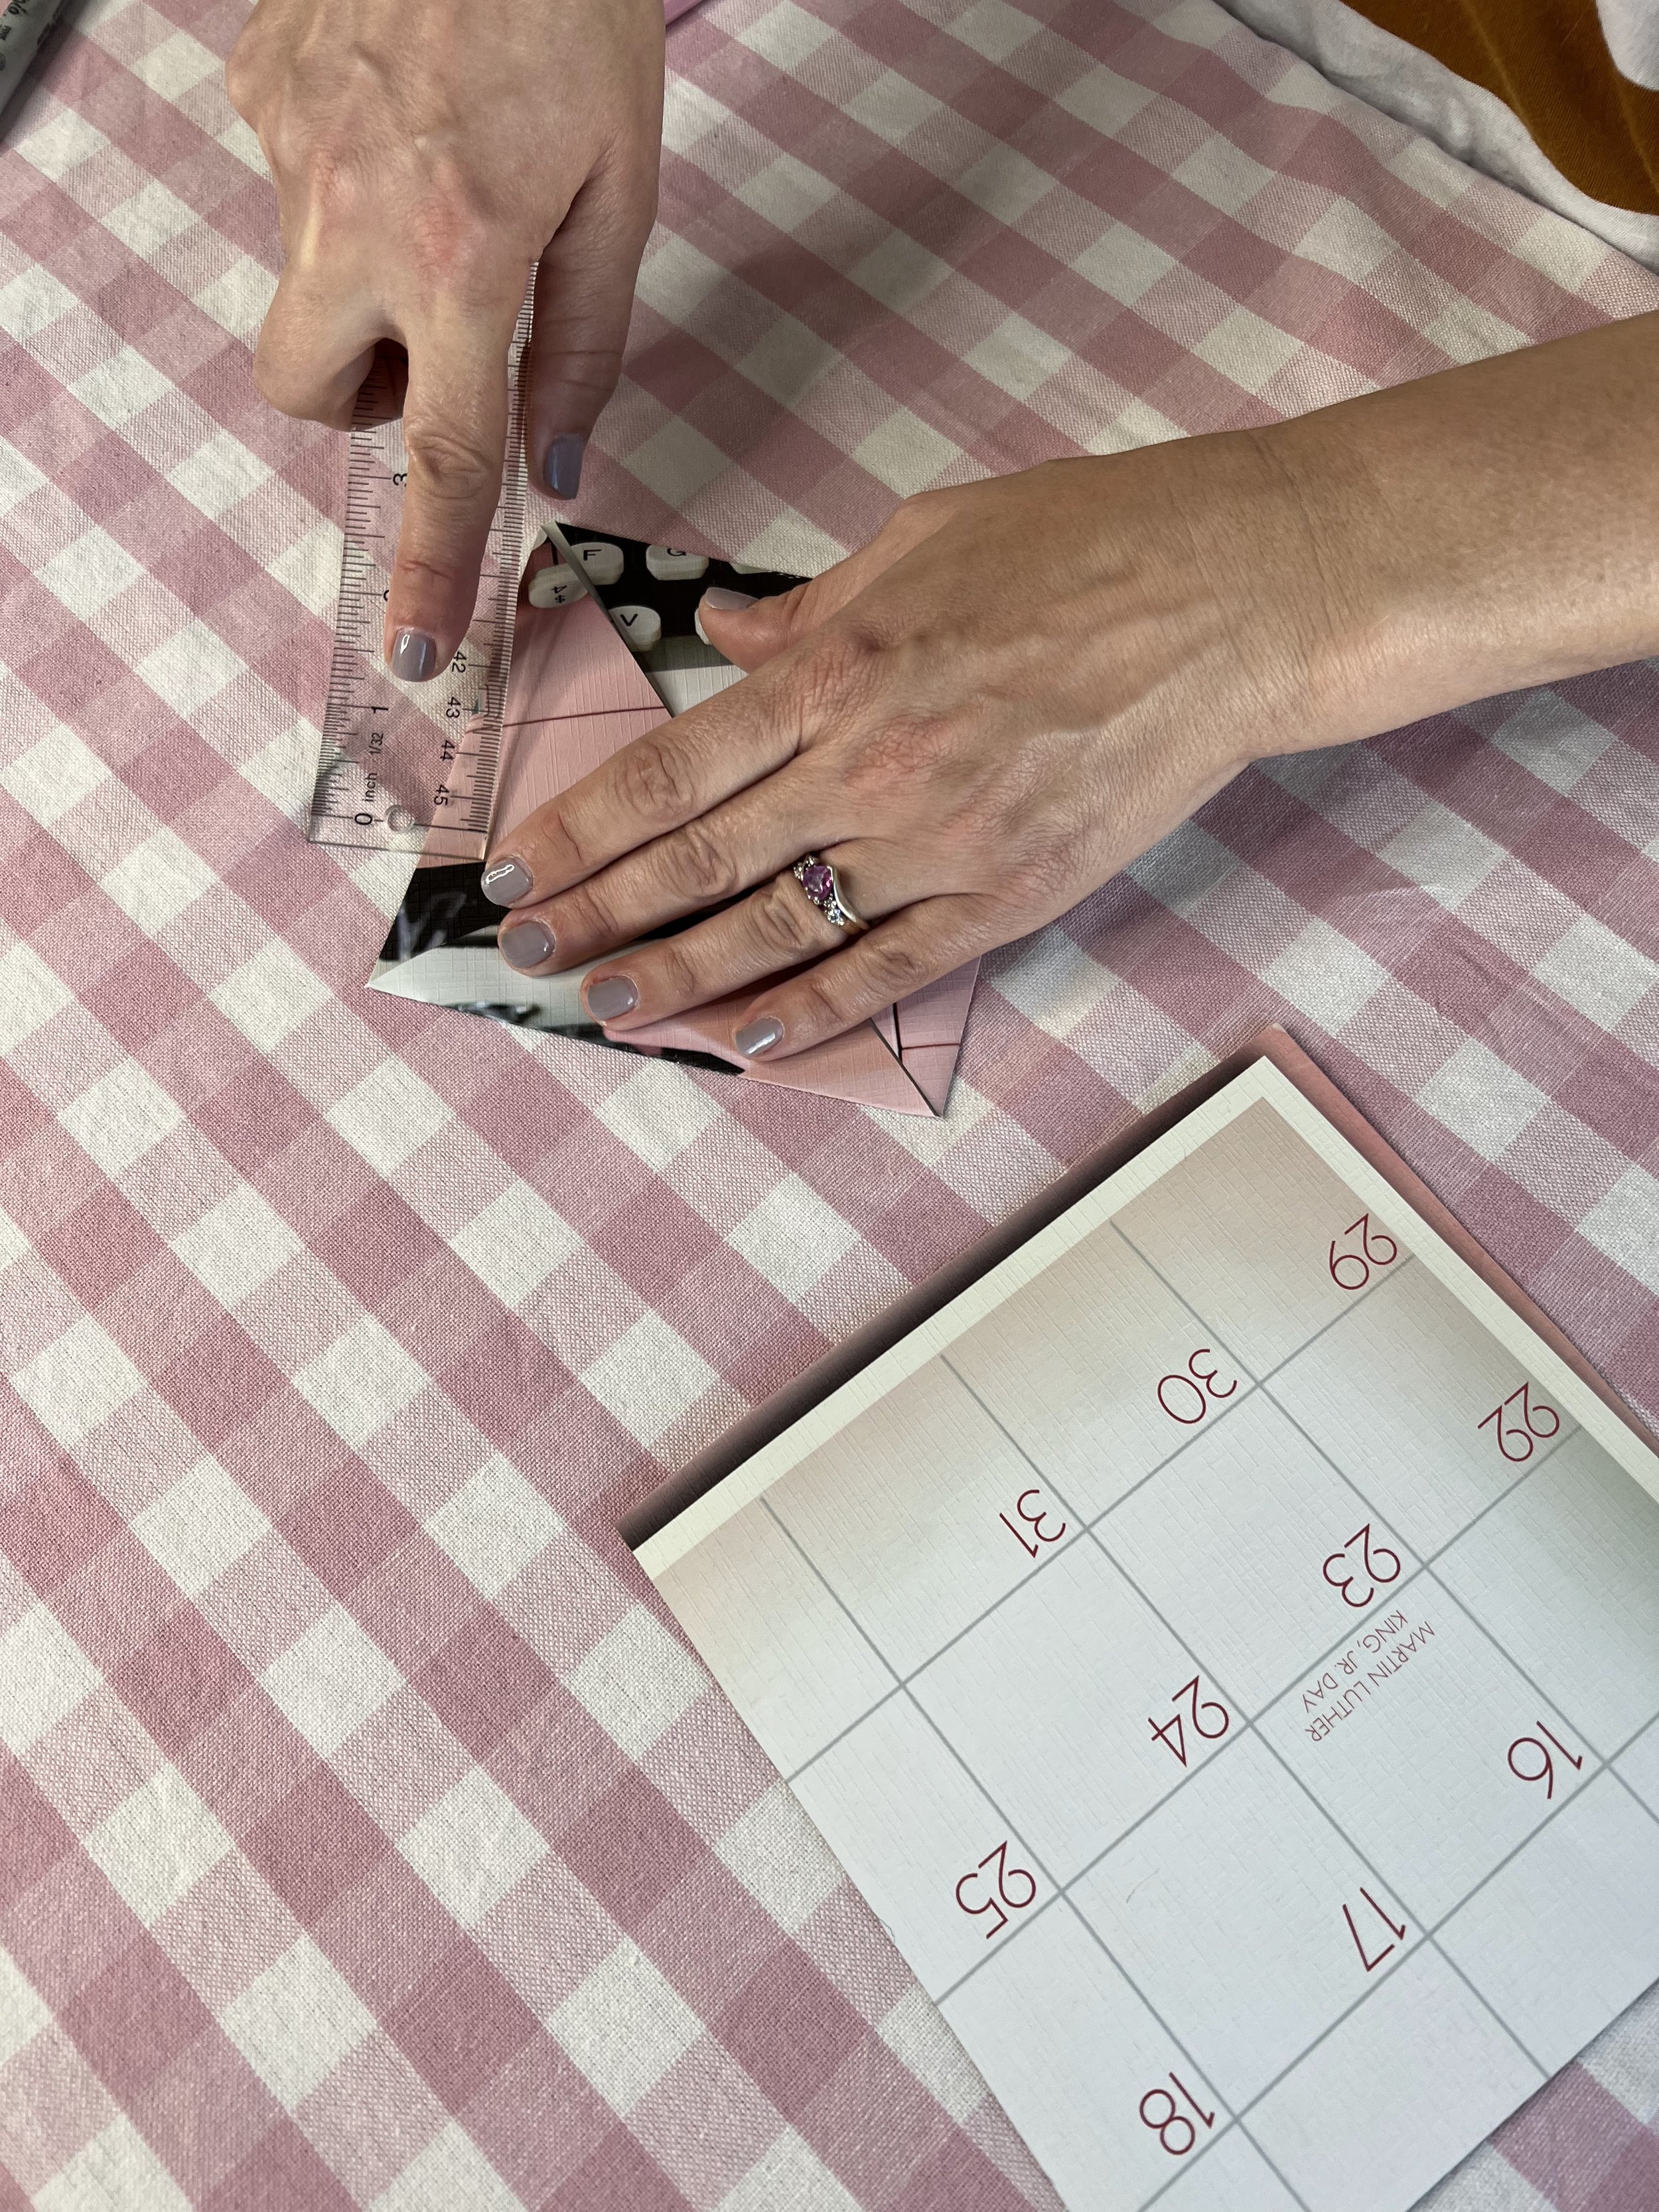
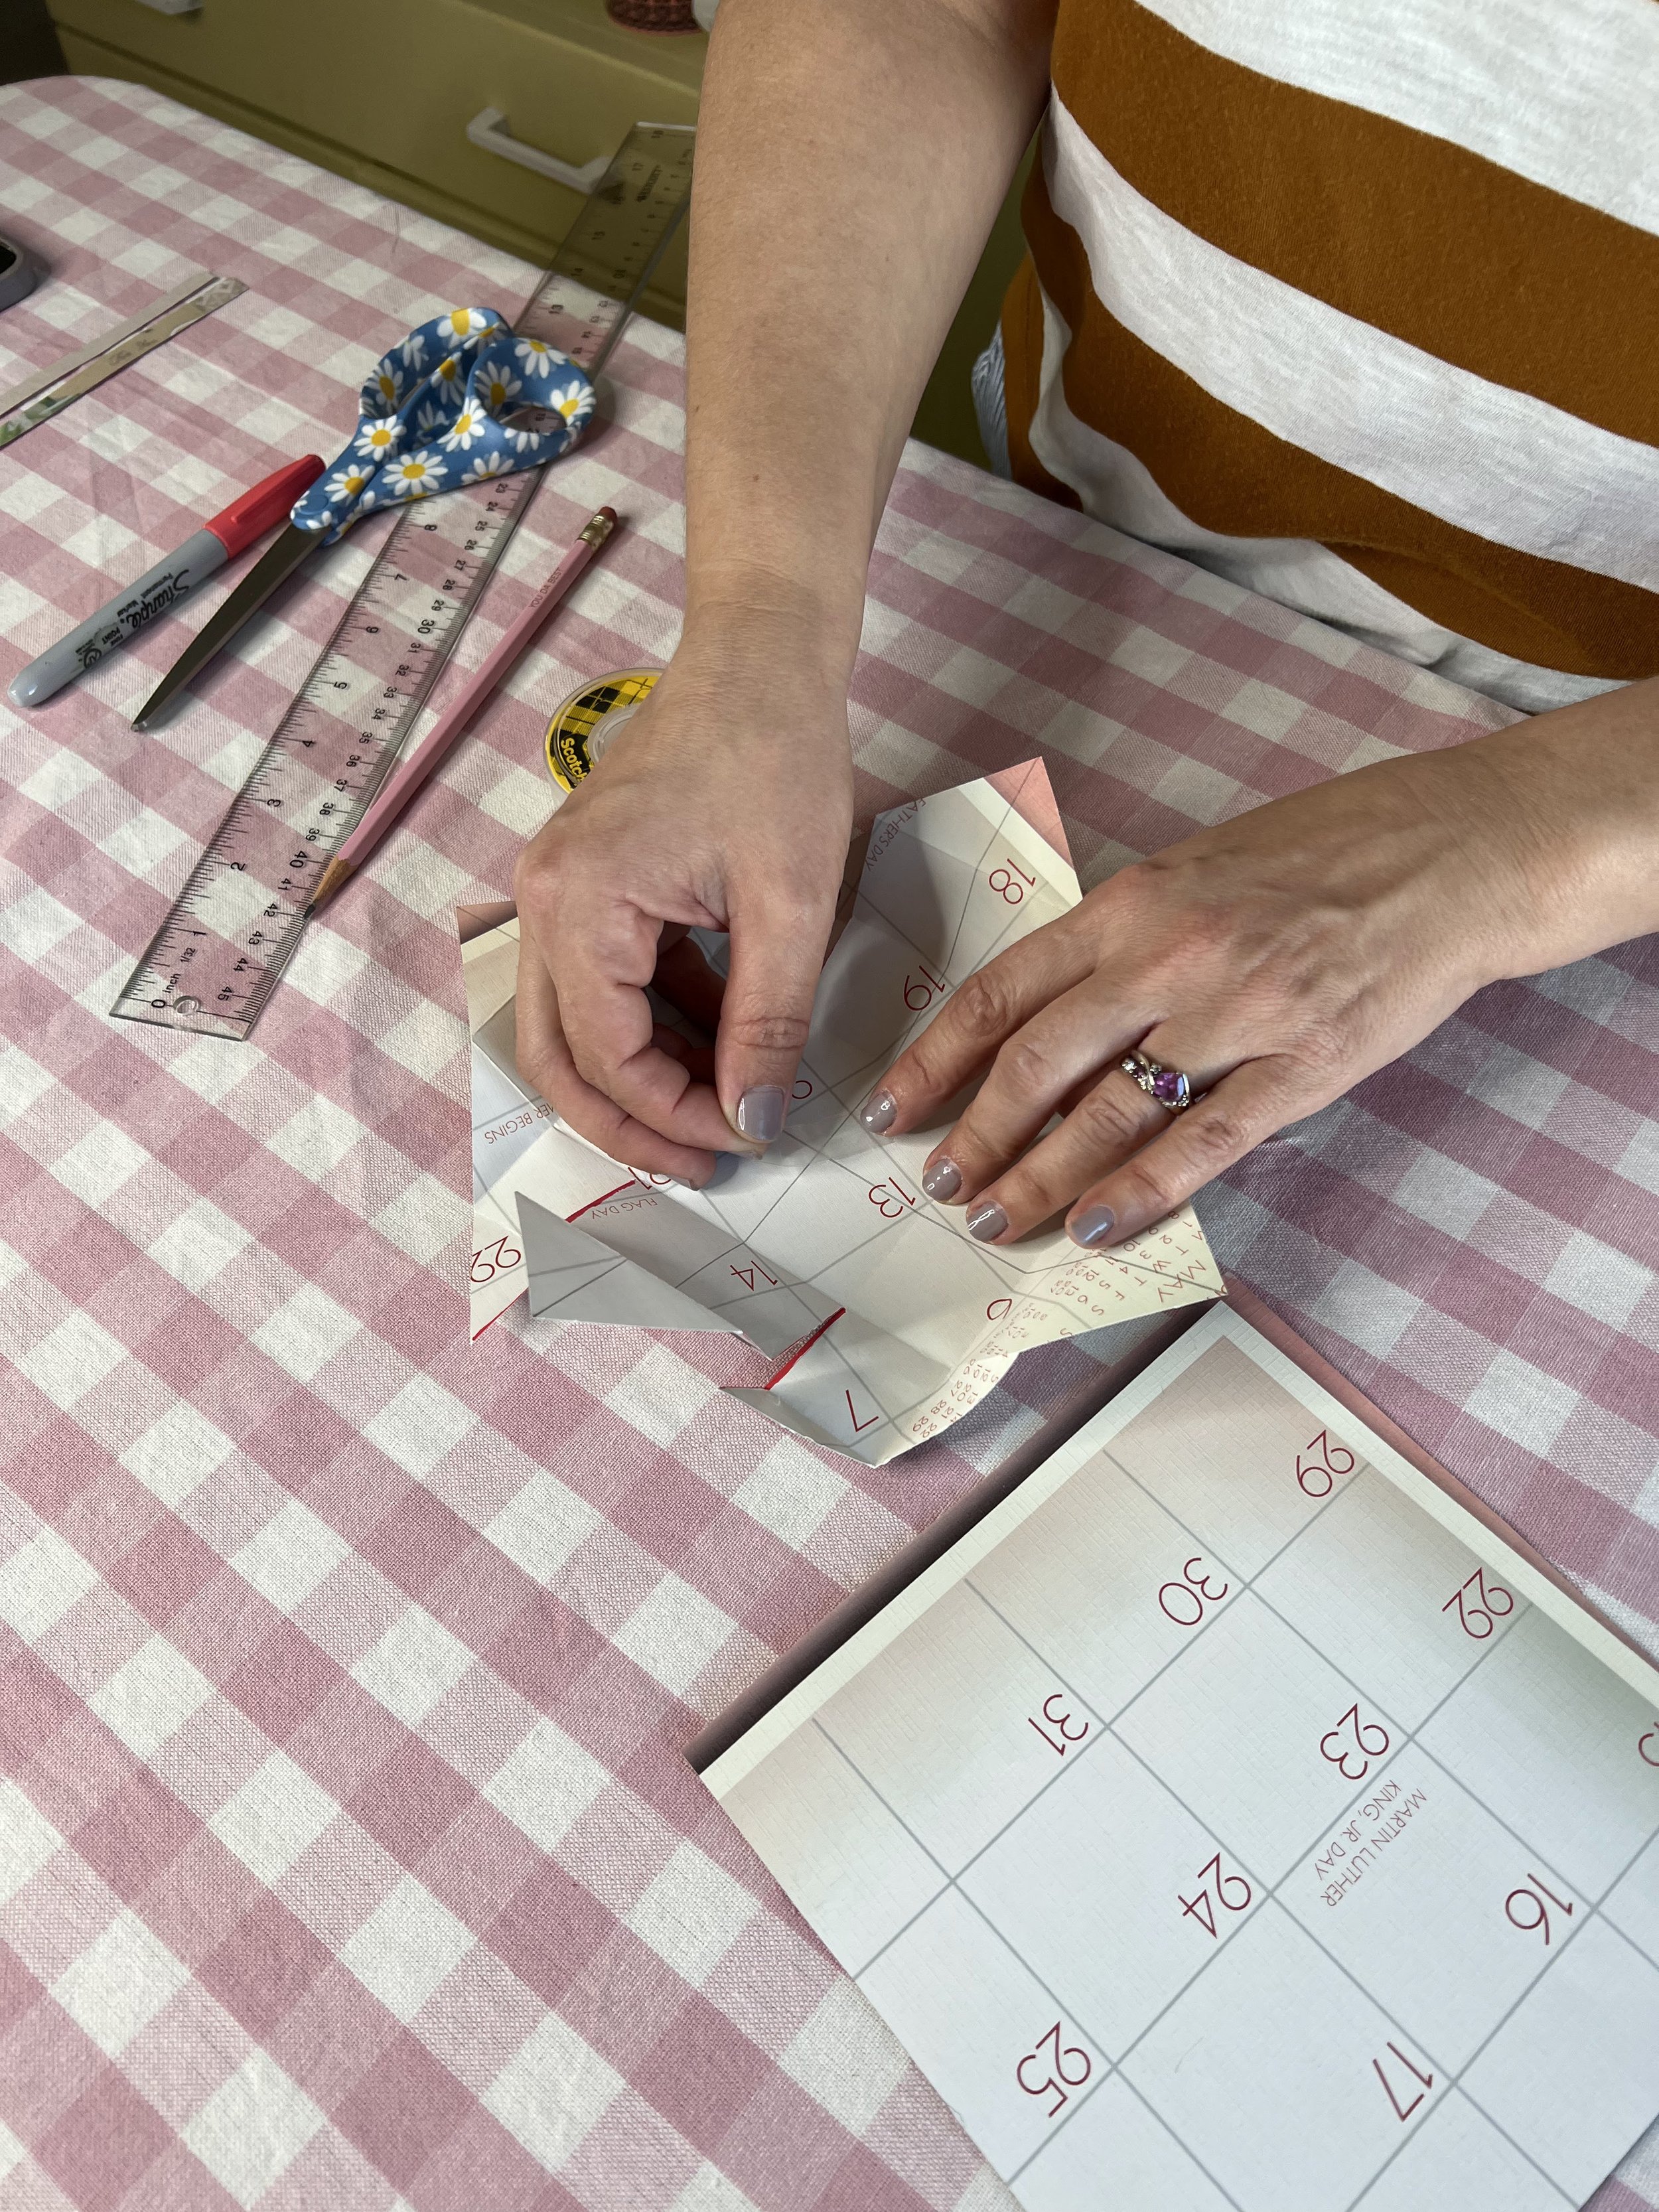
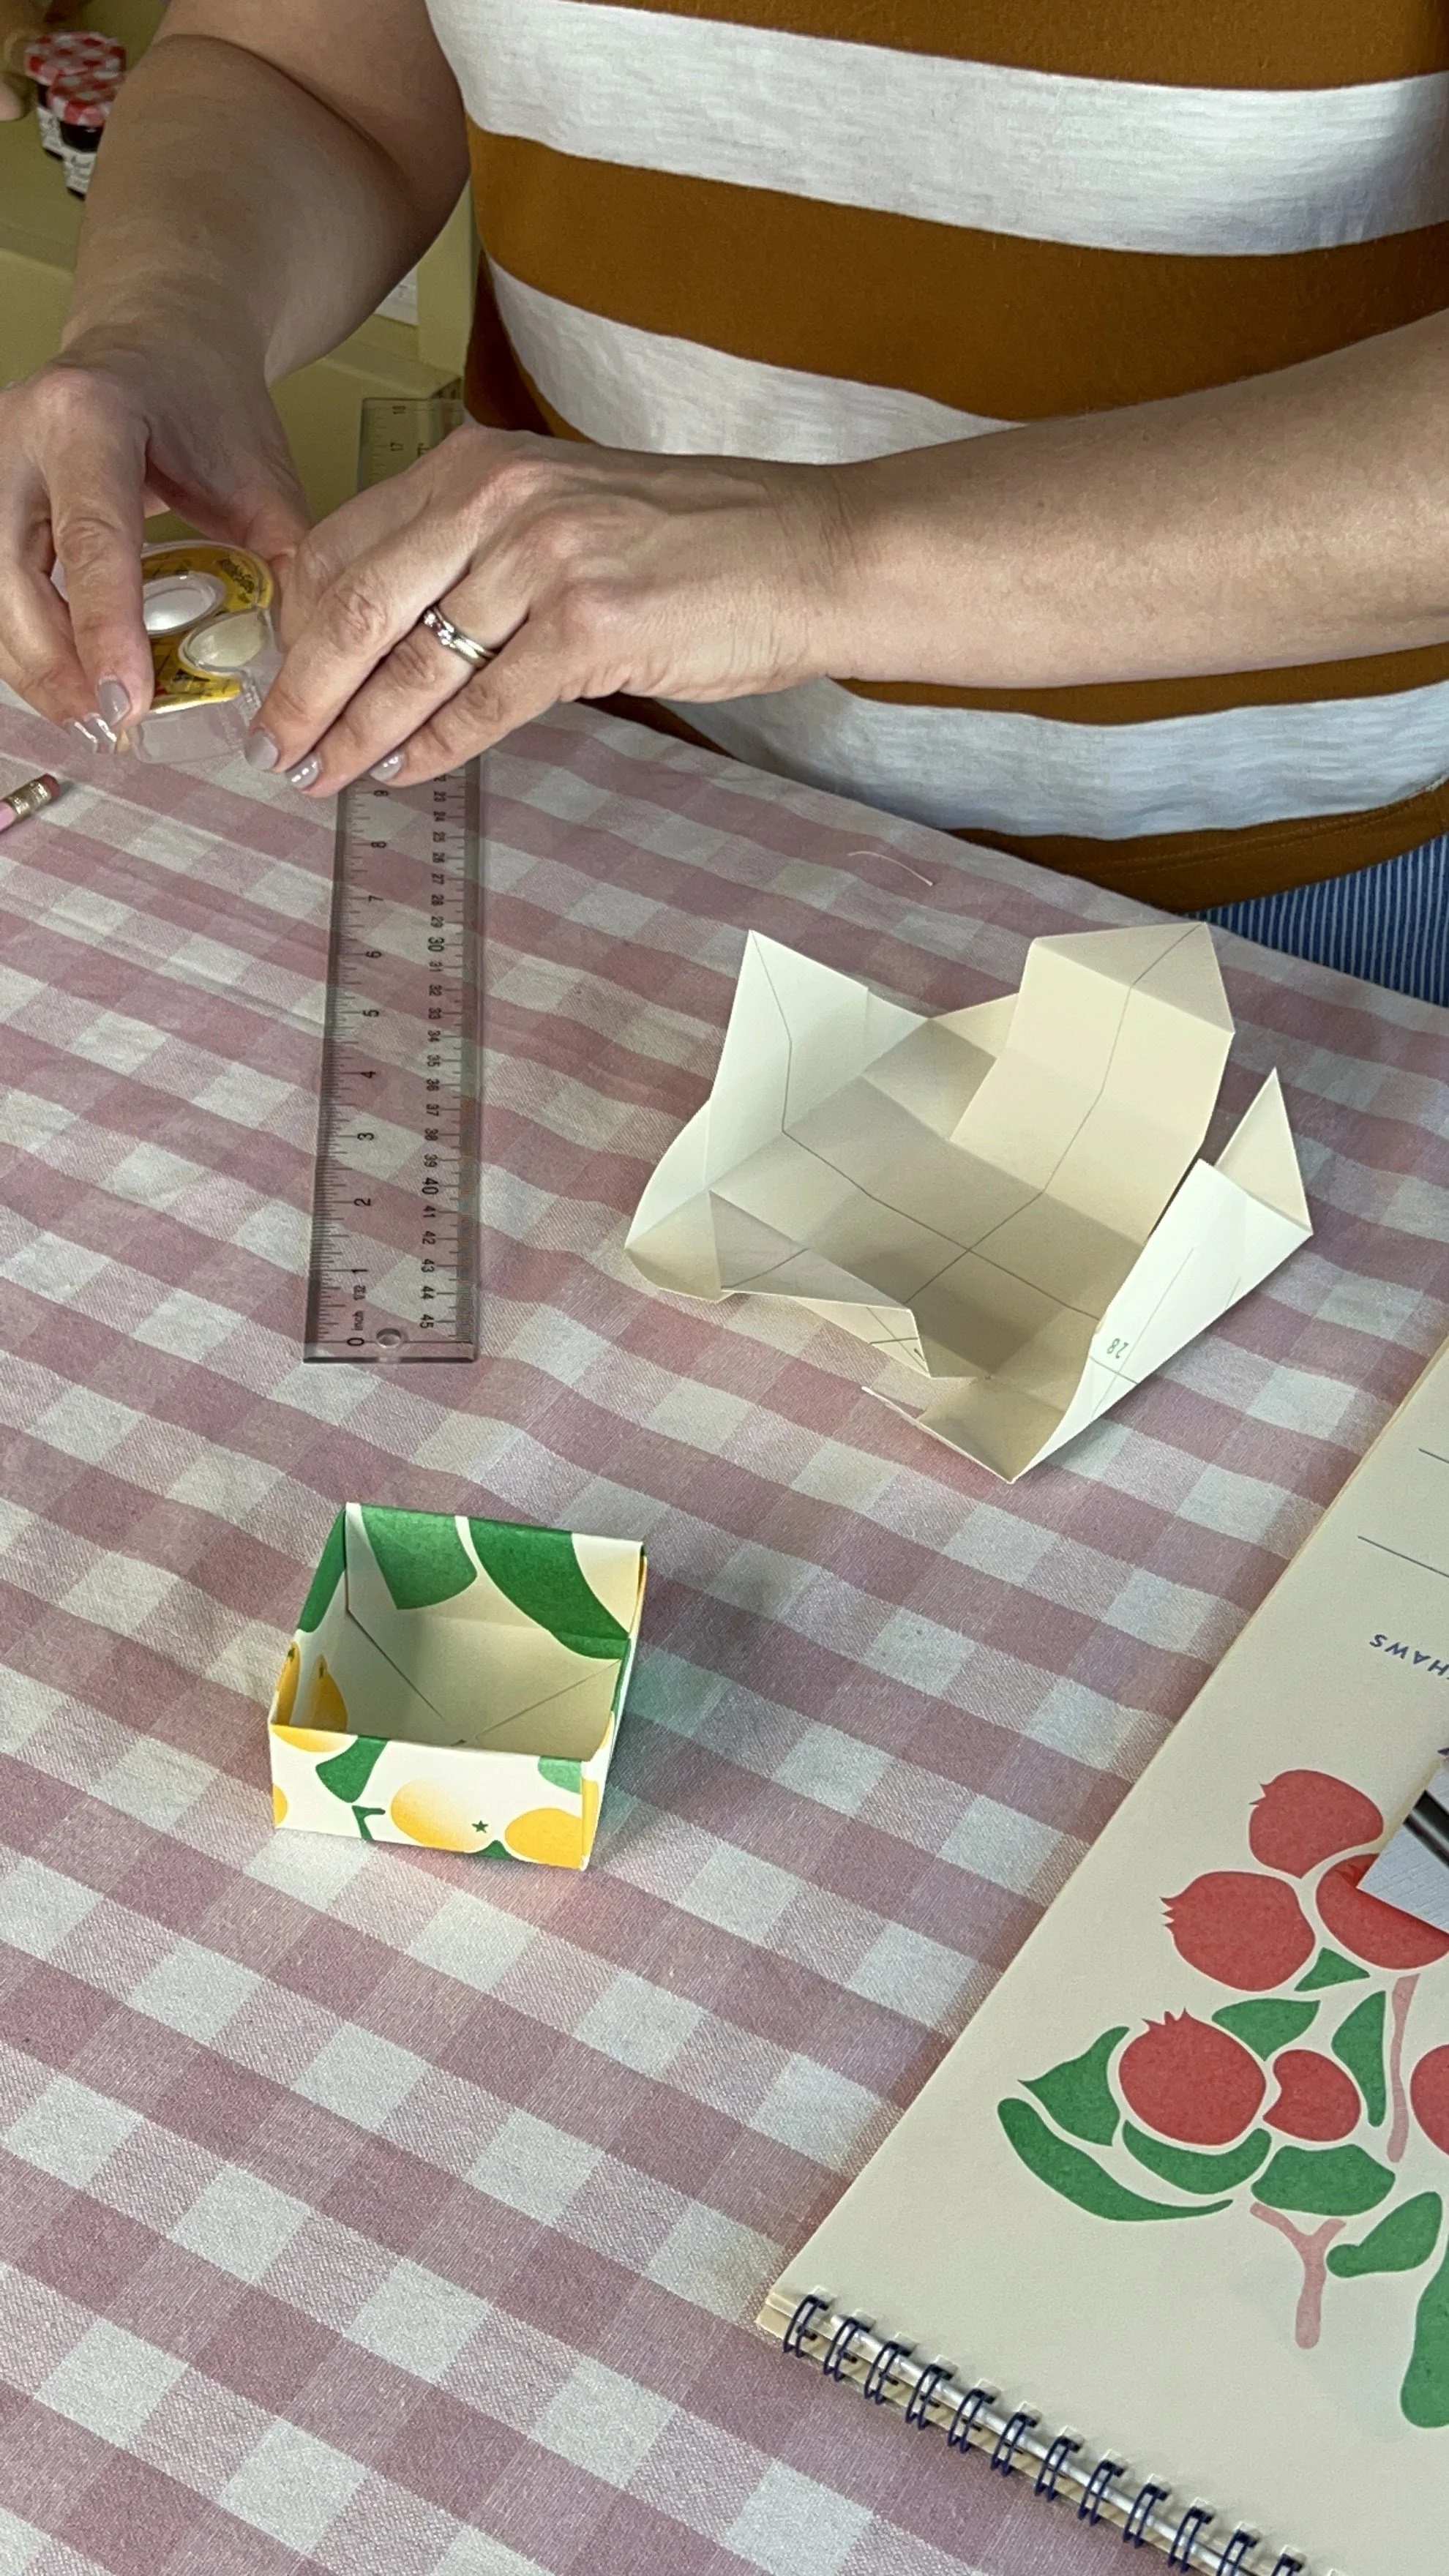
Fold each corner into the center, creating a smaller square. With each fold from here on out, crease with your ruler.
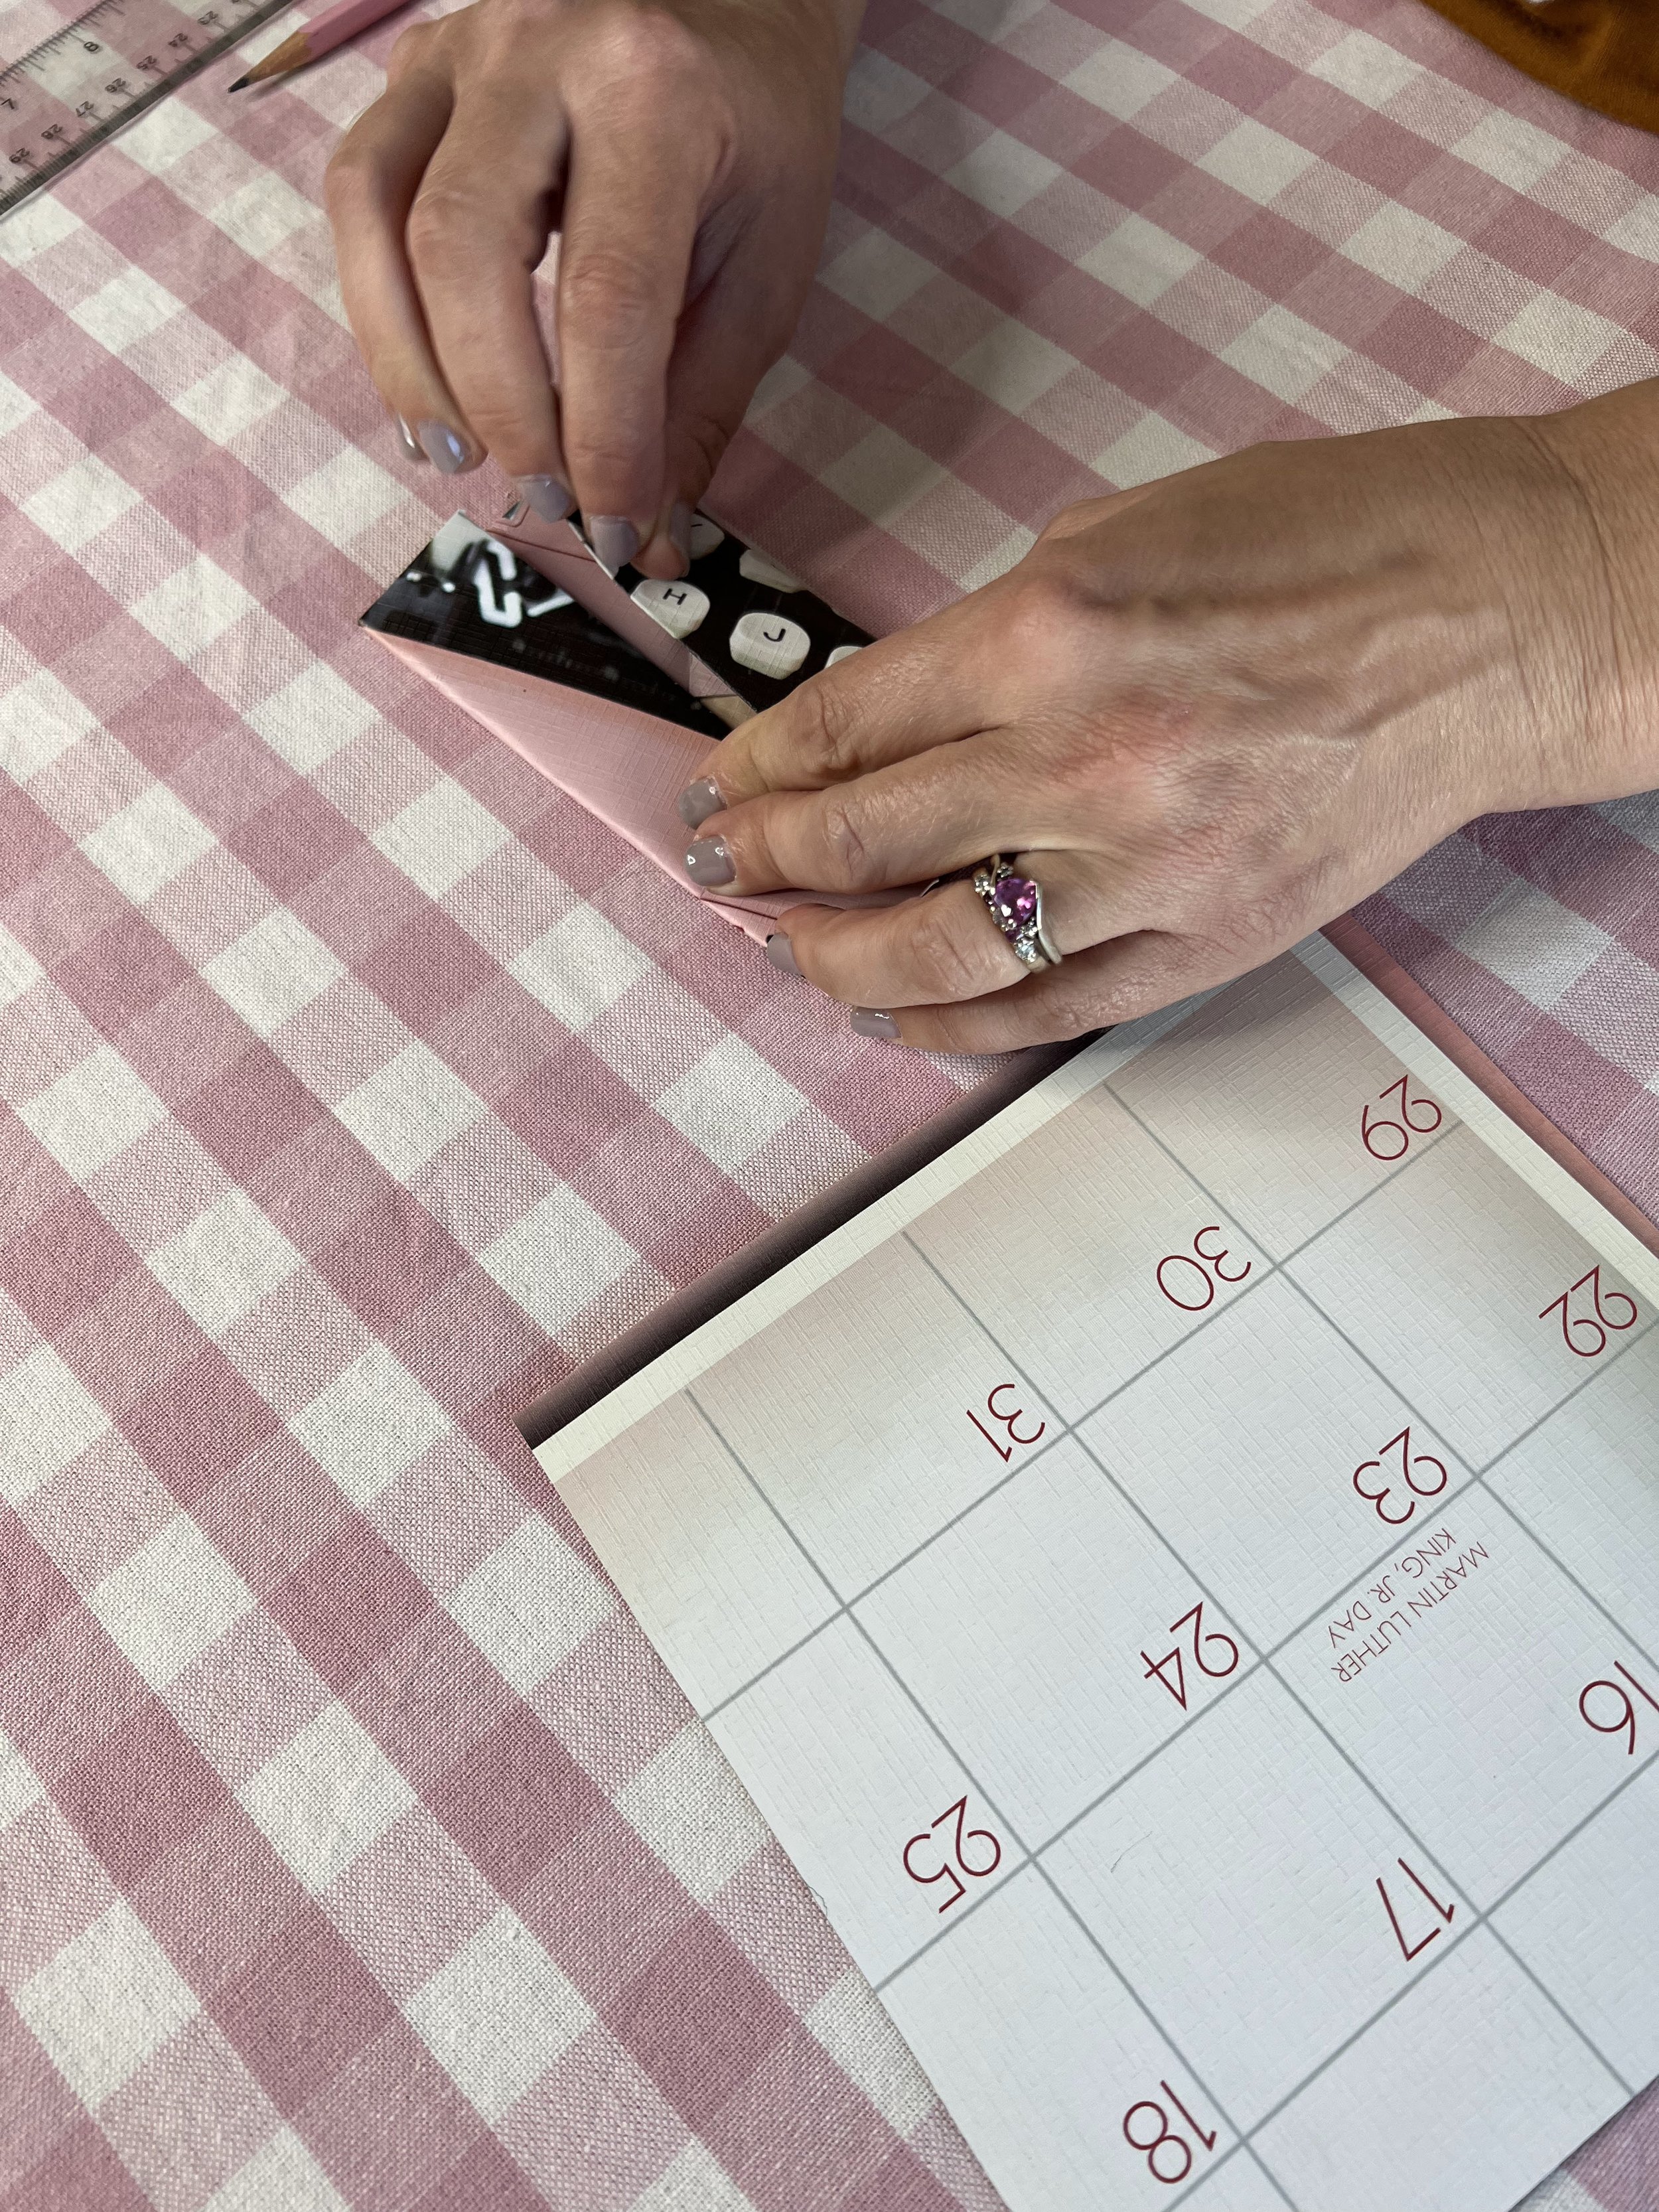
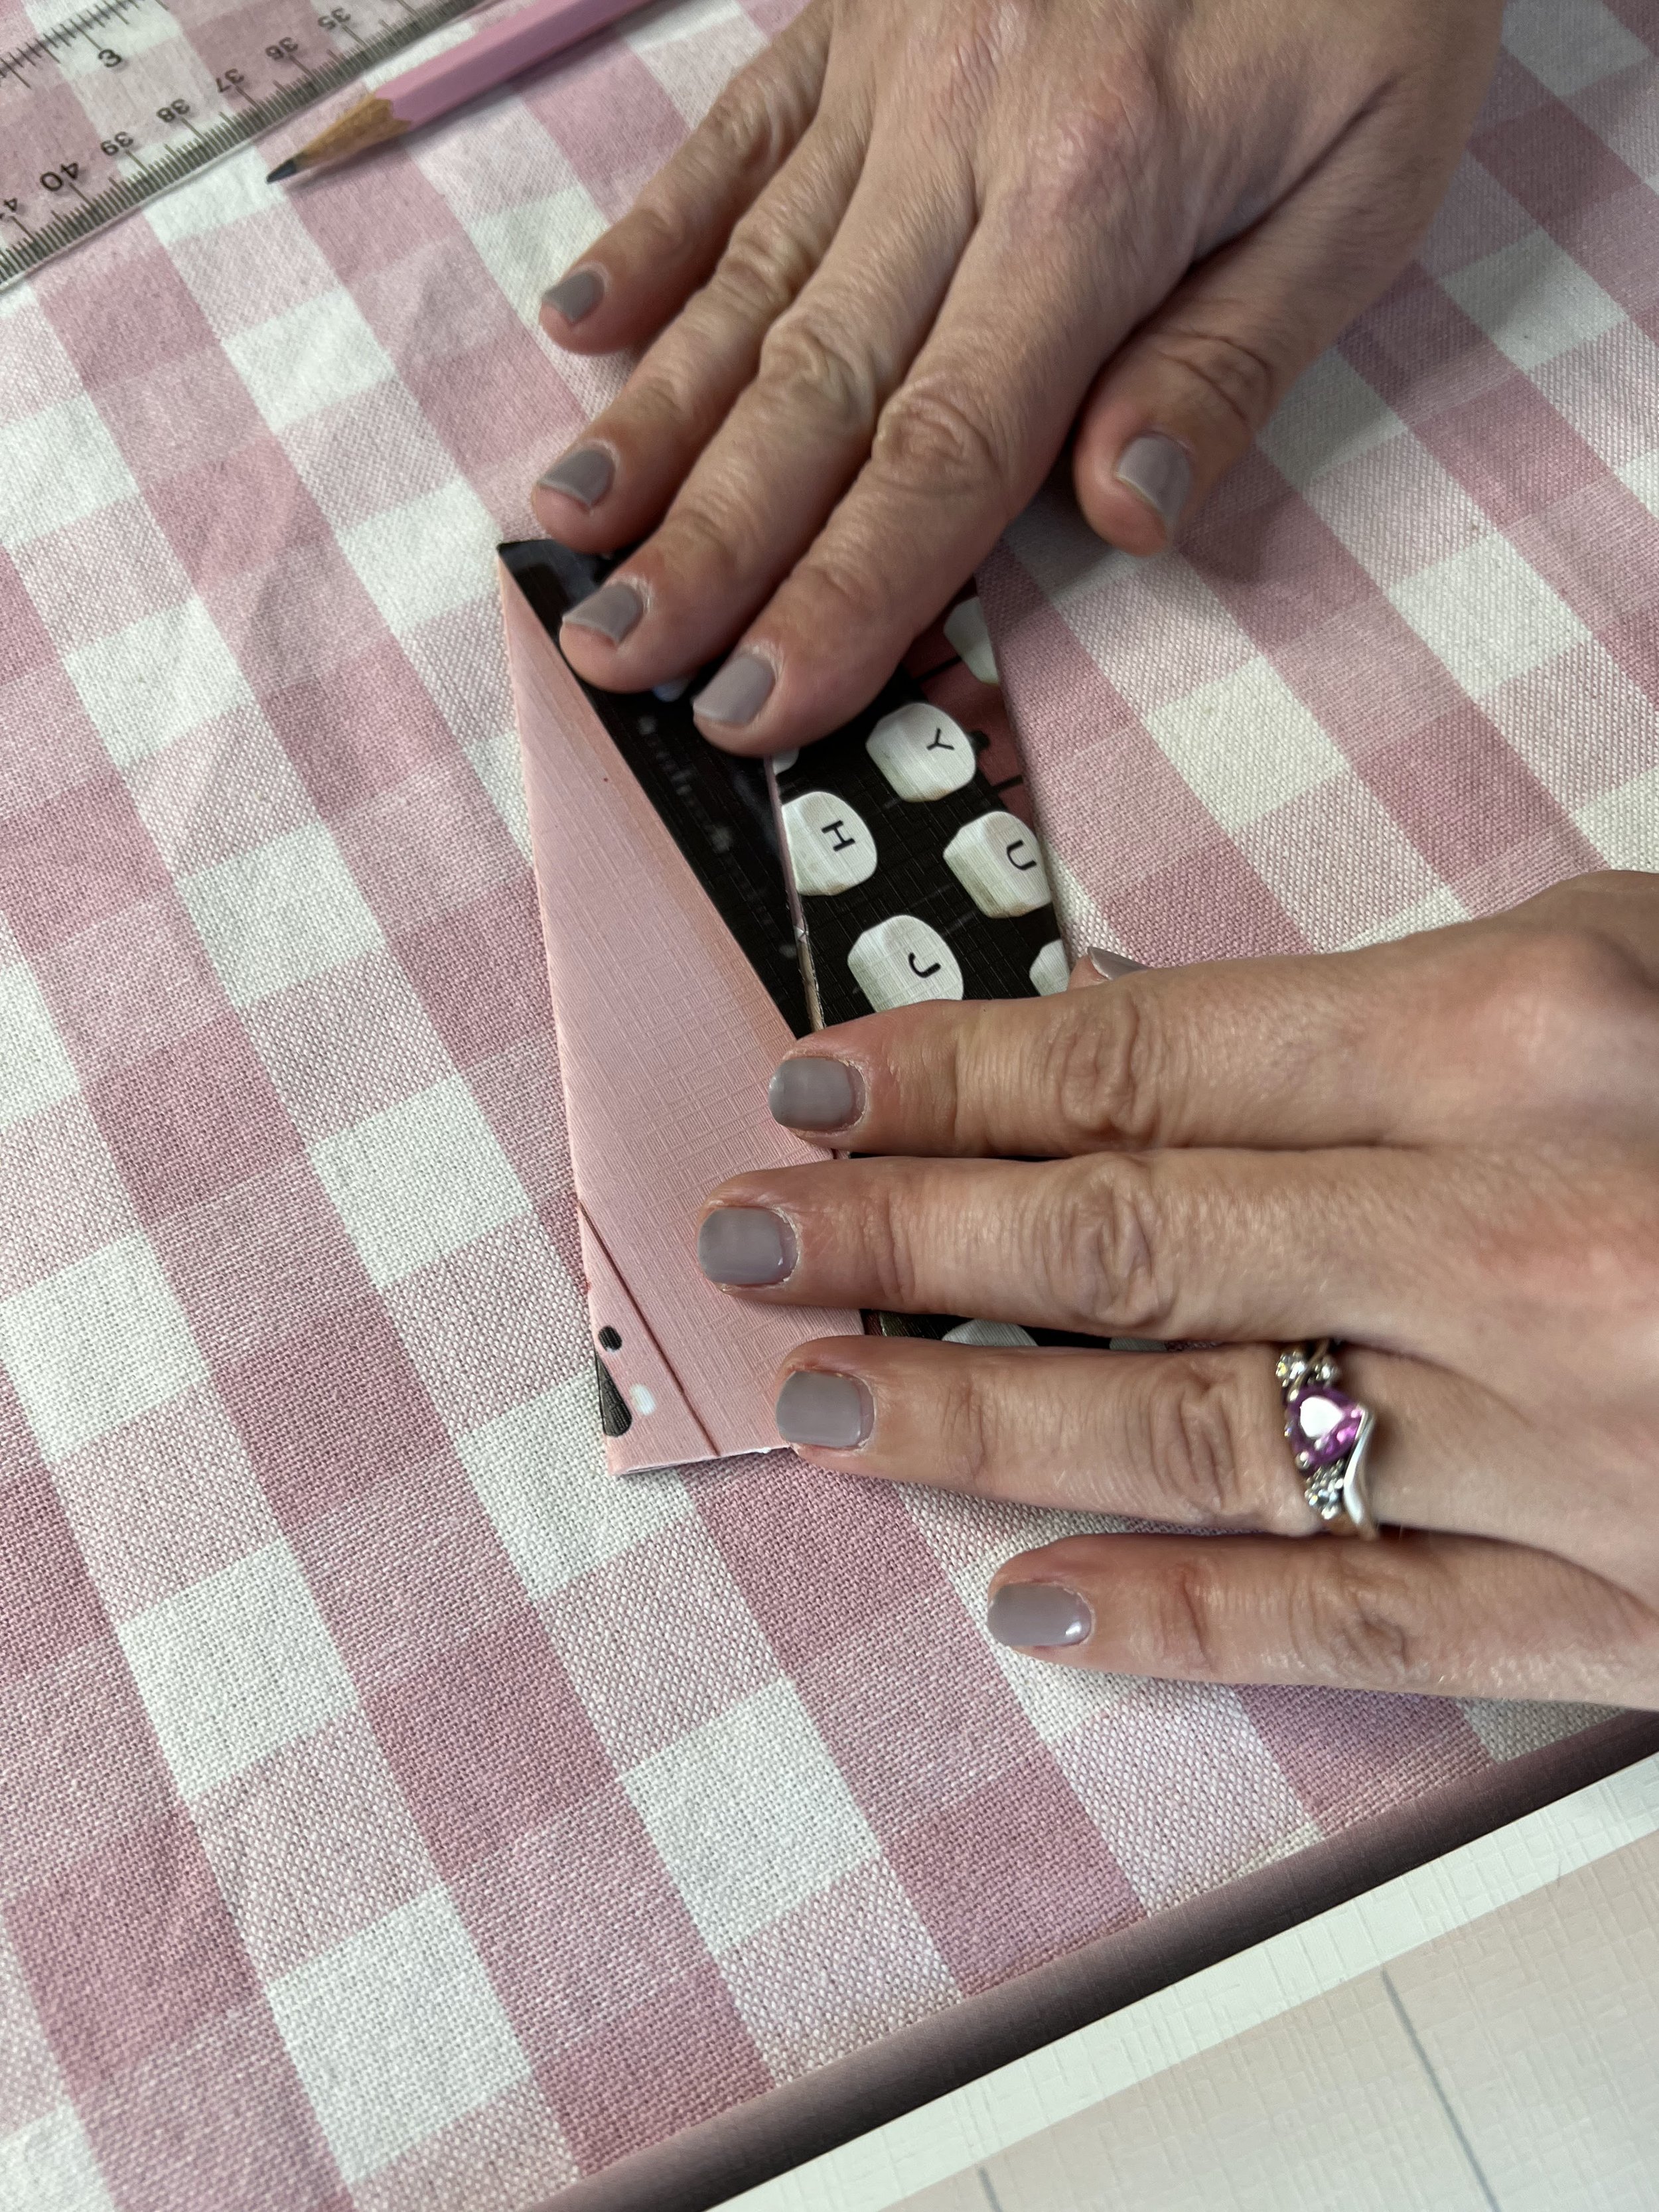
Next, fold two opposite sides into the center. Unfold and fold the opposite sides into the center.
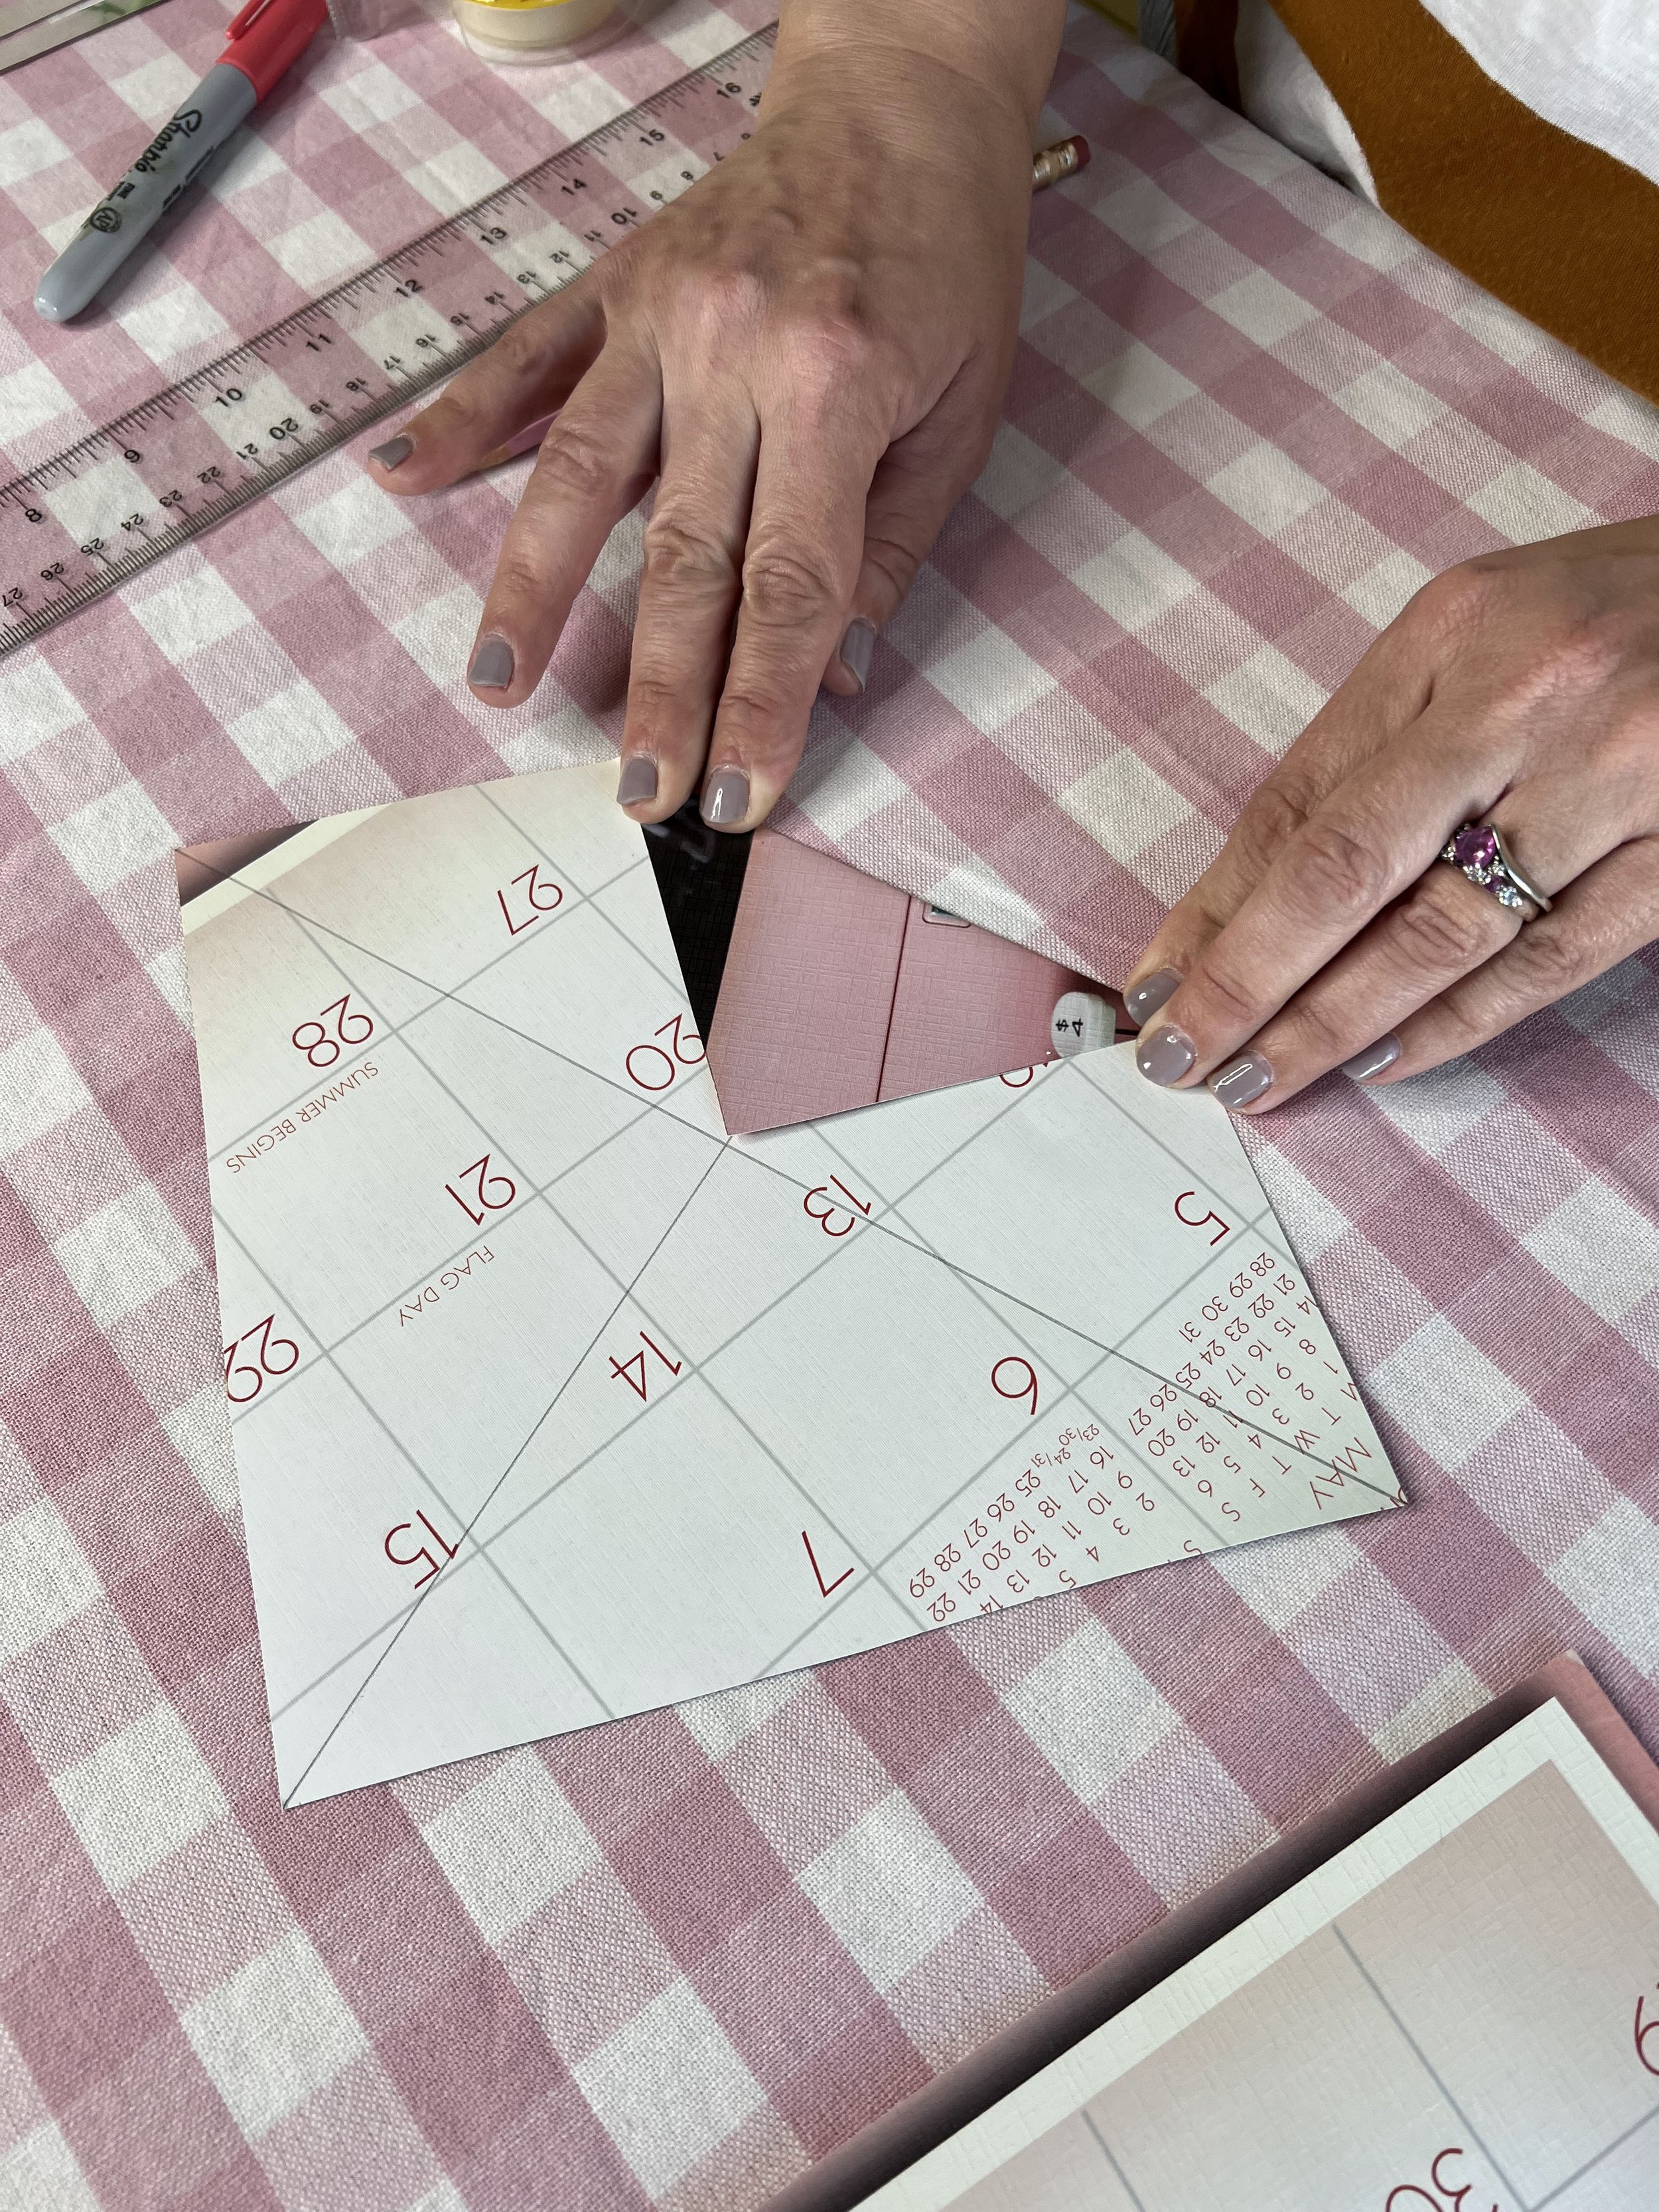
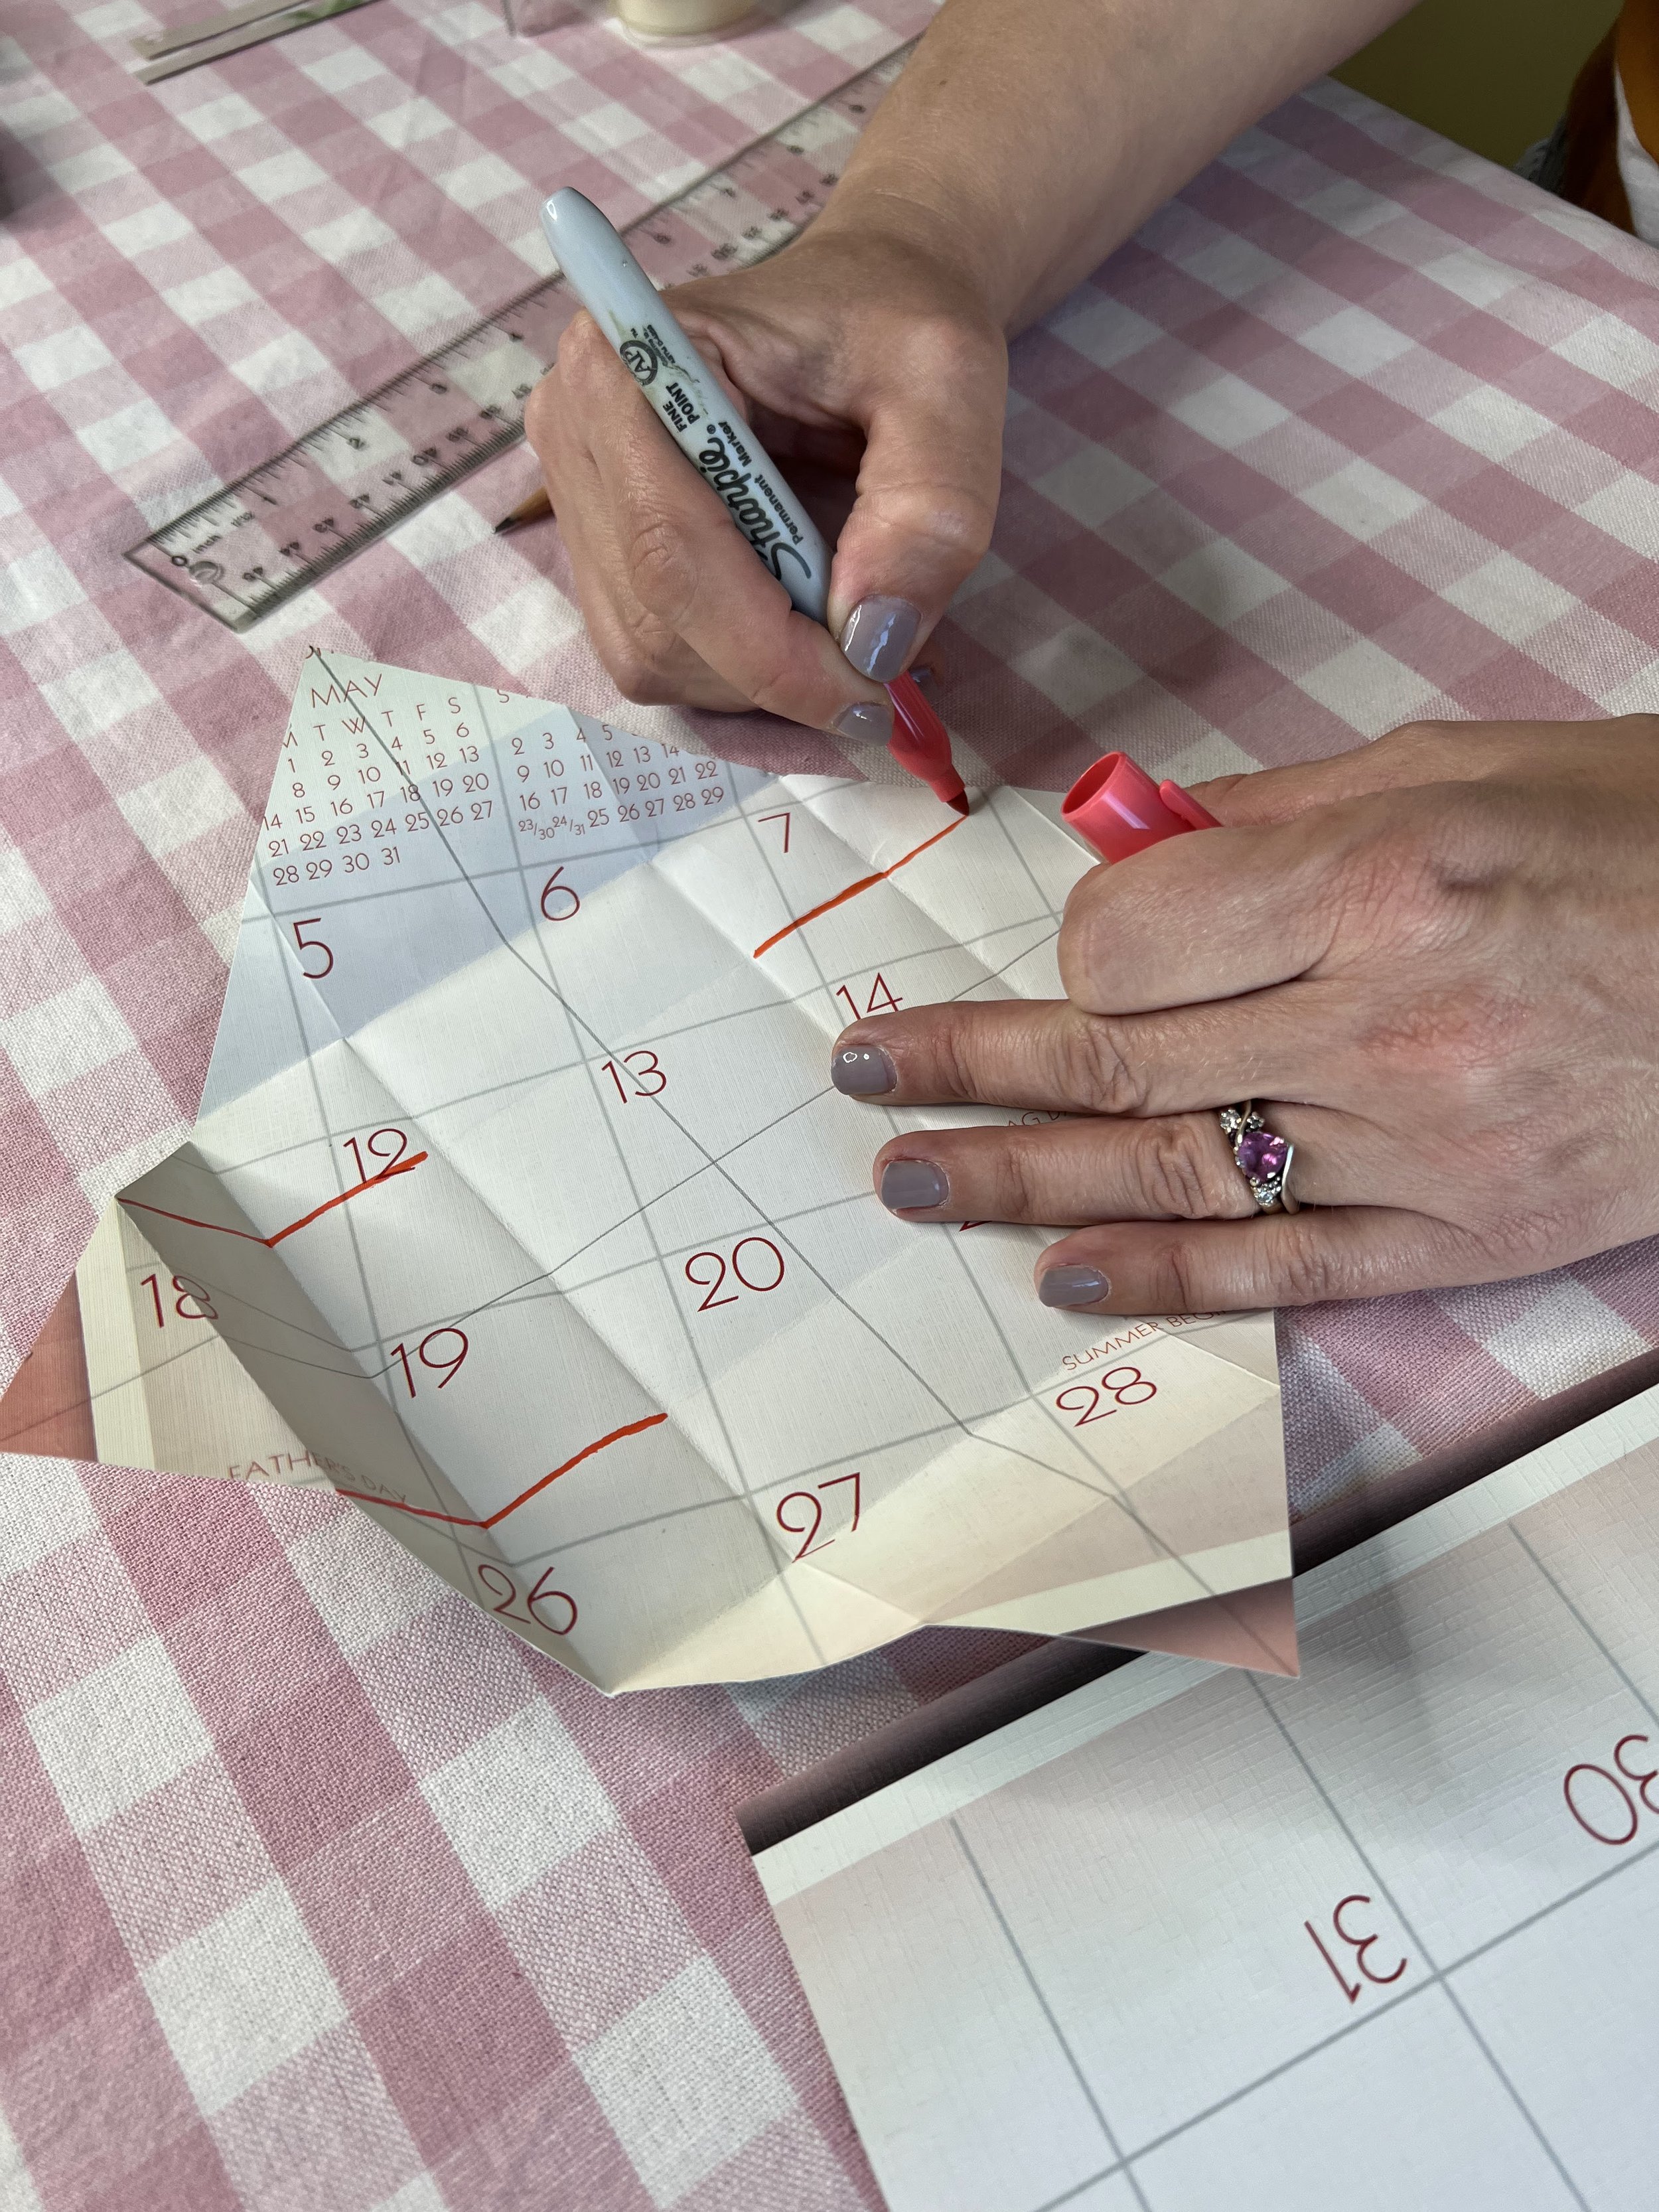
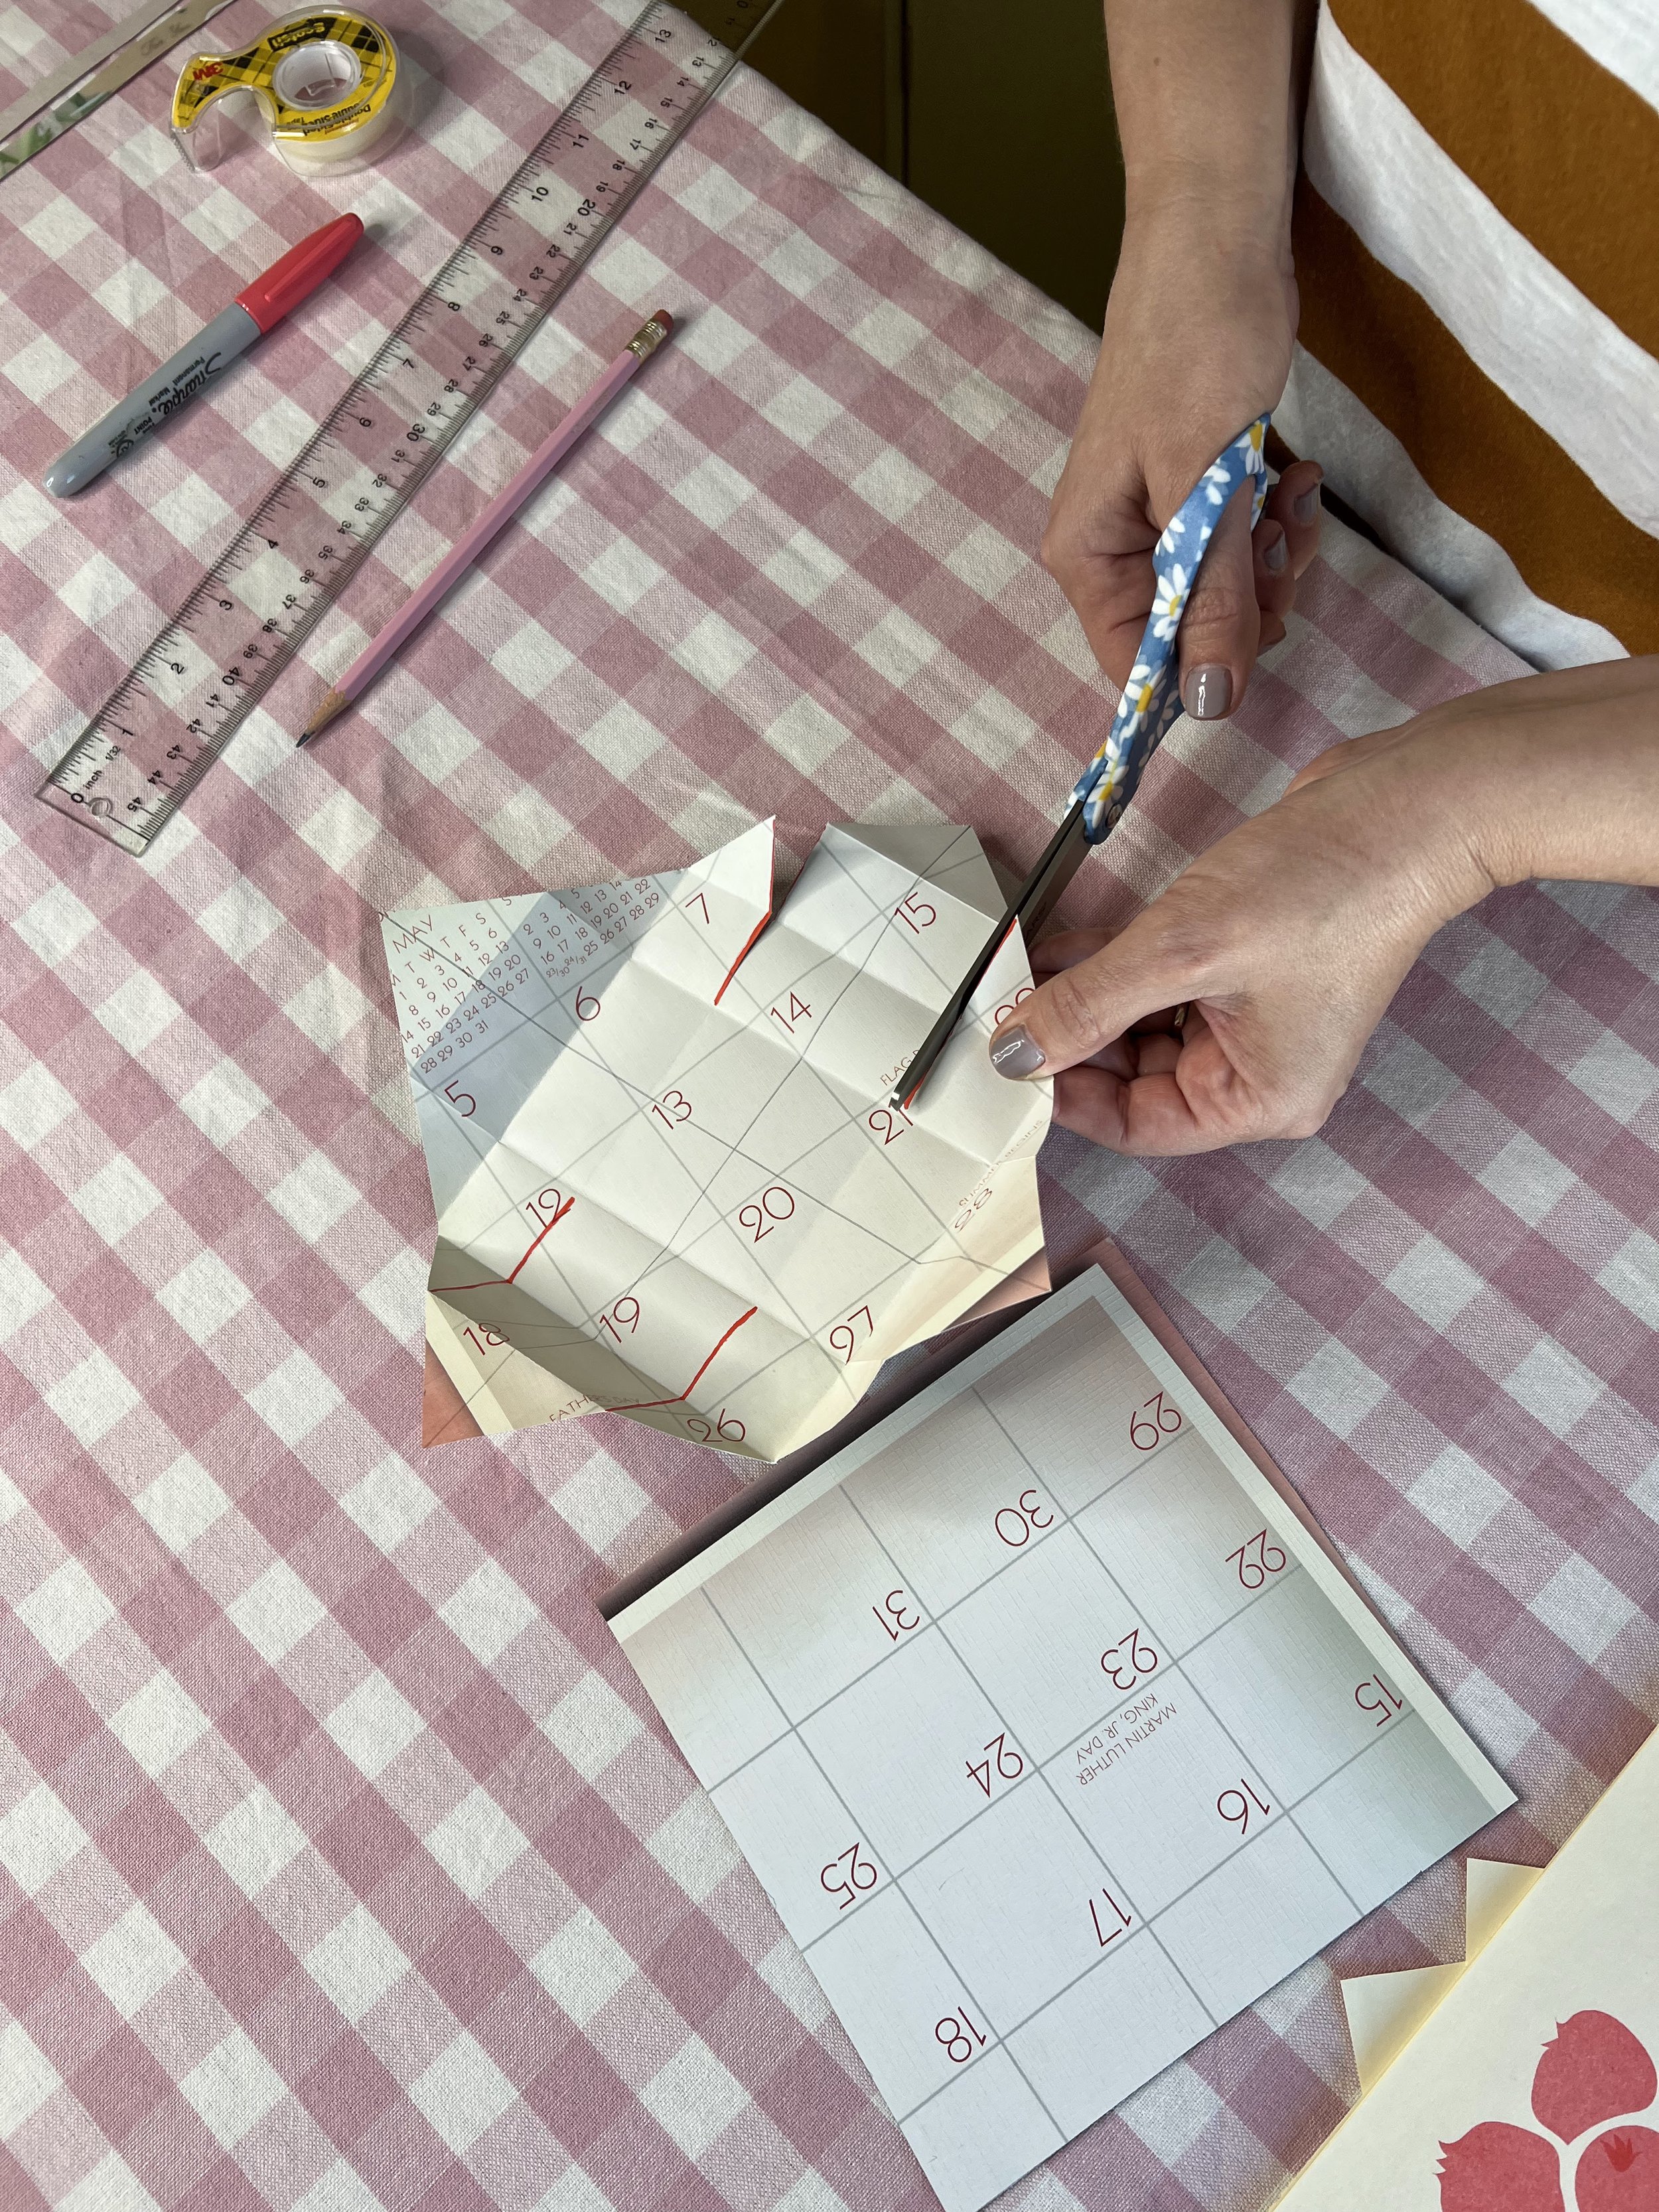
Unfold everything and make two cuts on two opposite sides, two squares up.
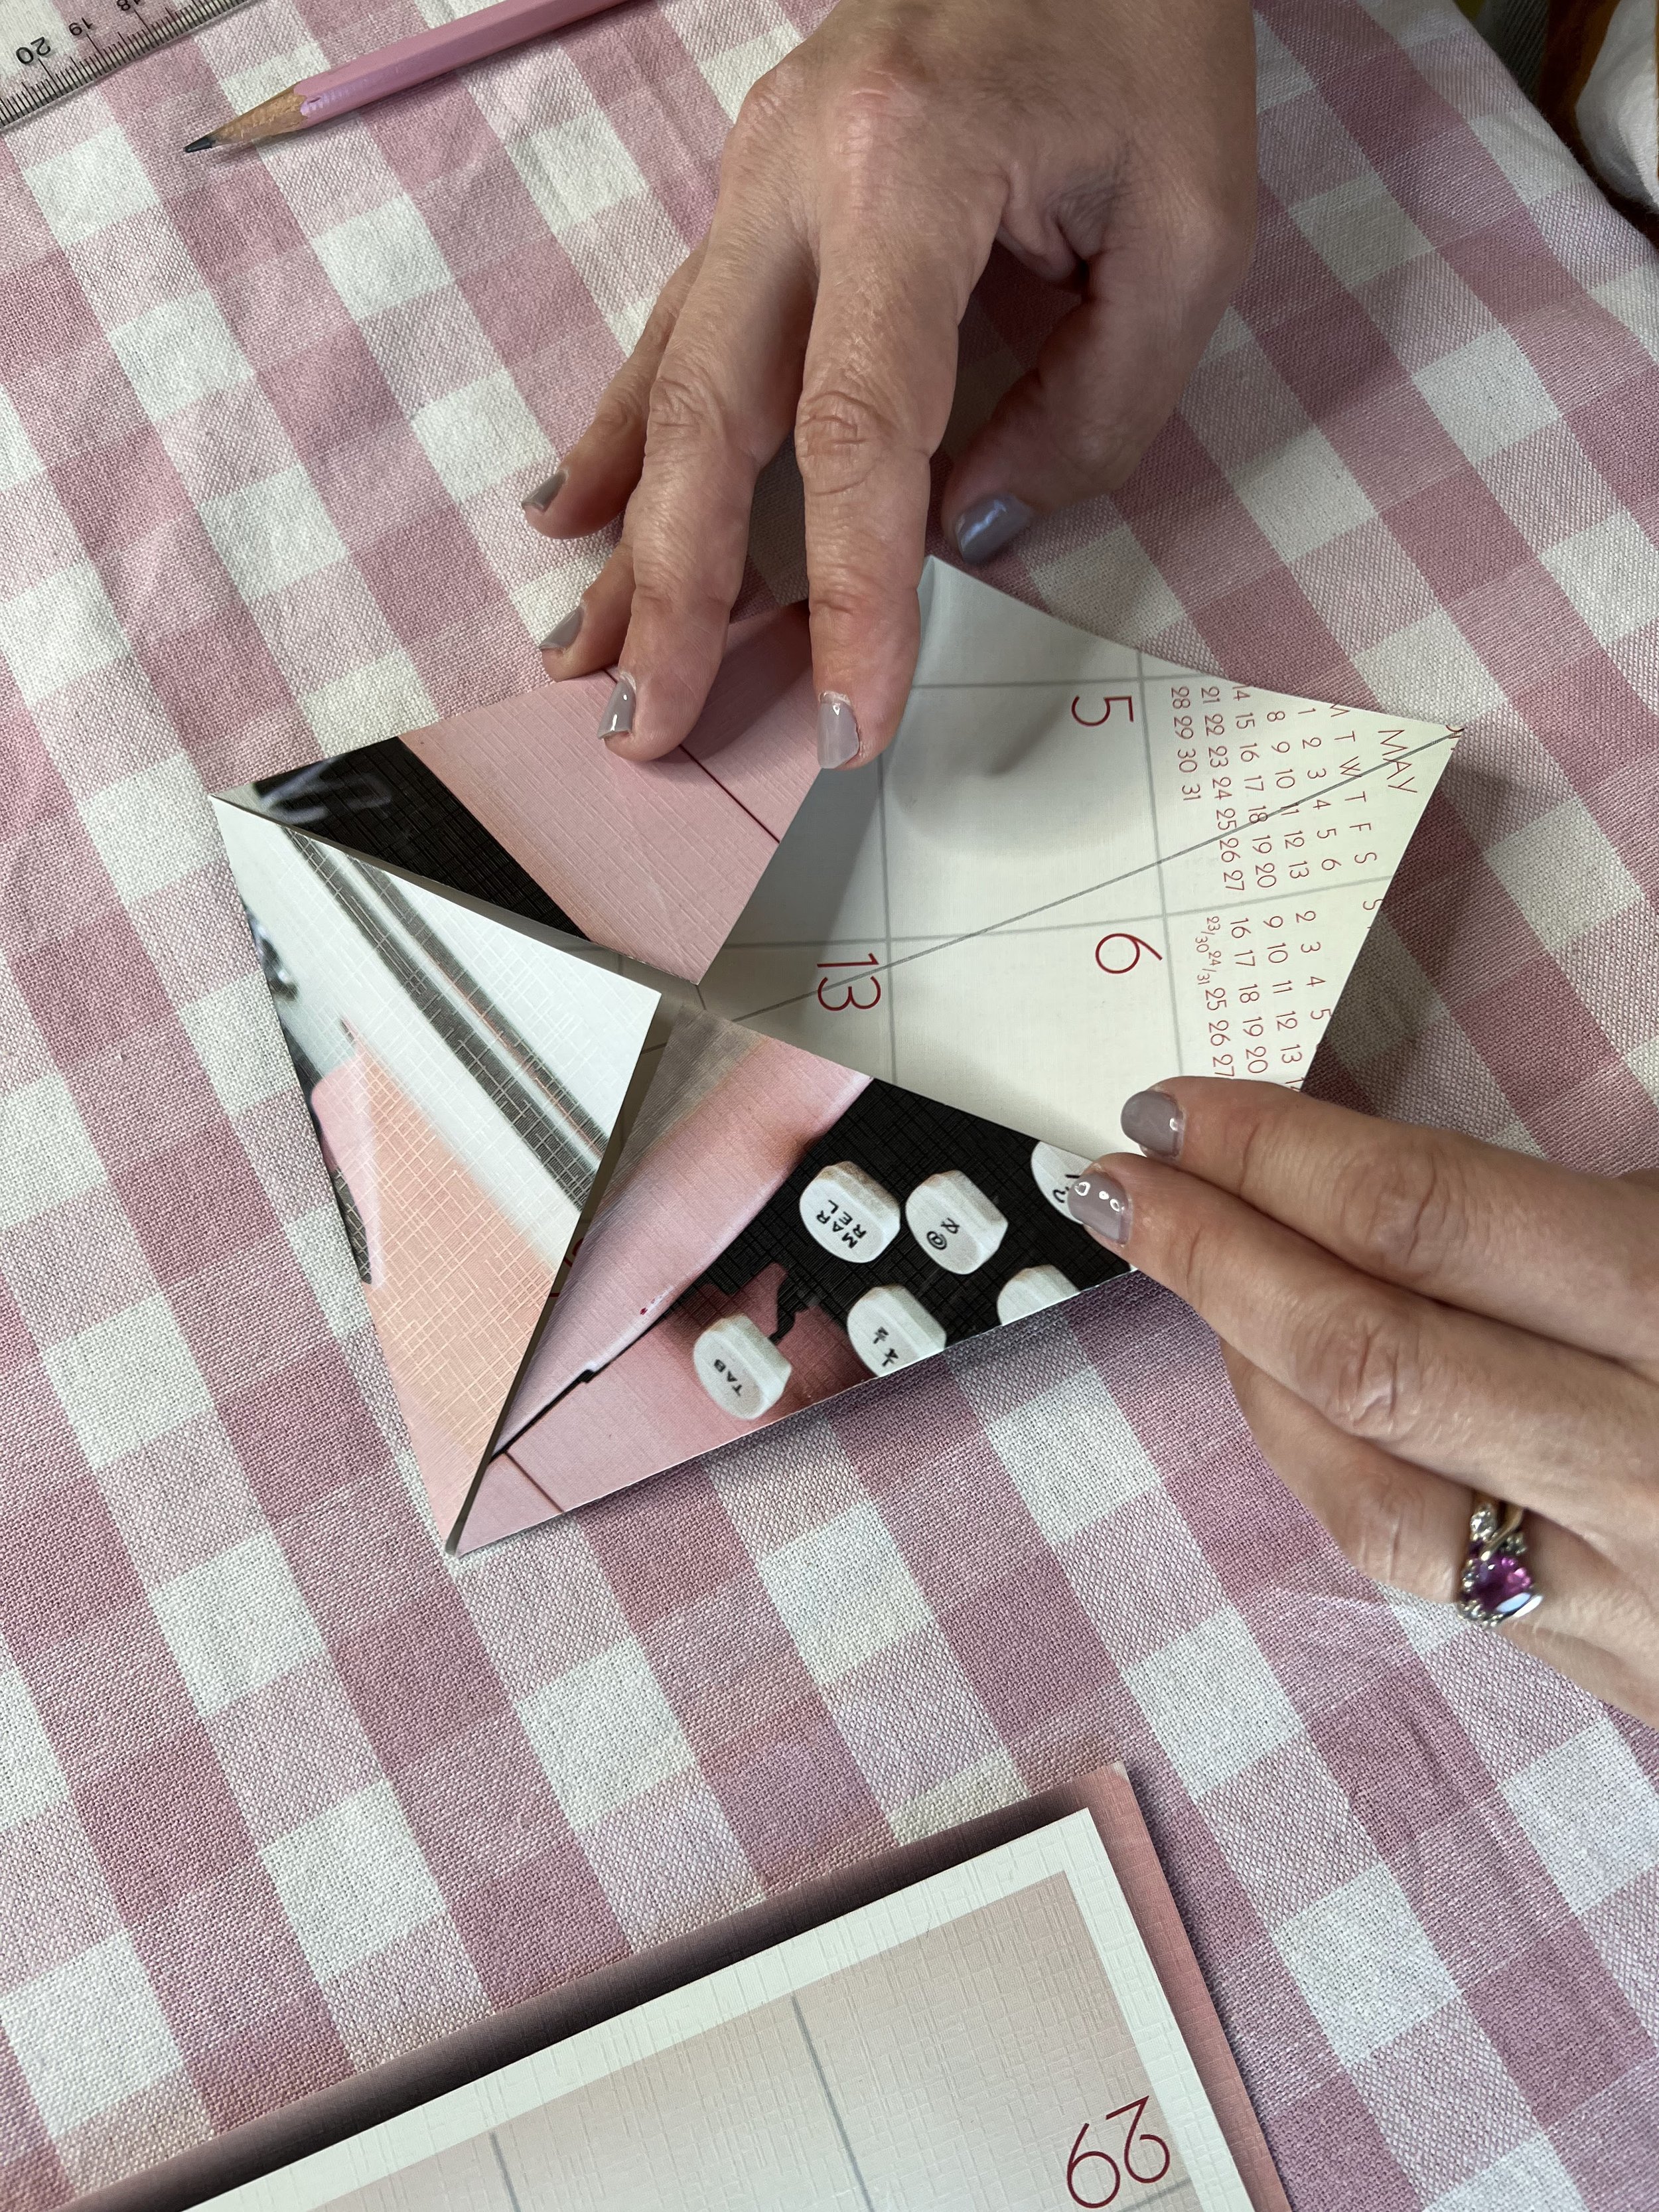
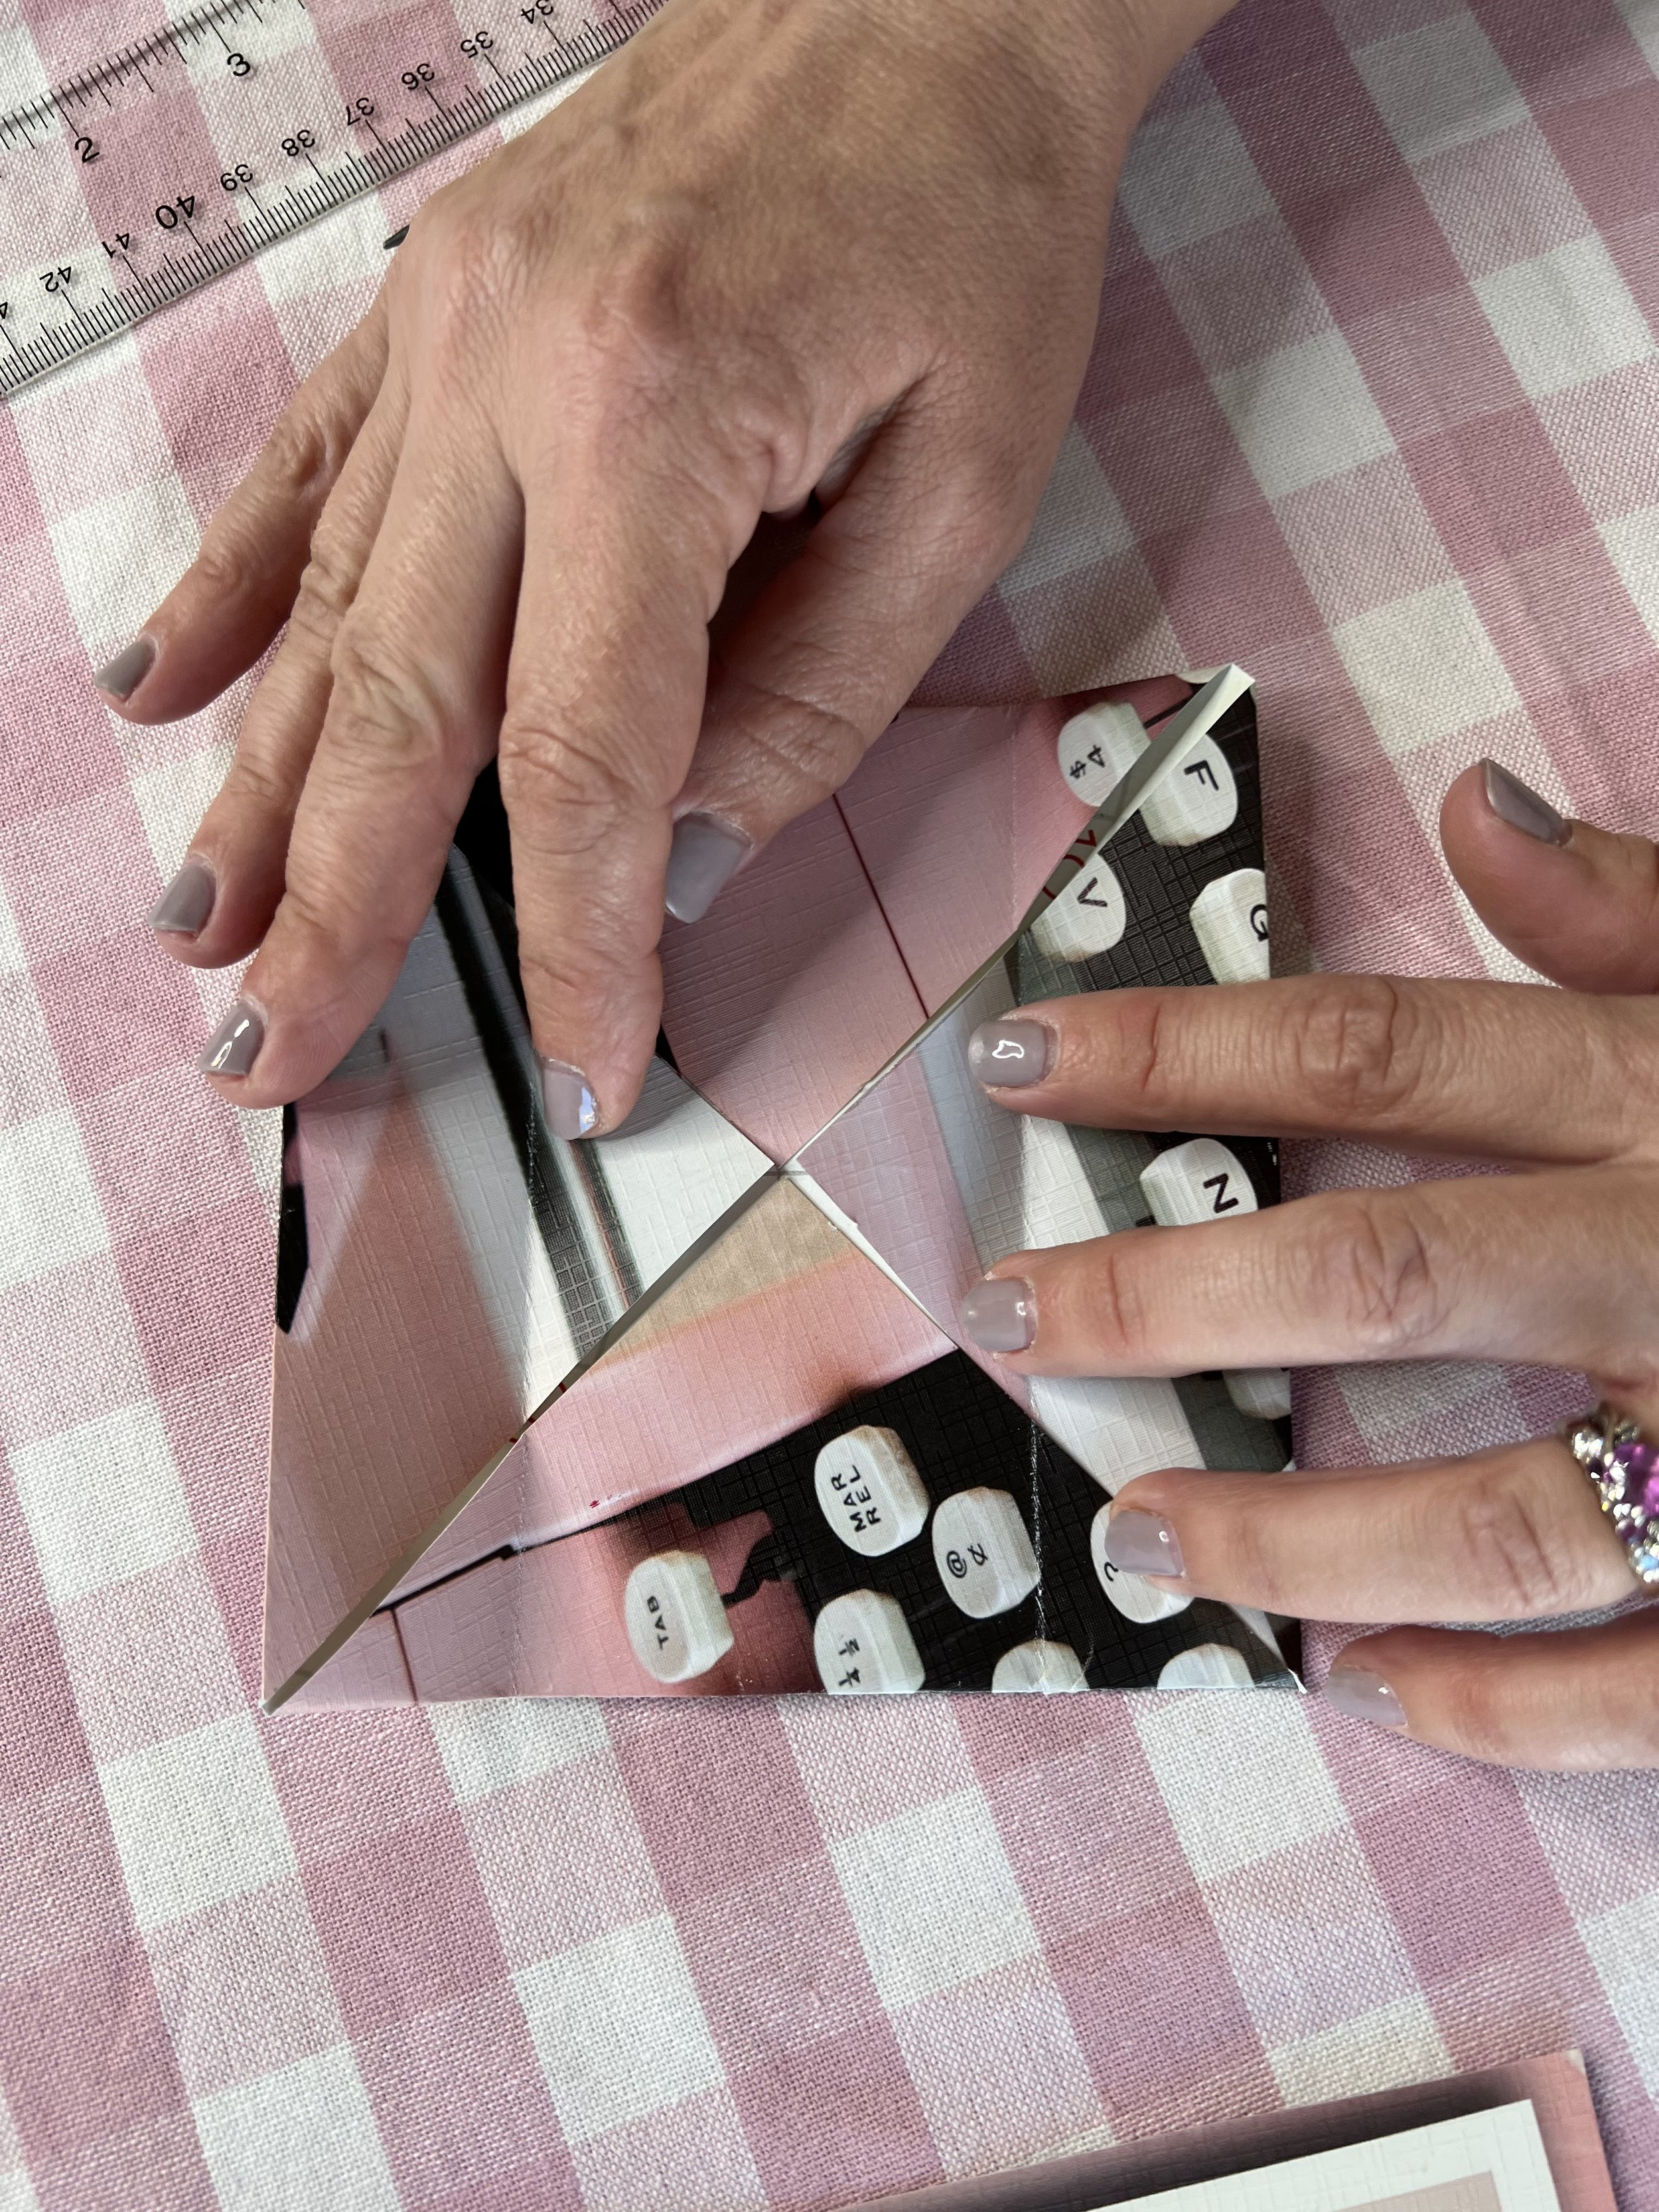
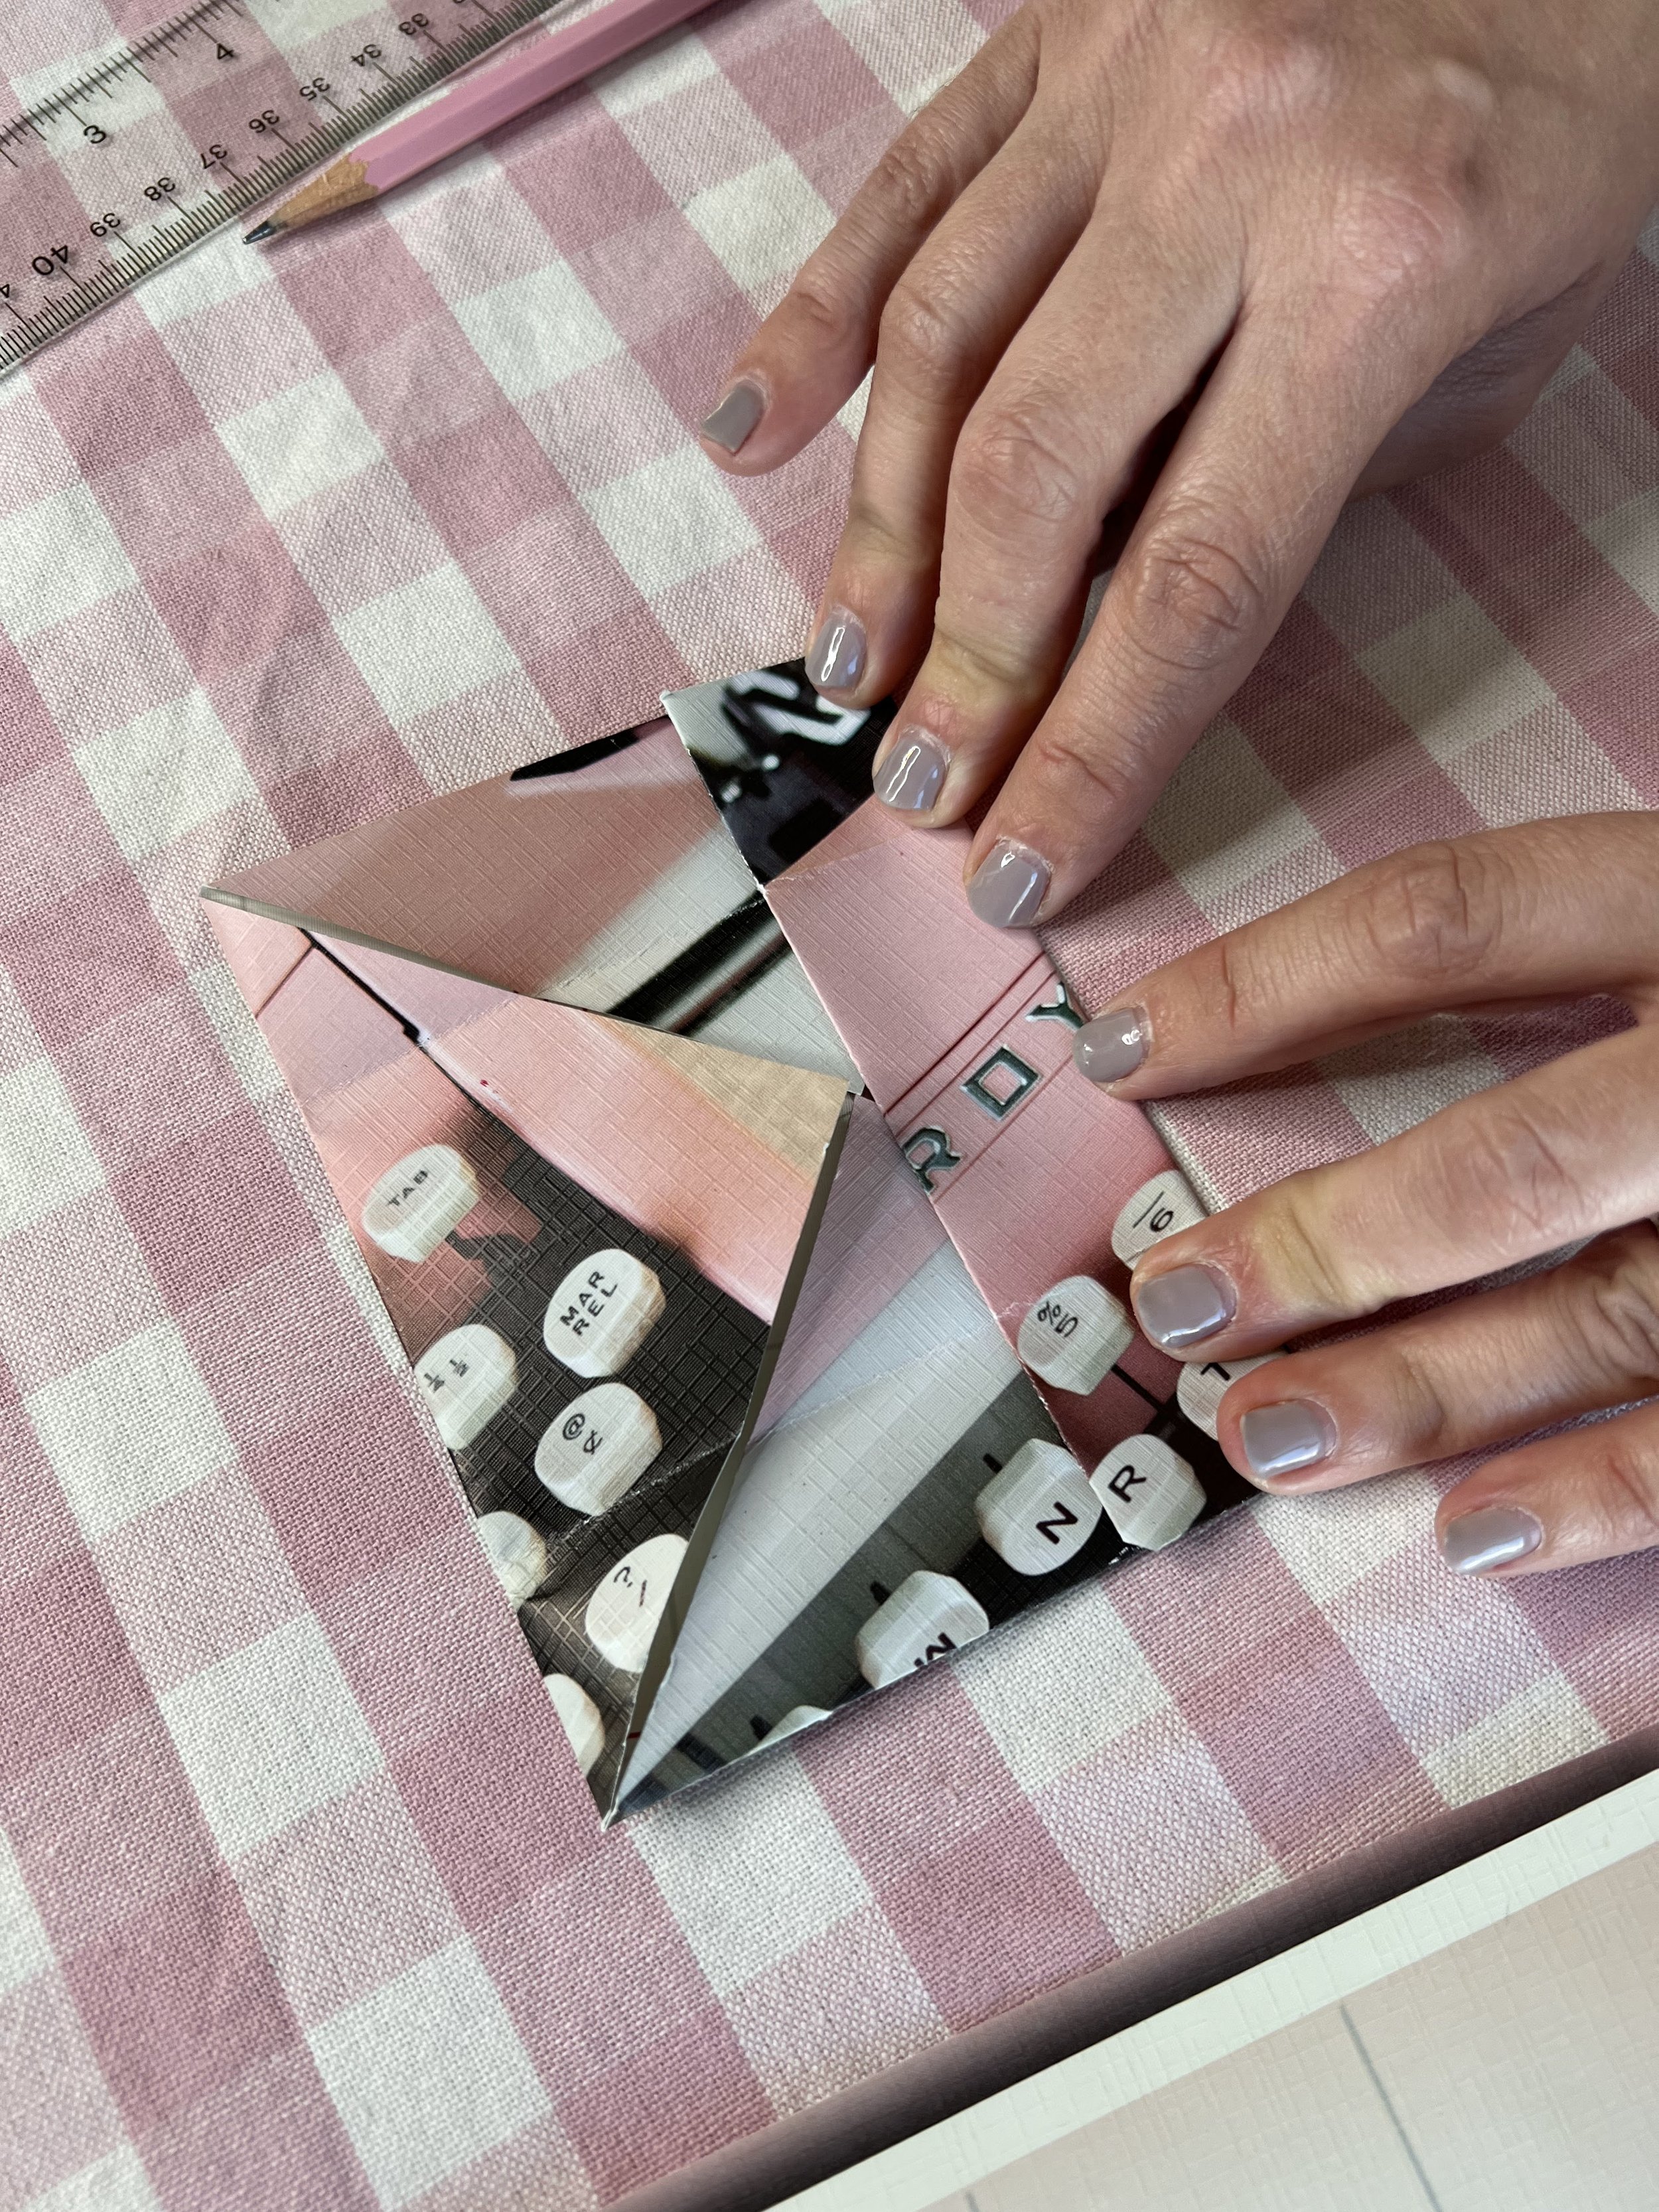
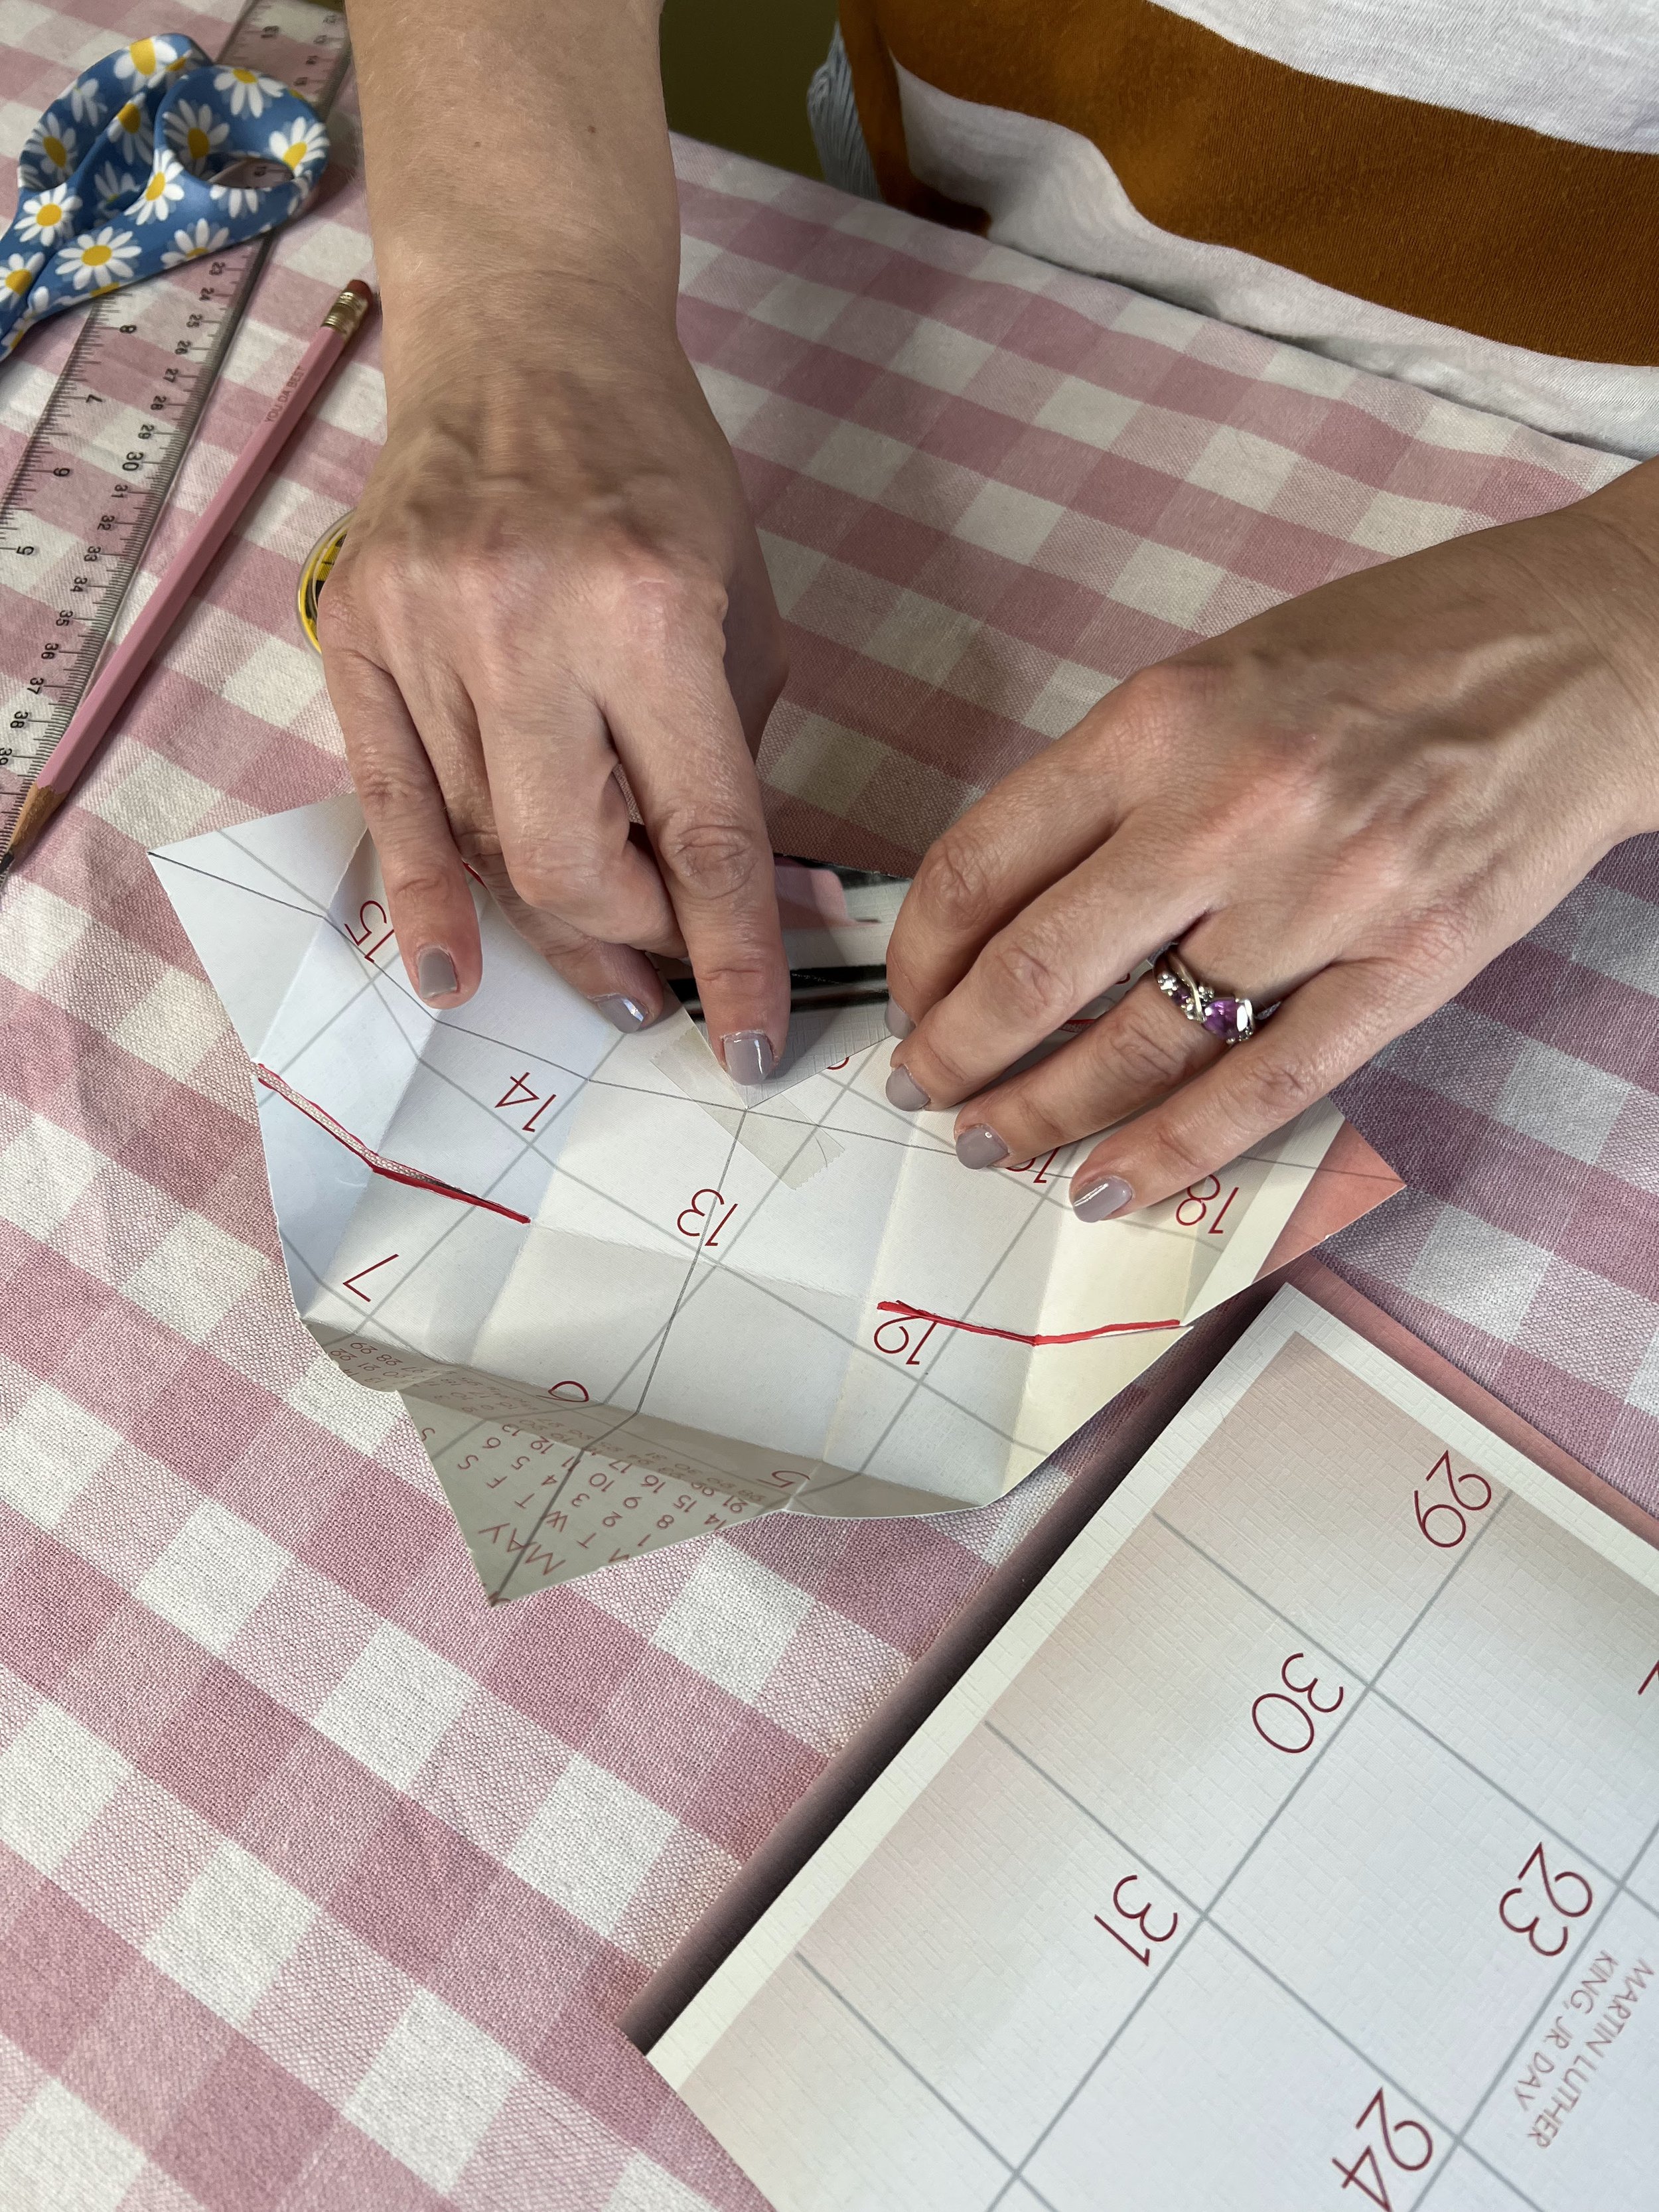
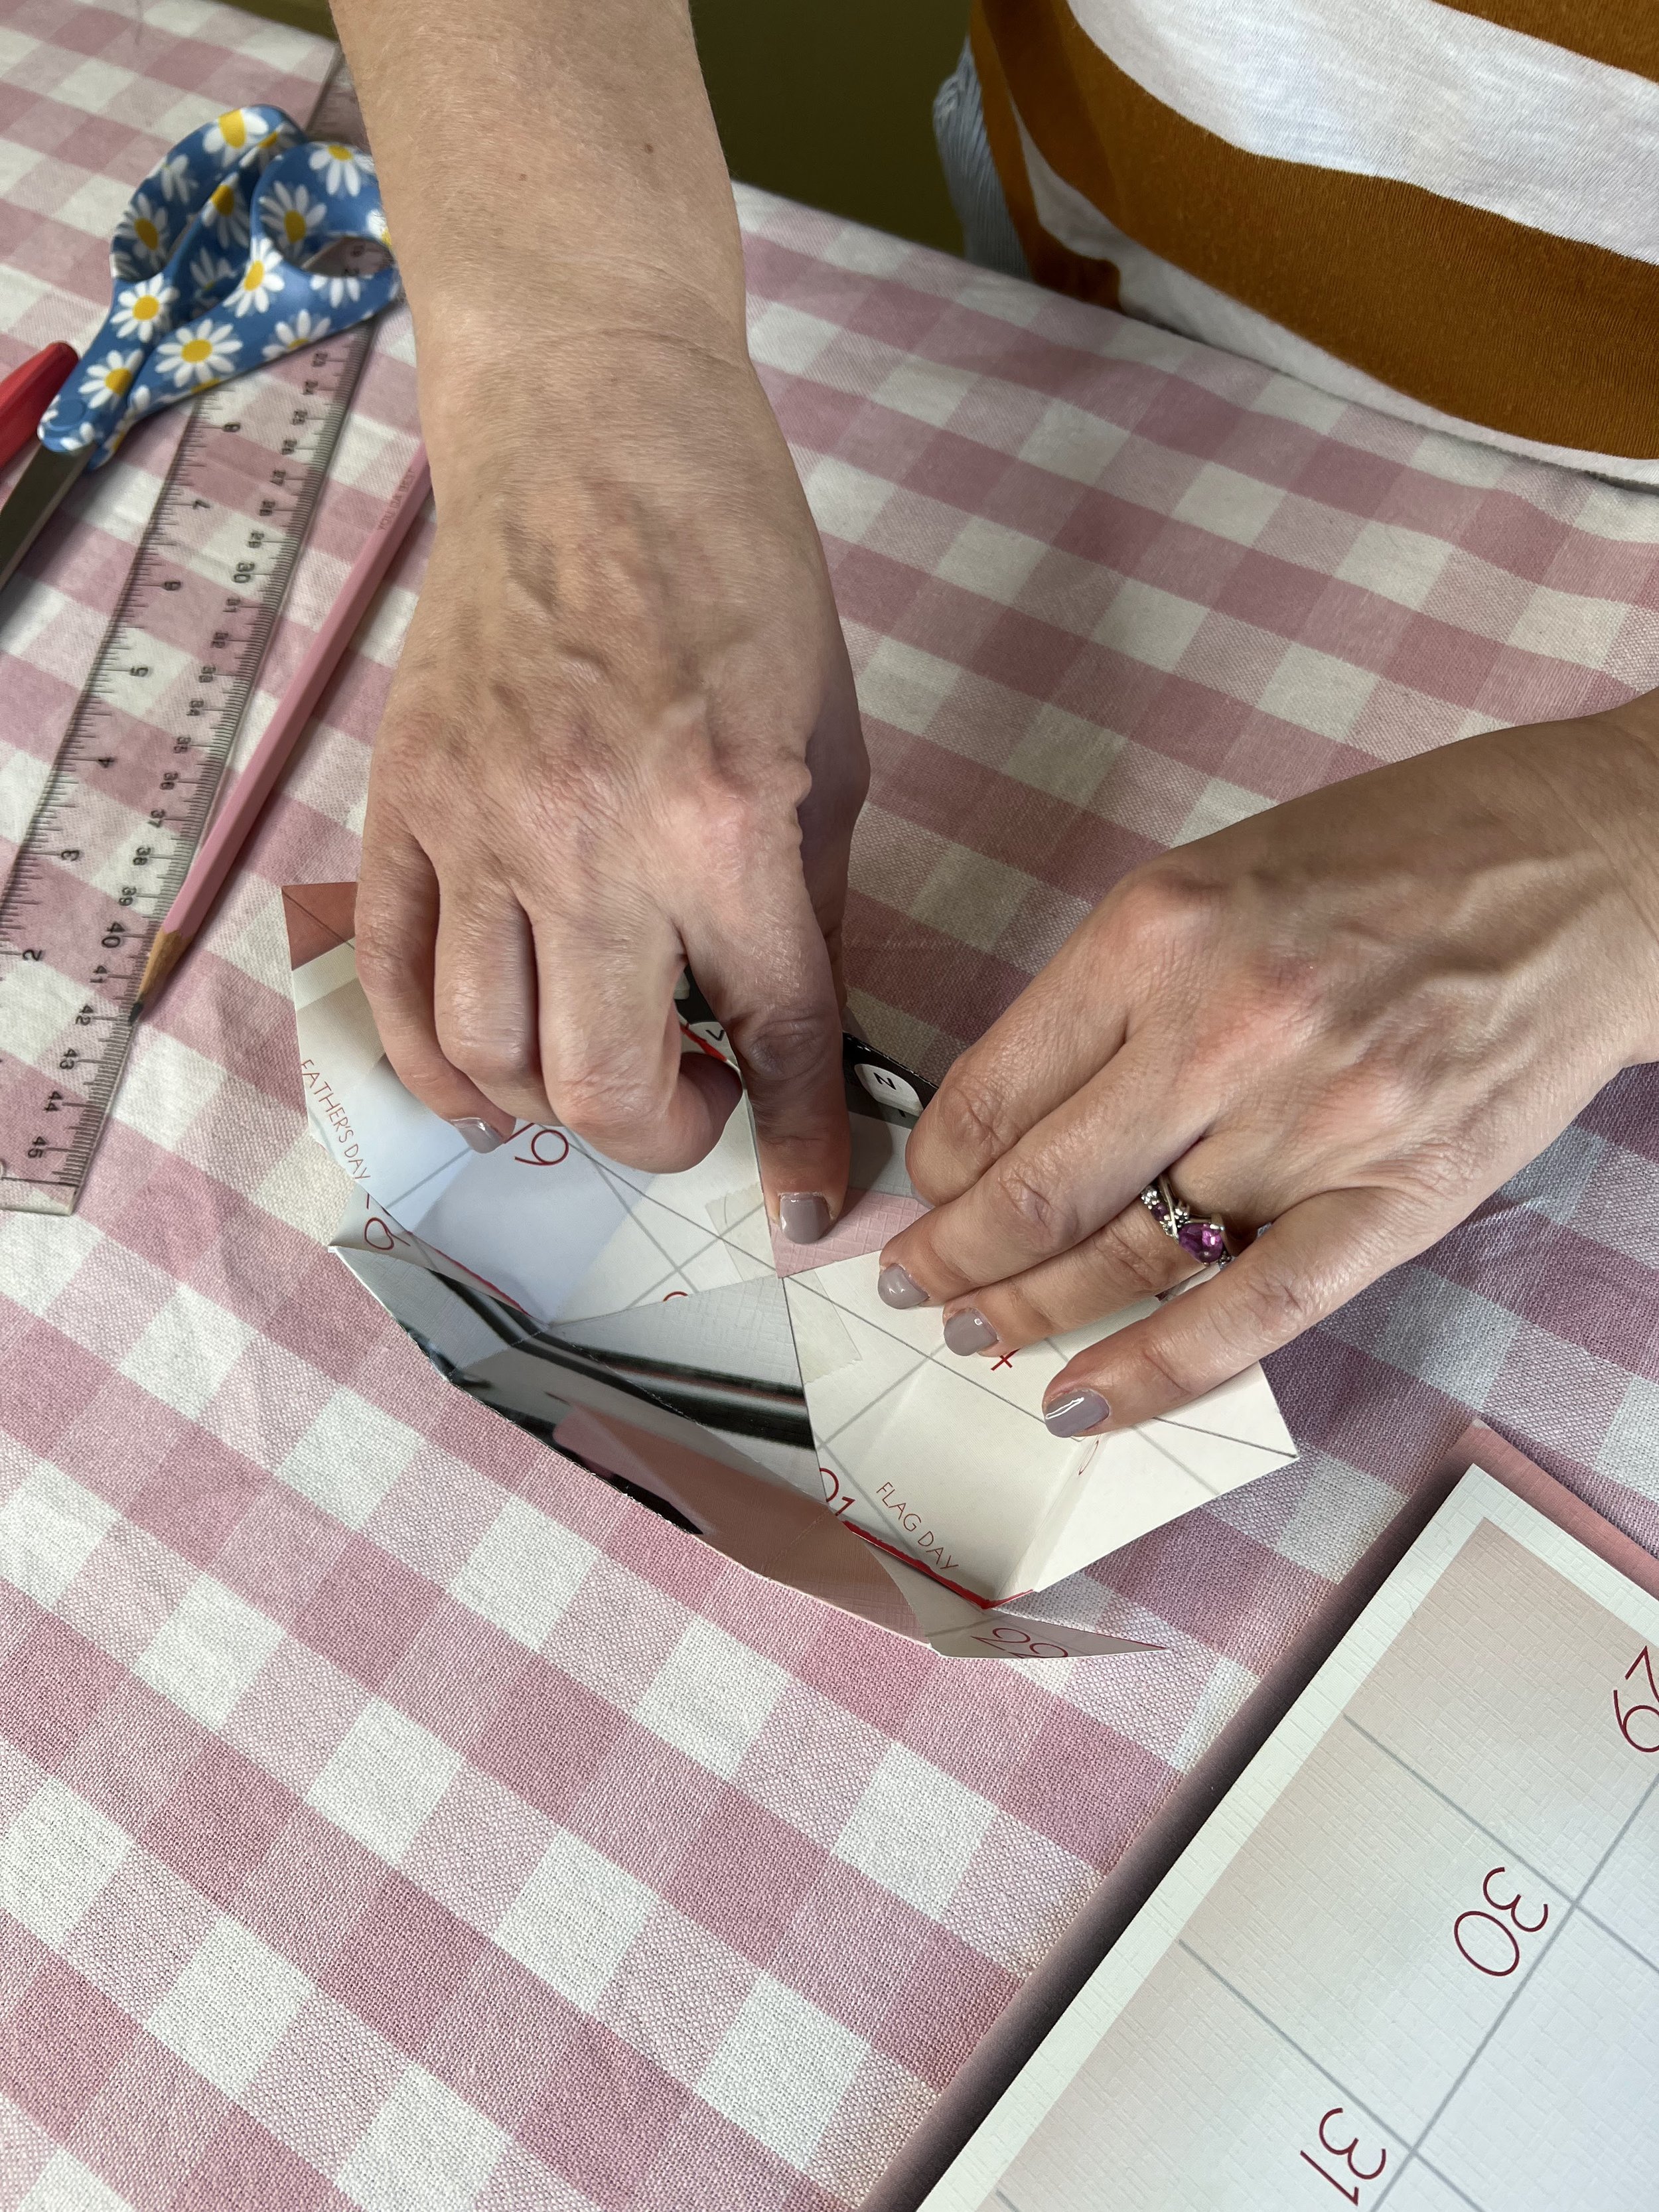
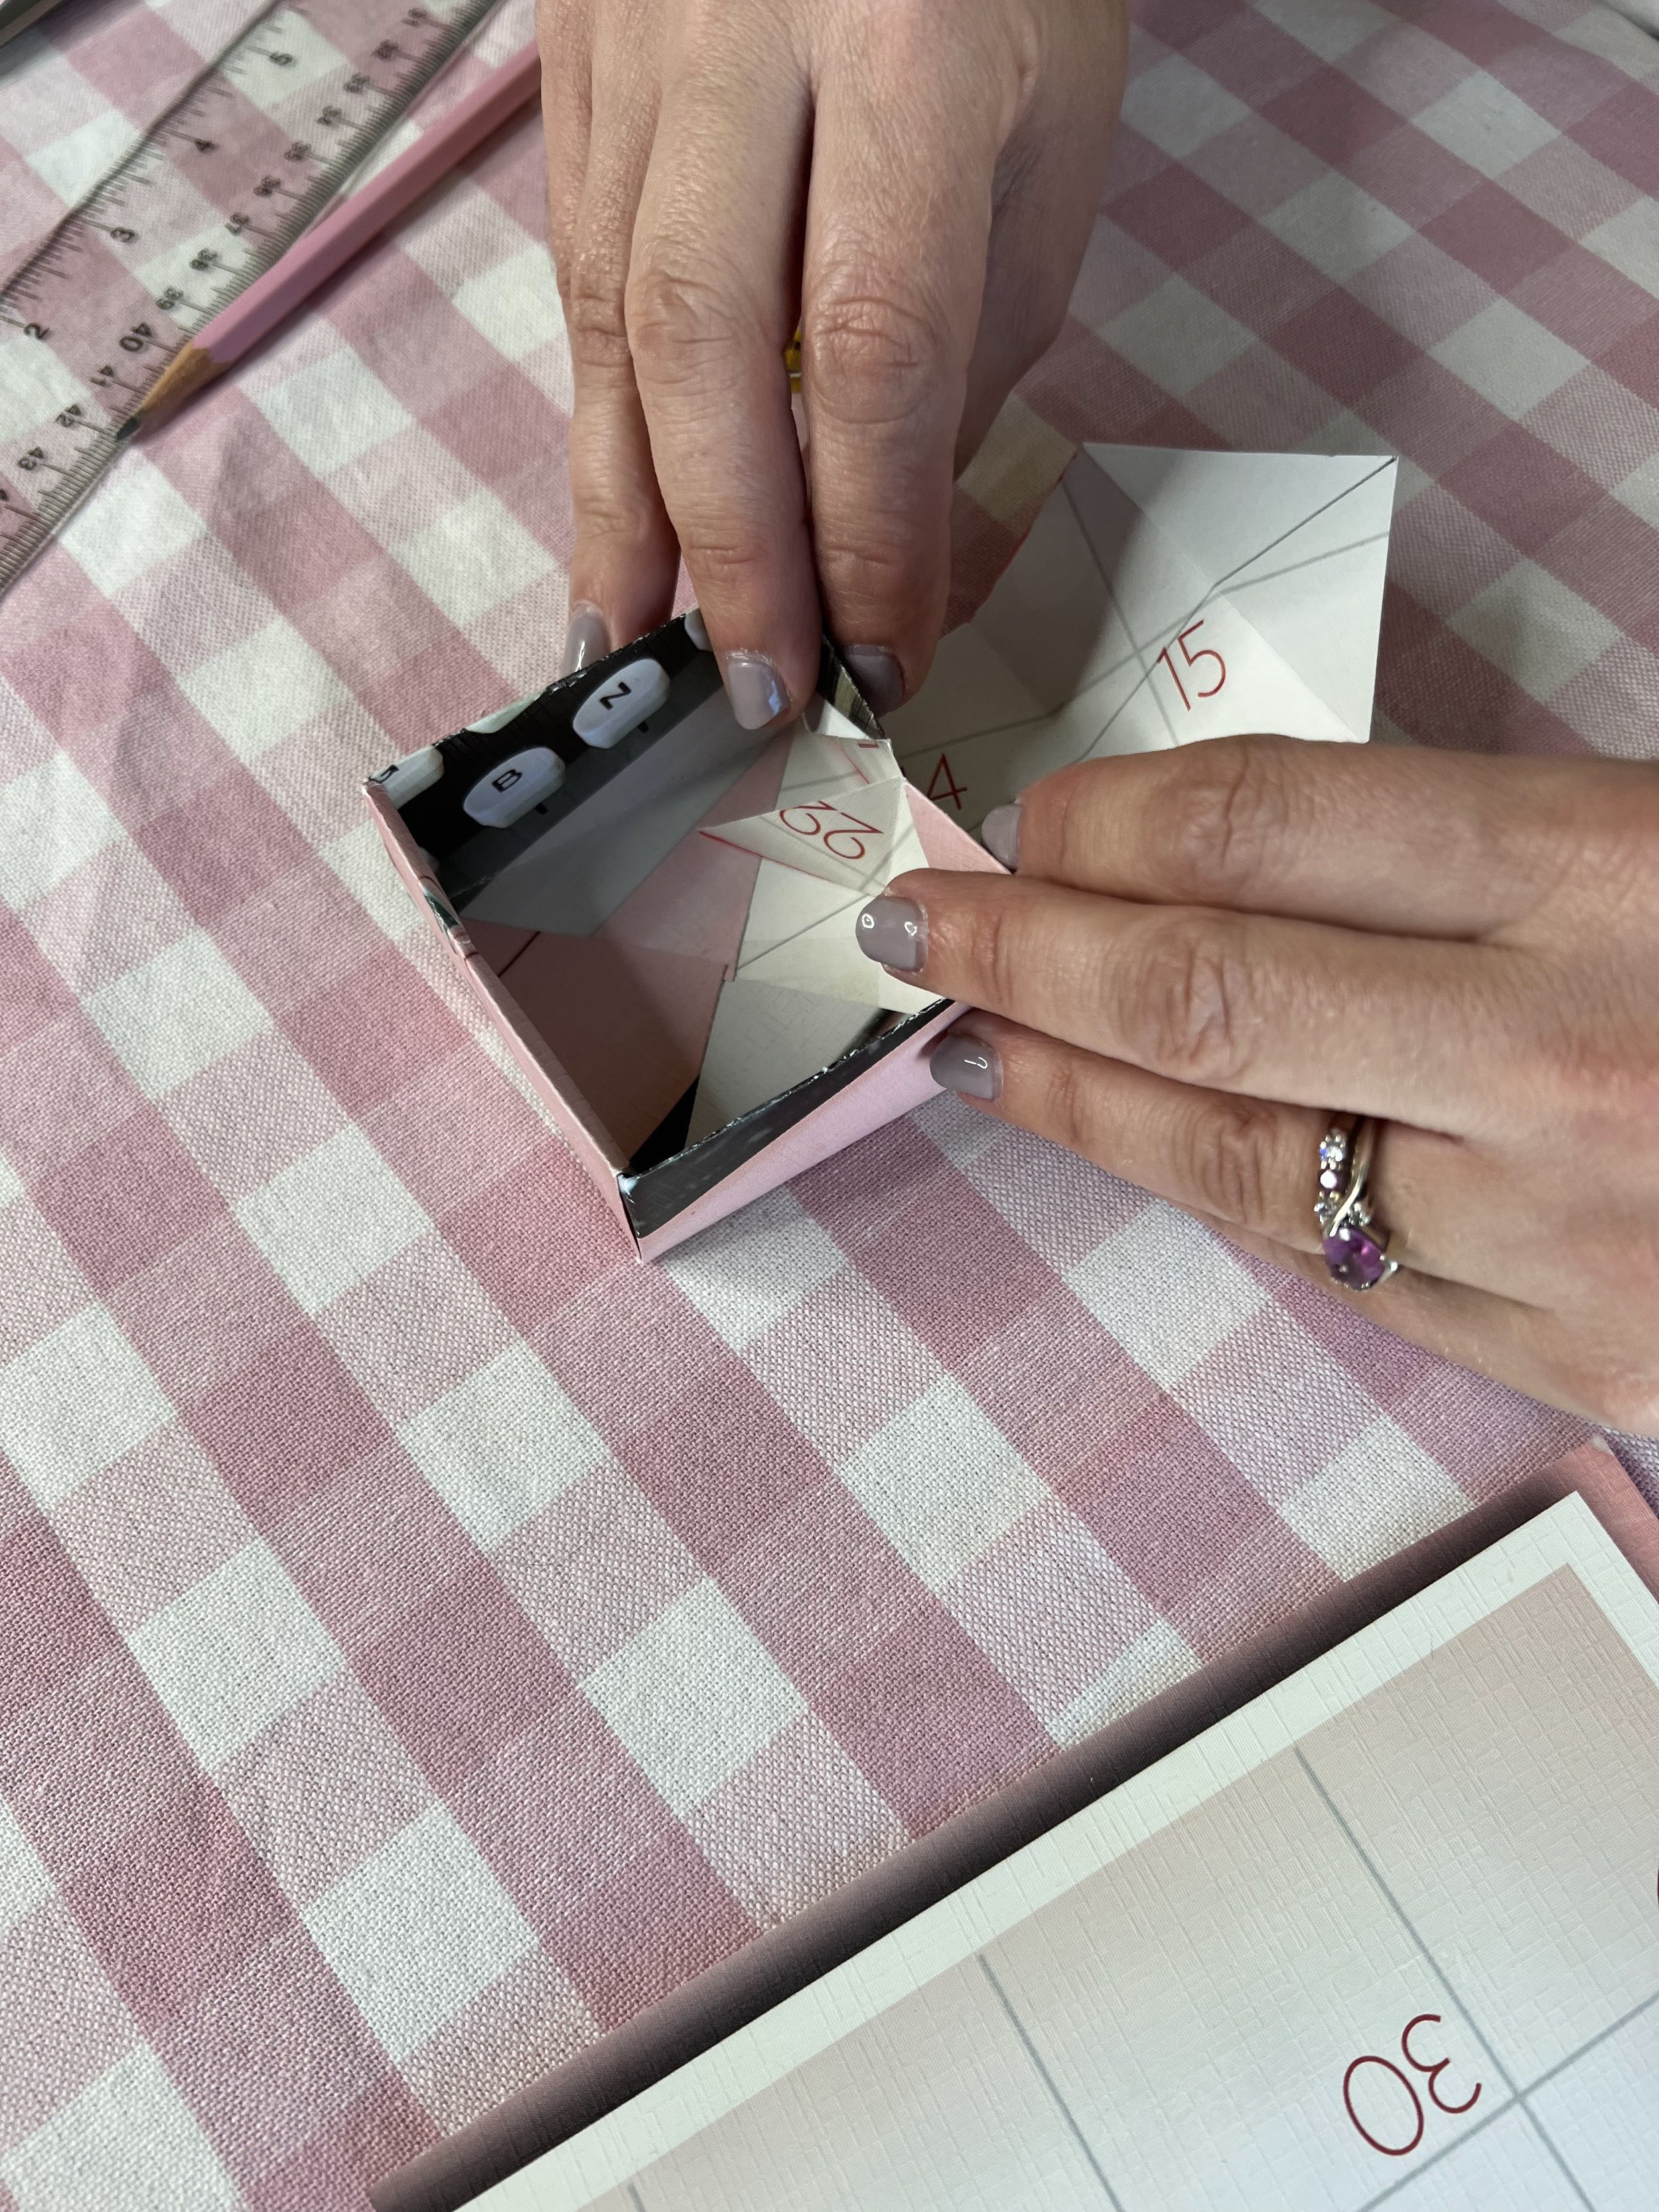
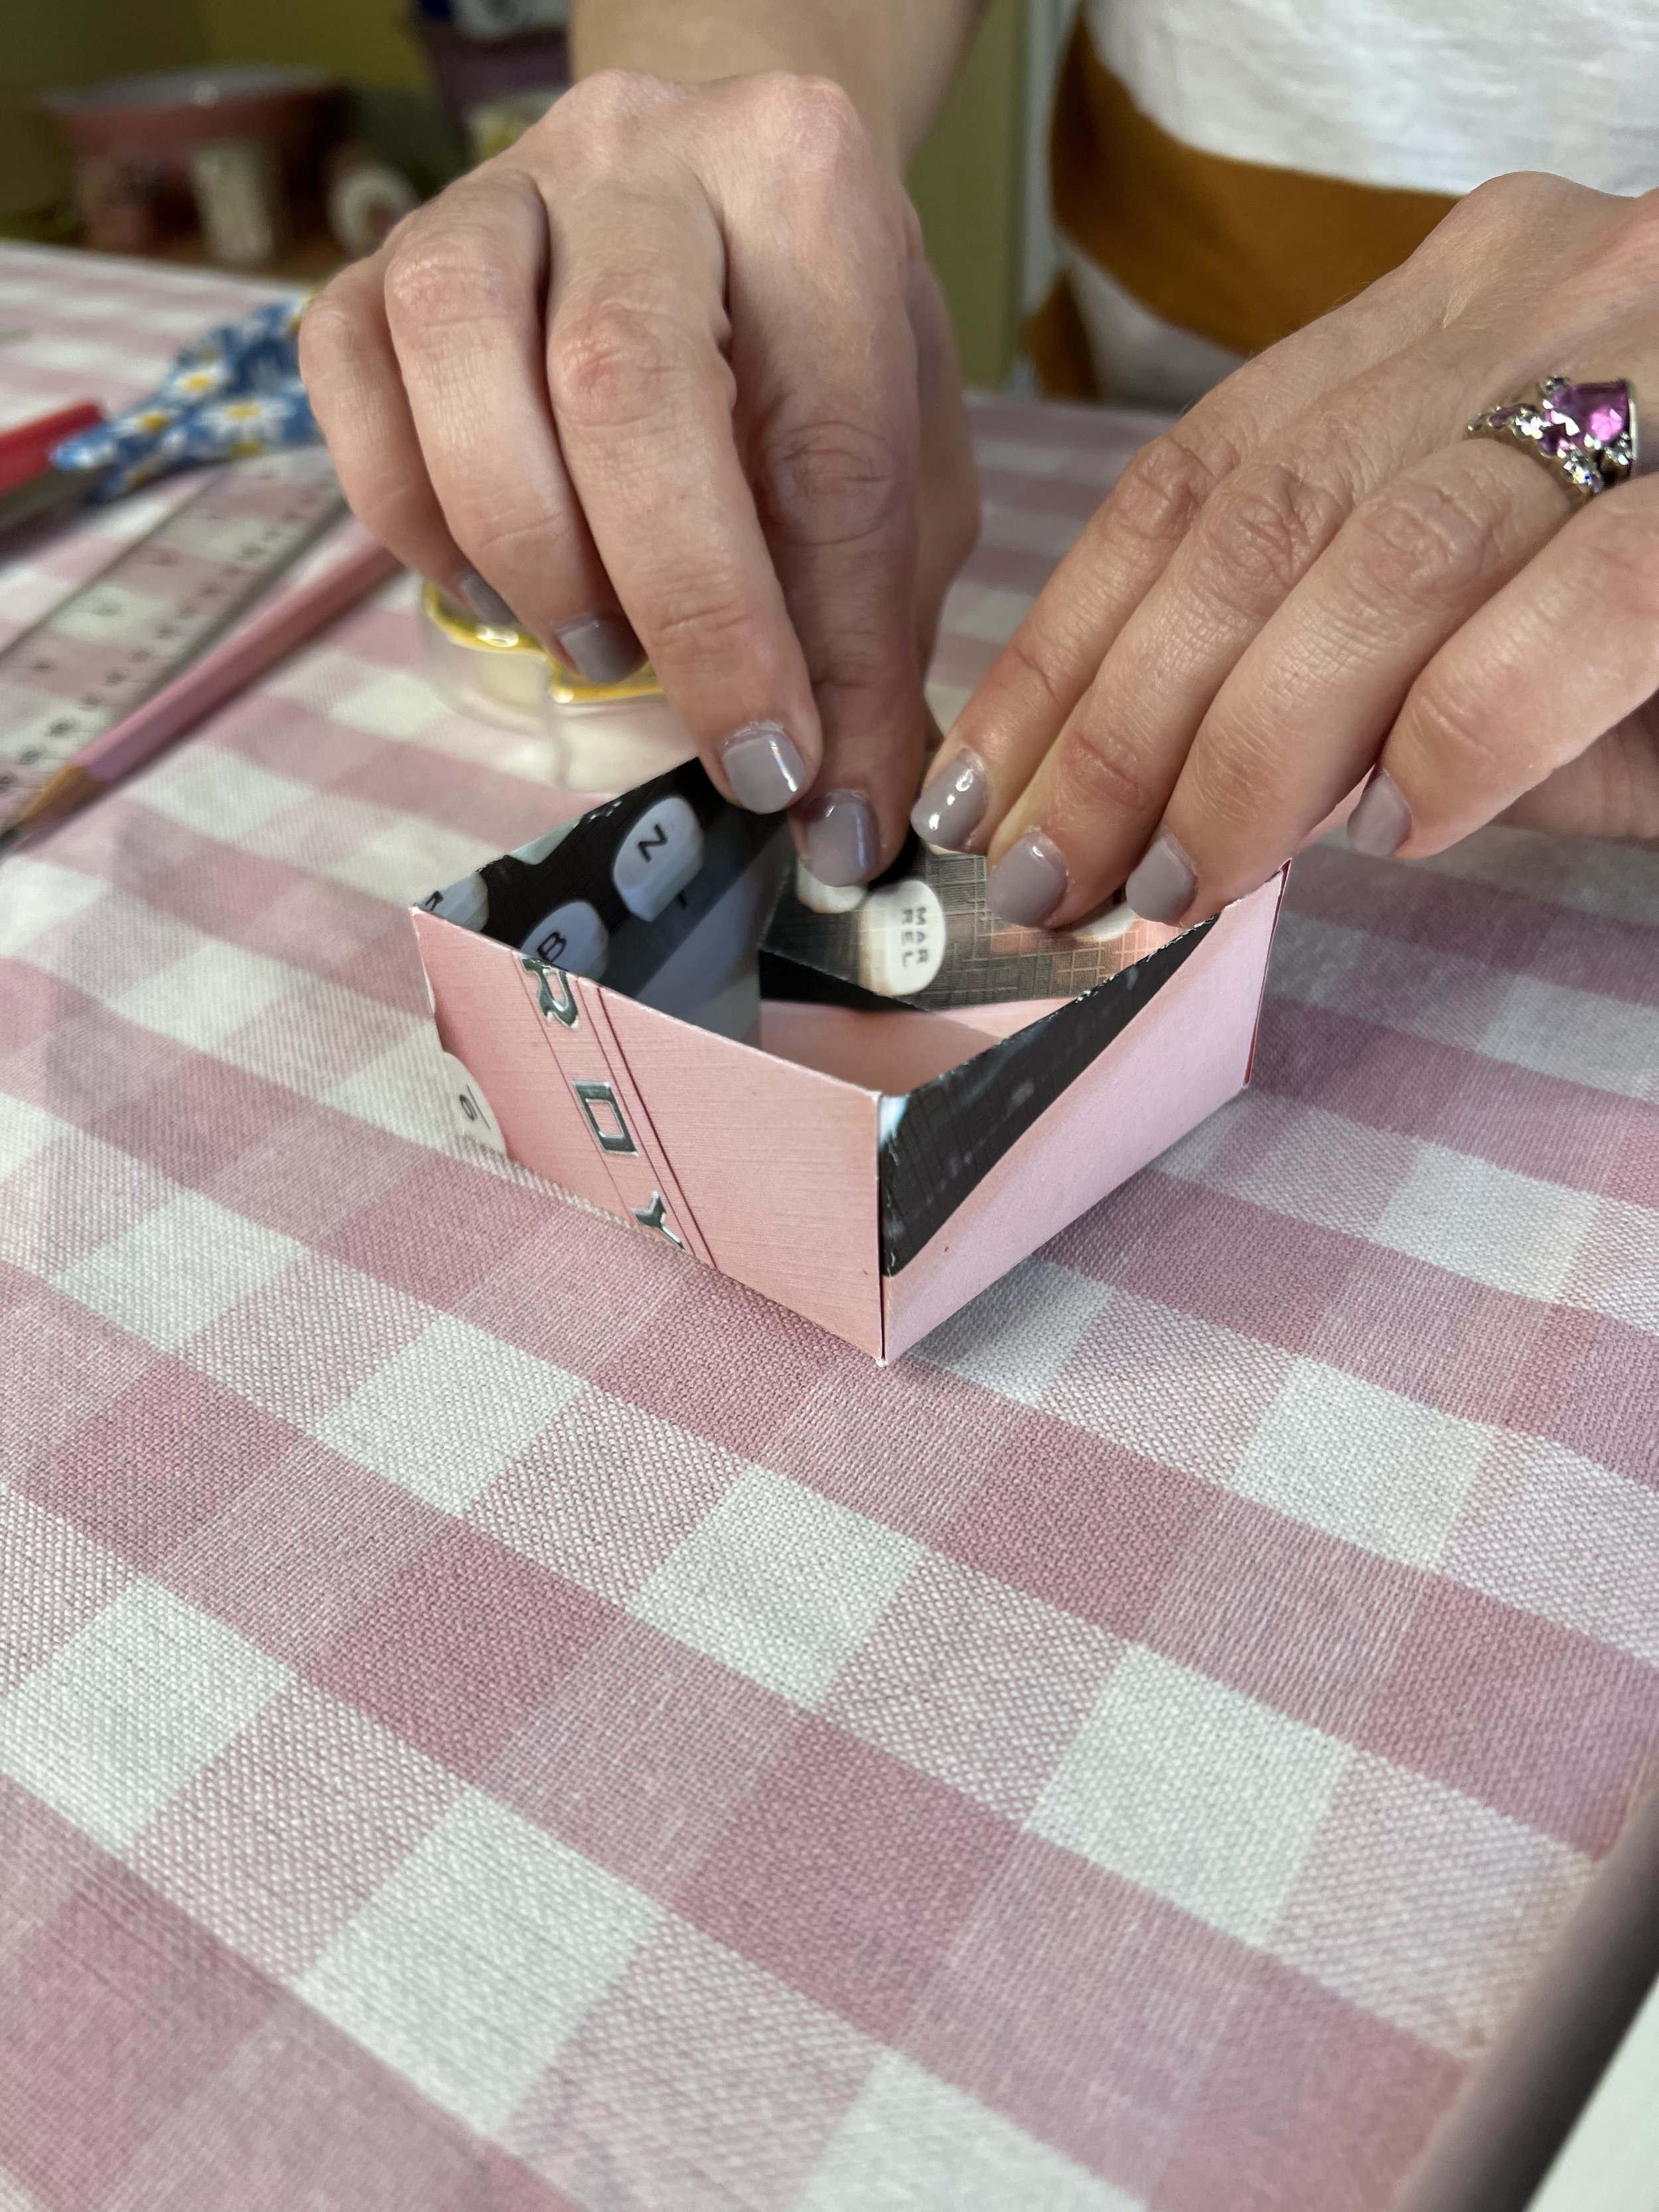
Place a strip of double-stick tape across the “x” in the center of the box. Fold the two corners with the “wings” and place the tips onto the tape.
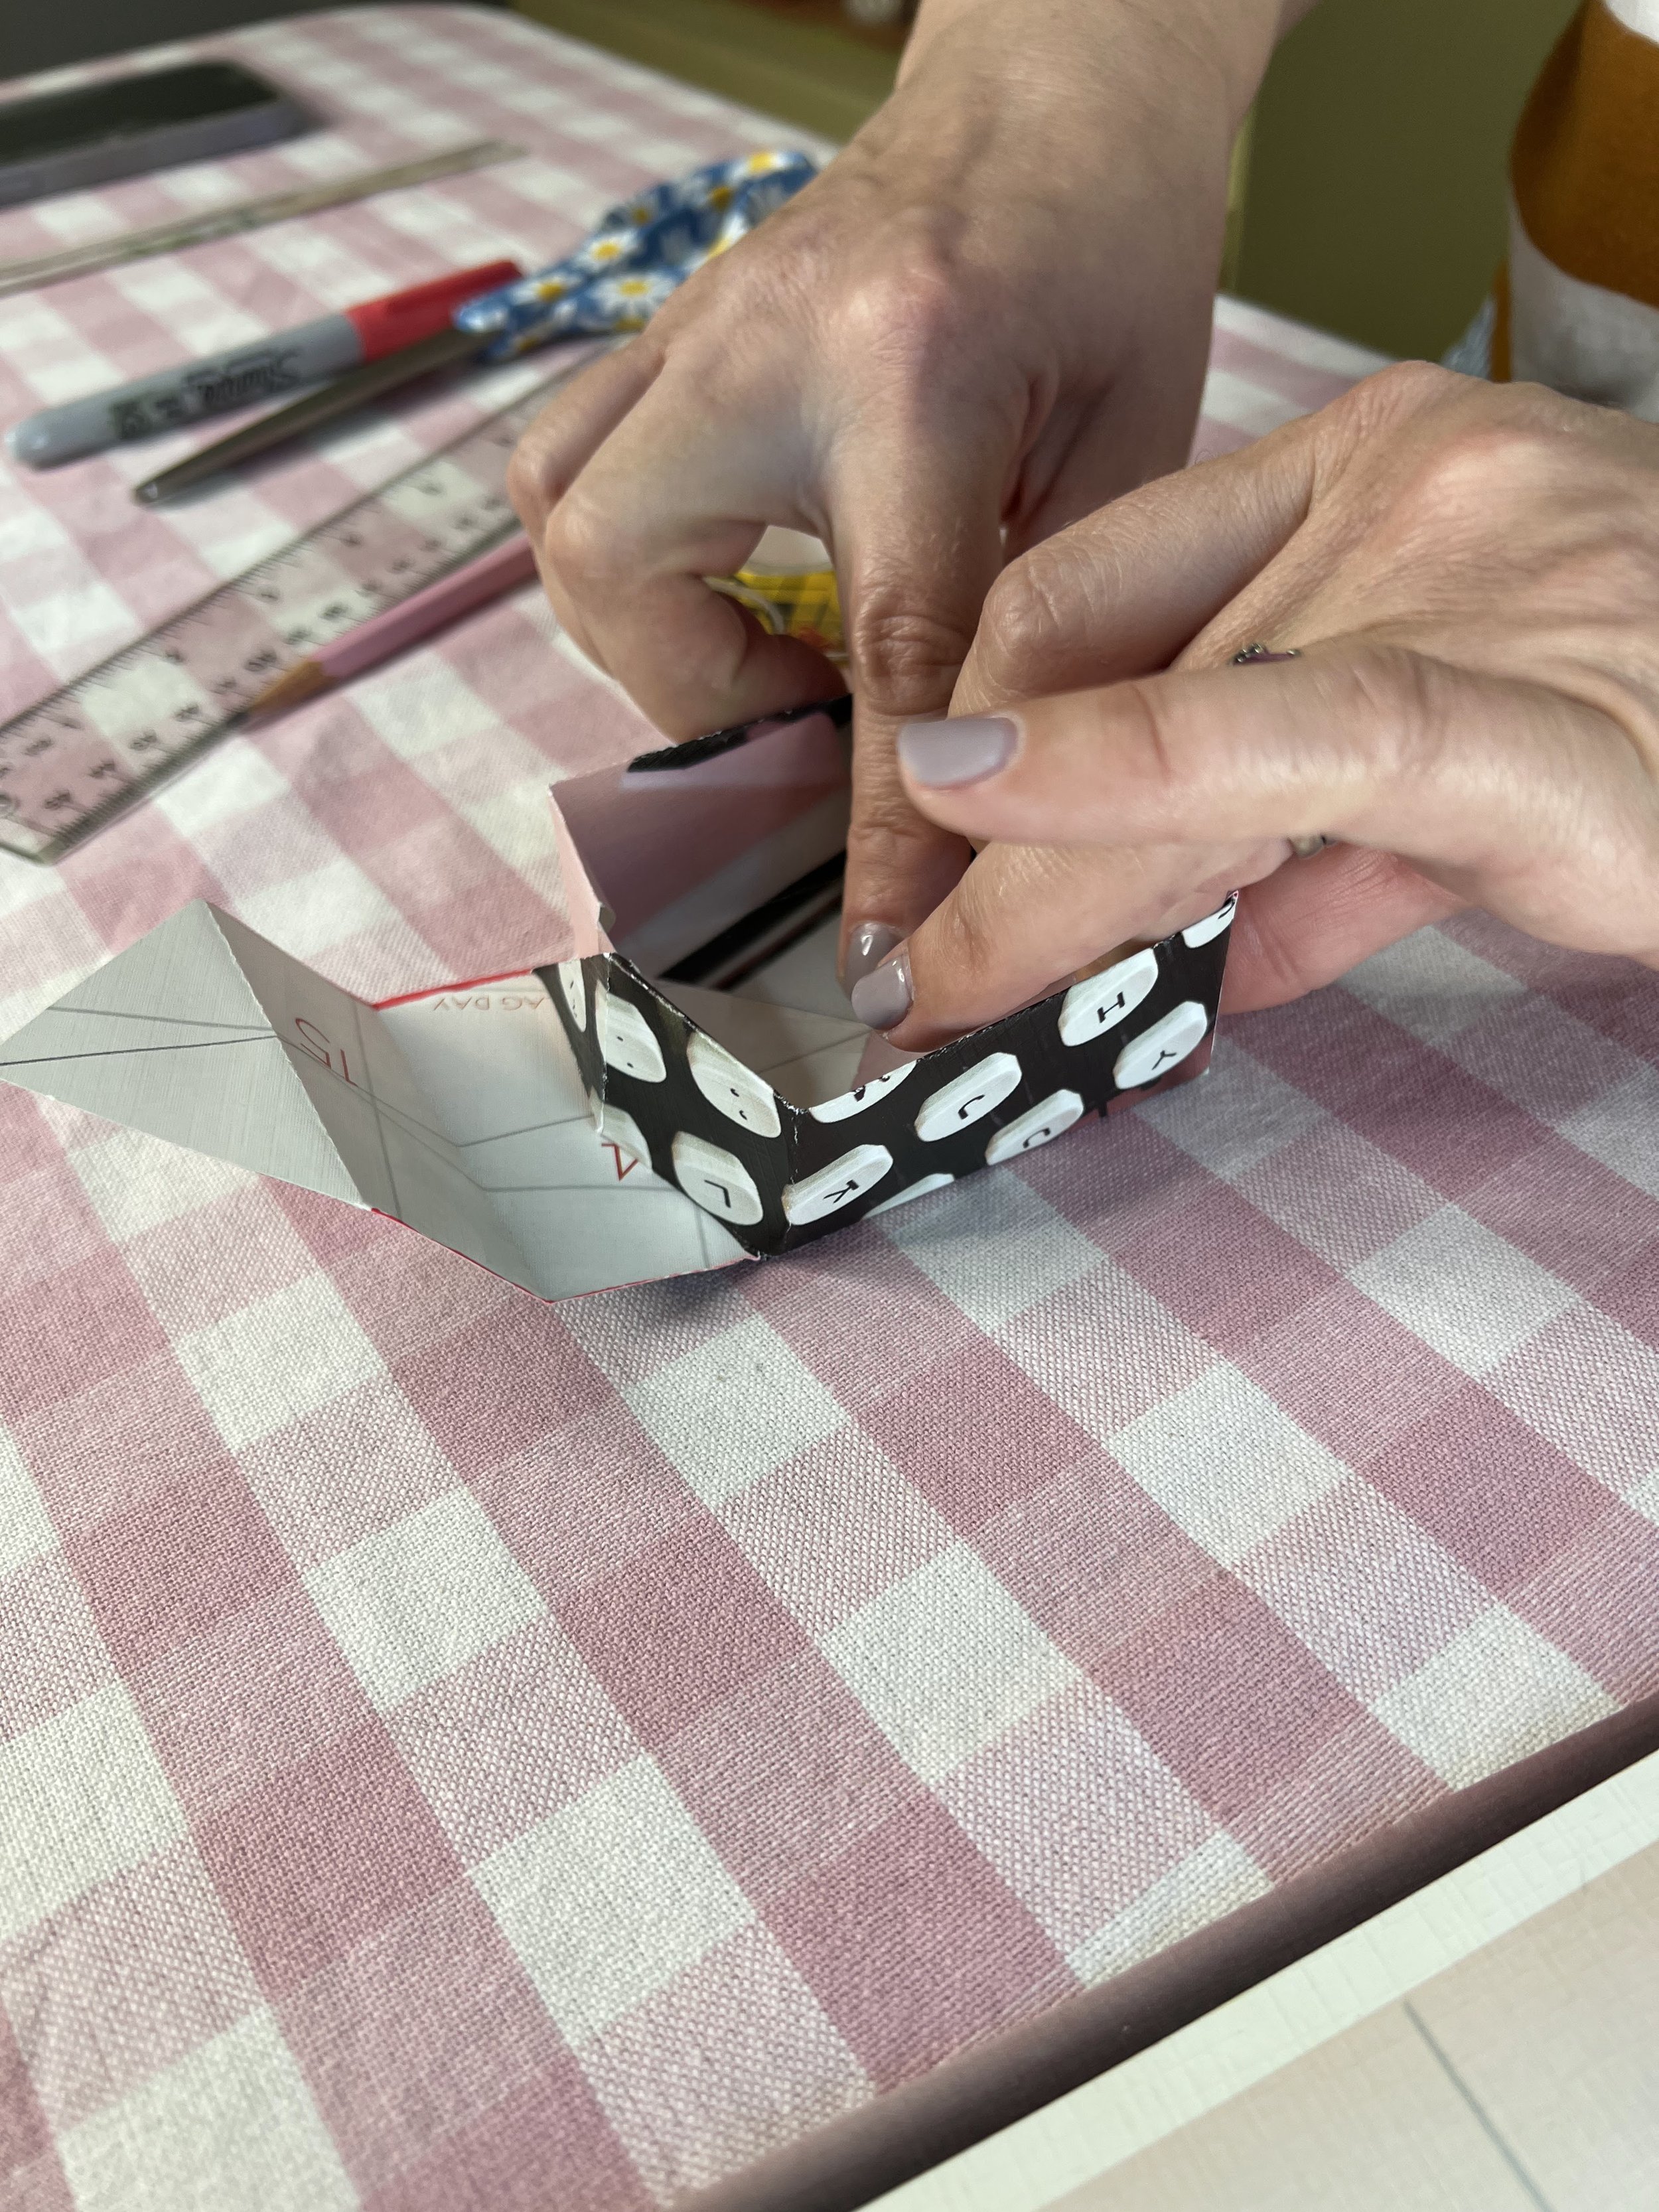
Next, fold the “wings” into the center and fold the two remaining corners over the top and press onto the tape.
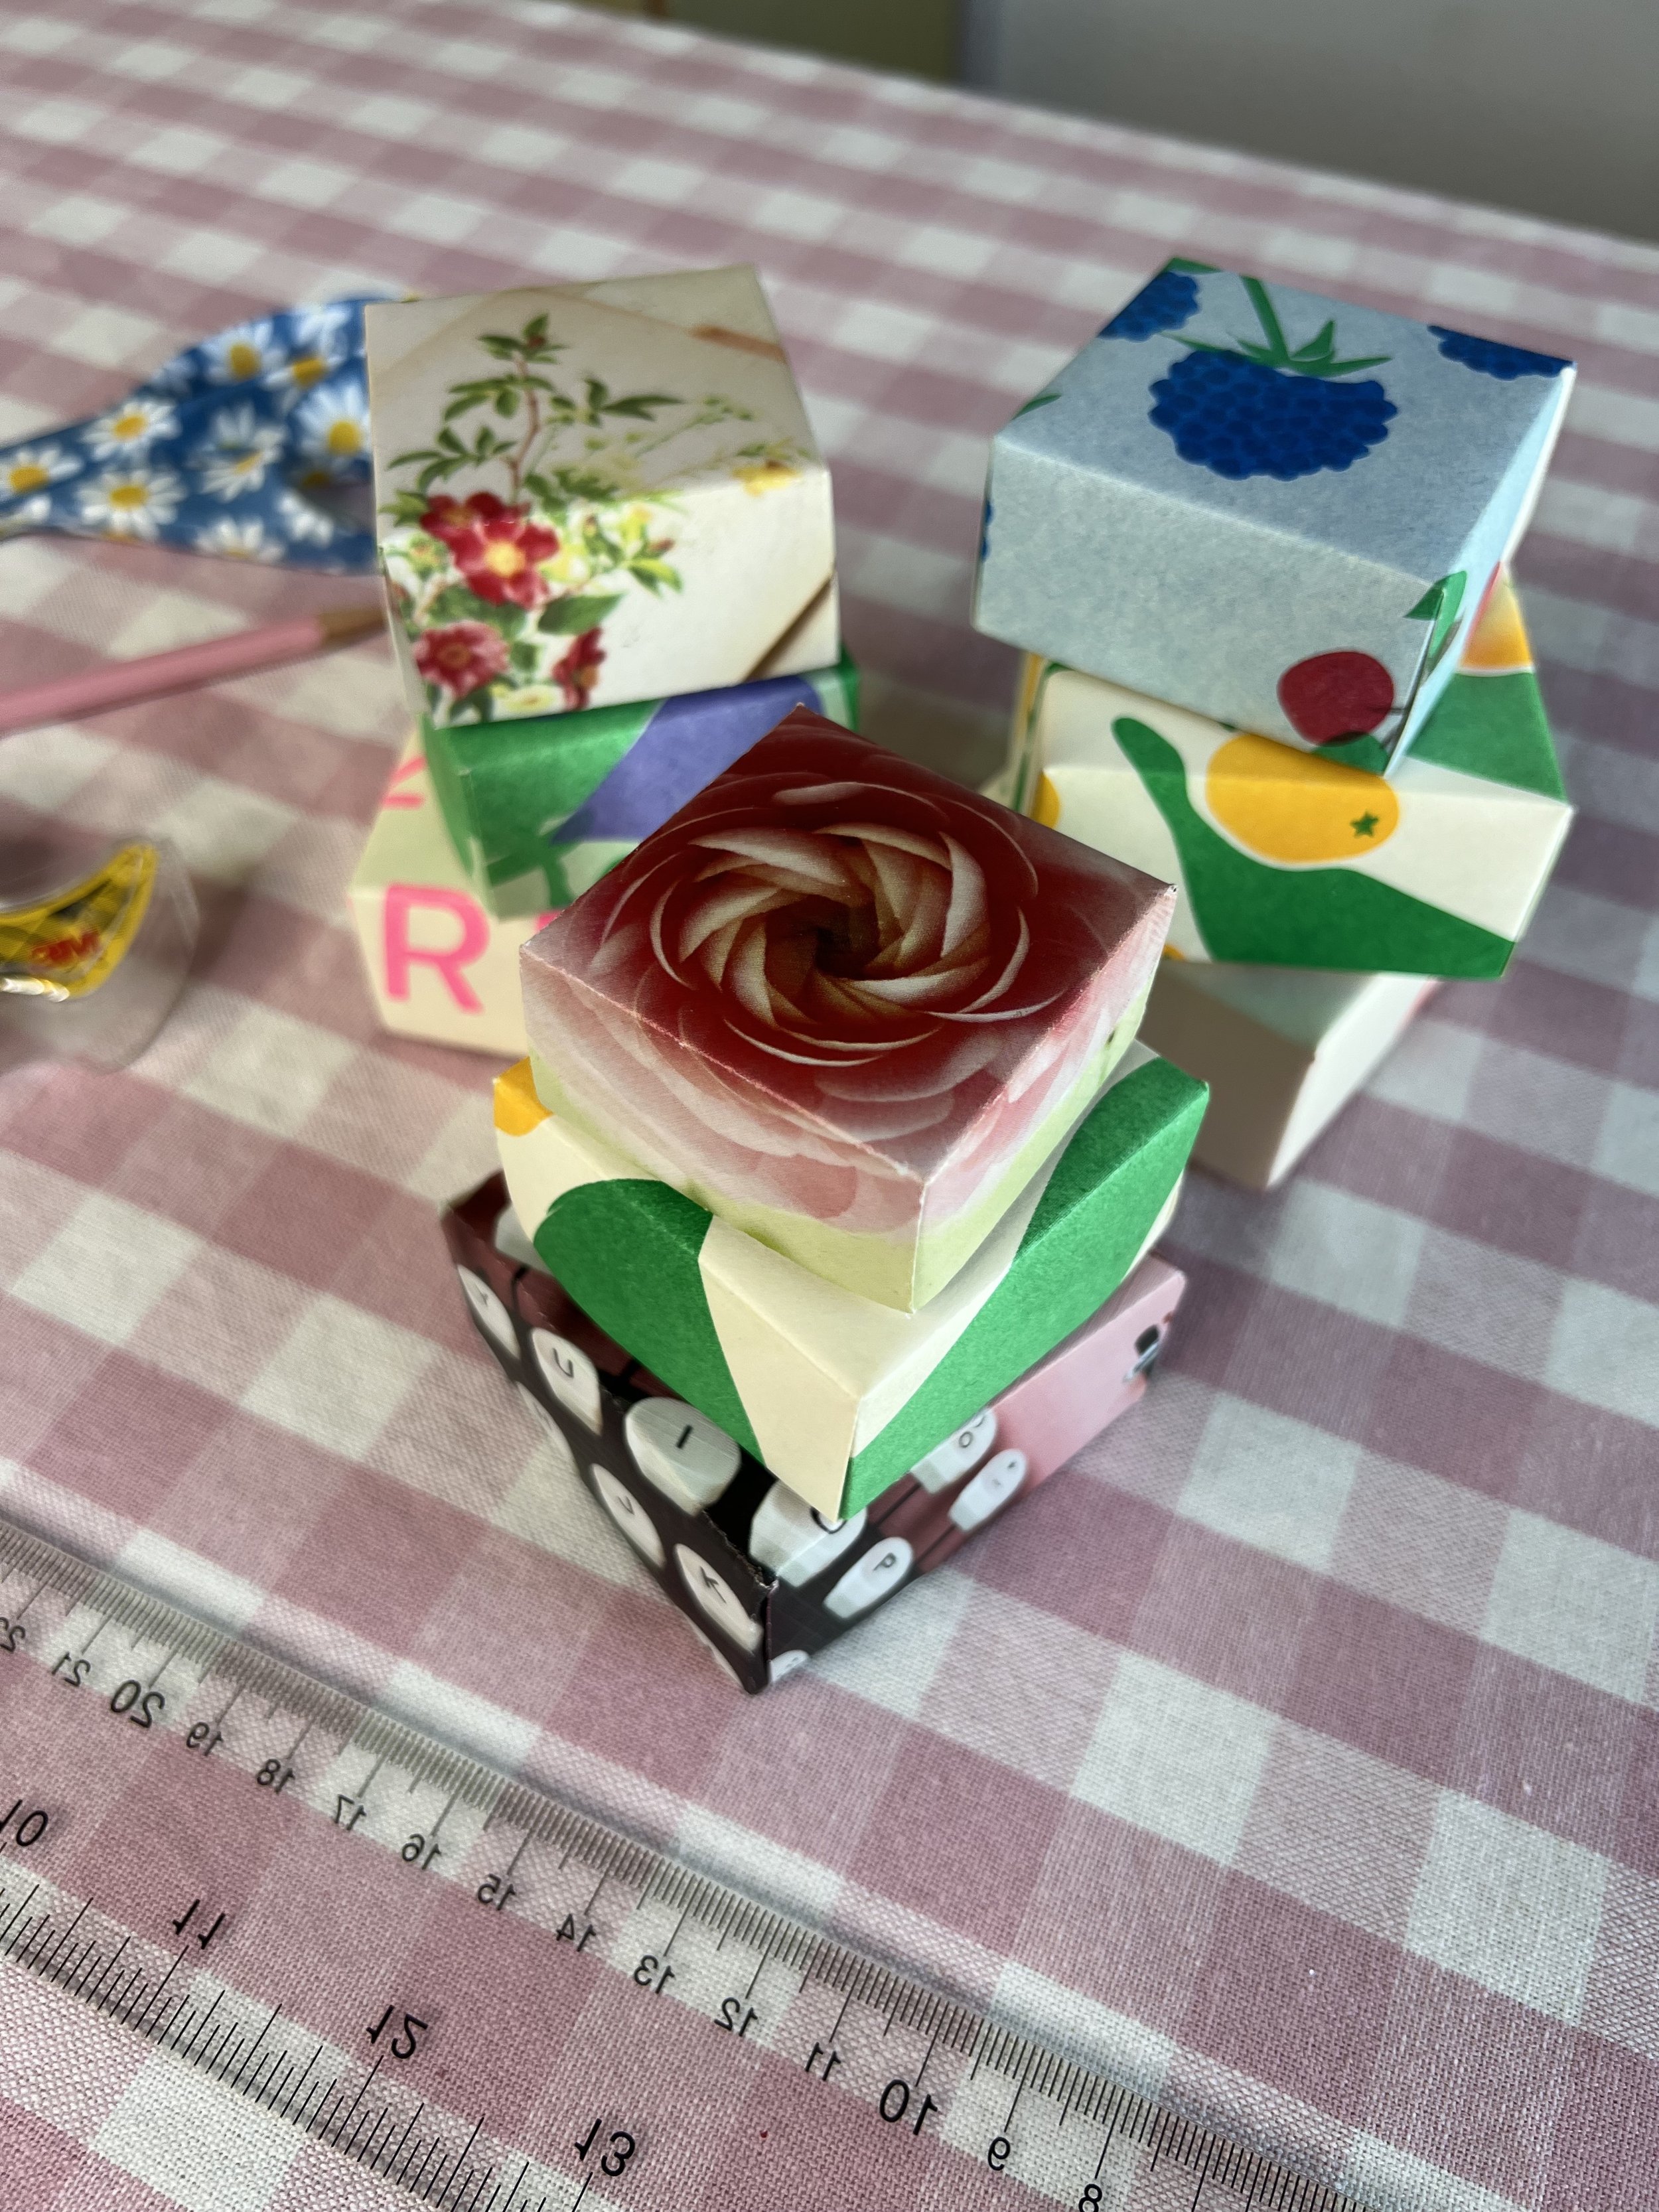
Repeat with the second square, and voila, you have a box perfect for gifts, little trinkets, candy, or whatever you choose!

